Showing posts with label 1900s. Show all posts

Tuesday, June 6, 2023

A Gentleman's War in Olympia

I was initially not planning on attending Enfilade this year (I had not been since pre-covid in 2019). My feeling is that Enfilade gets a bit dull after two or three times, as the same games are mostly run over and over again, and that a lot of the time, I ended up with Portland-area people playing in my games. But my good acquaintance and fellow shiny toy soldier nut Nick S. from California was going to be at Enfilade this year, and it occurred to me that this, indeed, if anything, was the true purpose of attending a gaming convention - to play a game with a true fellow enthusiast face-to-face, which otherwise would not or could not have occurred.

Since I lived closer, I volunteered to haul my toy soldier French and British armies up to Olympia for a game of A Gentleman's War. Nick agreed to this arrangement in a heartbeat, and so it was...

I did random draw from my terrain tiles for the table setup. Nick picked the French and I took the British. 

I recall that I won the toss but decided to try and deploy opposite of the town - I thought the hills and woods provided some interesting approaches. In A Gentleman's War you can deploy up to 18" from your table edge, so the French started the game mostly in the houses or in the woods.

My plan was to mostly ignore the French forces clustered in the houses and church, and shift to my right against the lone house (the 'North House') on the French left.

I attached a general to the my gun on the central hill, allowing me to reroll a missed 'to hit' dice, and started chipping away at some of the French regulars neatly standing in close order around the North House.  Meanwhile the Irish Guards would hook around the hill, and advance with skirmishers deployed. They would be followed by a regiment of British regulars and the Hussars.
 
On the opposite flank (no photos, really), a detachment of Nick's tirailleurs in skirmish order clashed with Kings Royal Rifles skirmisher detachment and sent them running. And some good artillery fire took out a full half of my other detachment of KRR.

Irish Guards on the move.

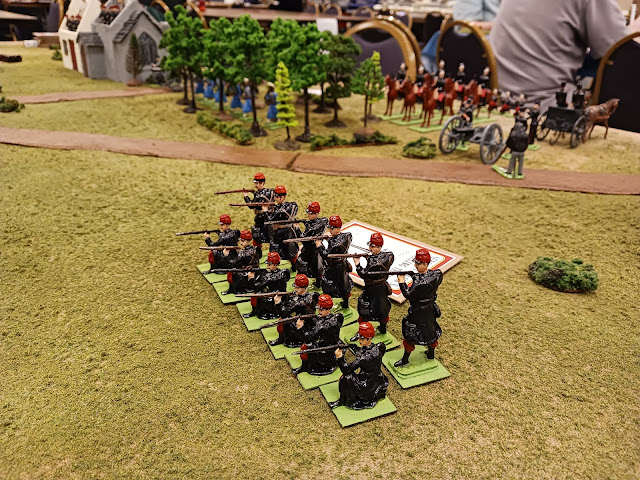
Nick's French line infantry got tired of getting shot at by my artillery on the hill, so they advanced out from North House to face the Irish Guards.
I did not do a very good job concealing my Hussars, and they ended up taking casualties from artillery fire.

The French Dragoons were unfortunately never deployed beyond the cover those woods...

I apparently completely failed to take any pictures of all the action on my right flank. The Irish Guards advance and came under heavy concentrated fire from two regiments of French Line Infantry. The Guards fell back and ran off table.  While the British Line infantry in support tried to get in position, the Hussars charged over the hill and and into the flank of a French Line unit.

...the French Line unit had a commander attached and Nick was able to burn a lot of hold cards, so the French were able to turn to face the charging Hussars and let loose some closing fire. The Hussars still 'won' the resulting melee even though there was now not much of the unit remaining. The French fell back and the Hussars followed up, and again the French were able to turn to face and offer closing fire at point blank range! 'Twas the end of the Hussars.

Having thwarted me on my right, Nick had his infantry advance out from the South Houses and Church (I was close to breaking point anyway, calculated as half of total figures, having lost the Hussars, the Irish Guards, and almost all the KRR as well as some artillery crew and regular infantry here and there)

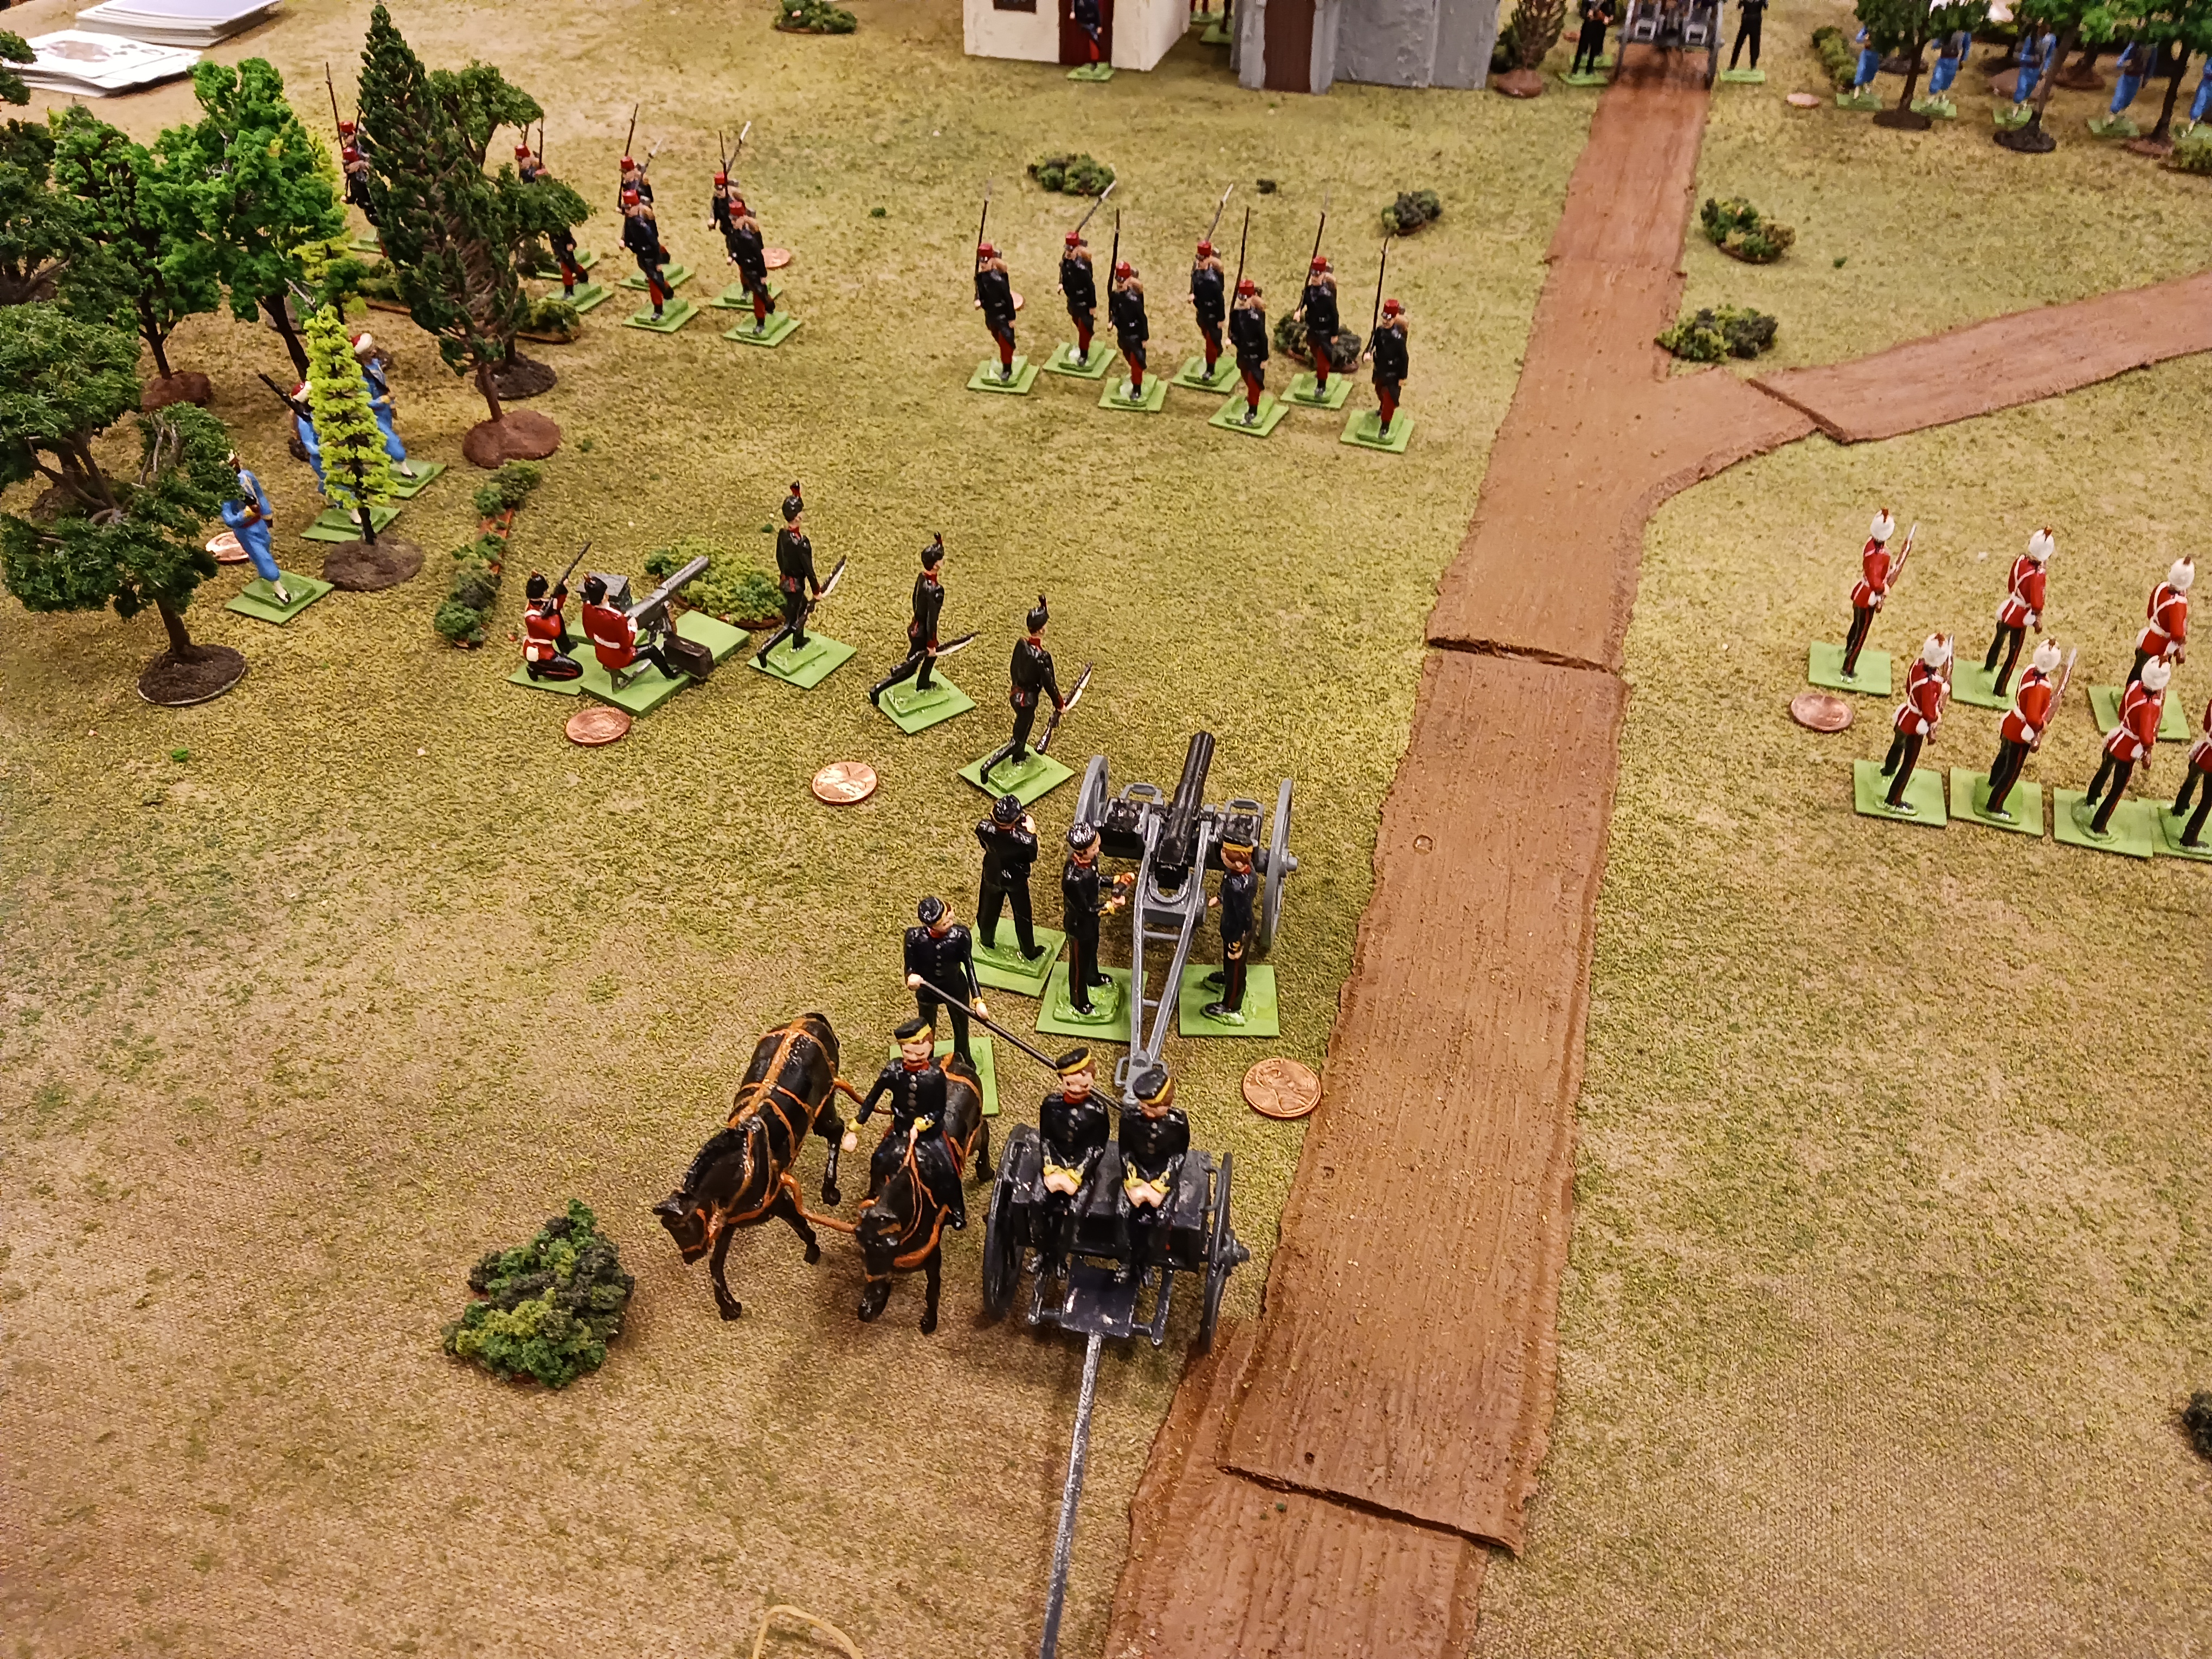
A maxim gun, the remaining KRR skirmishers, and some Royal Artillery took out some French regulars but as you can see, the British position was not strong...

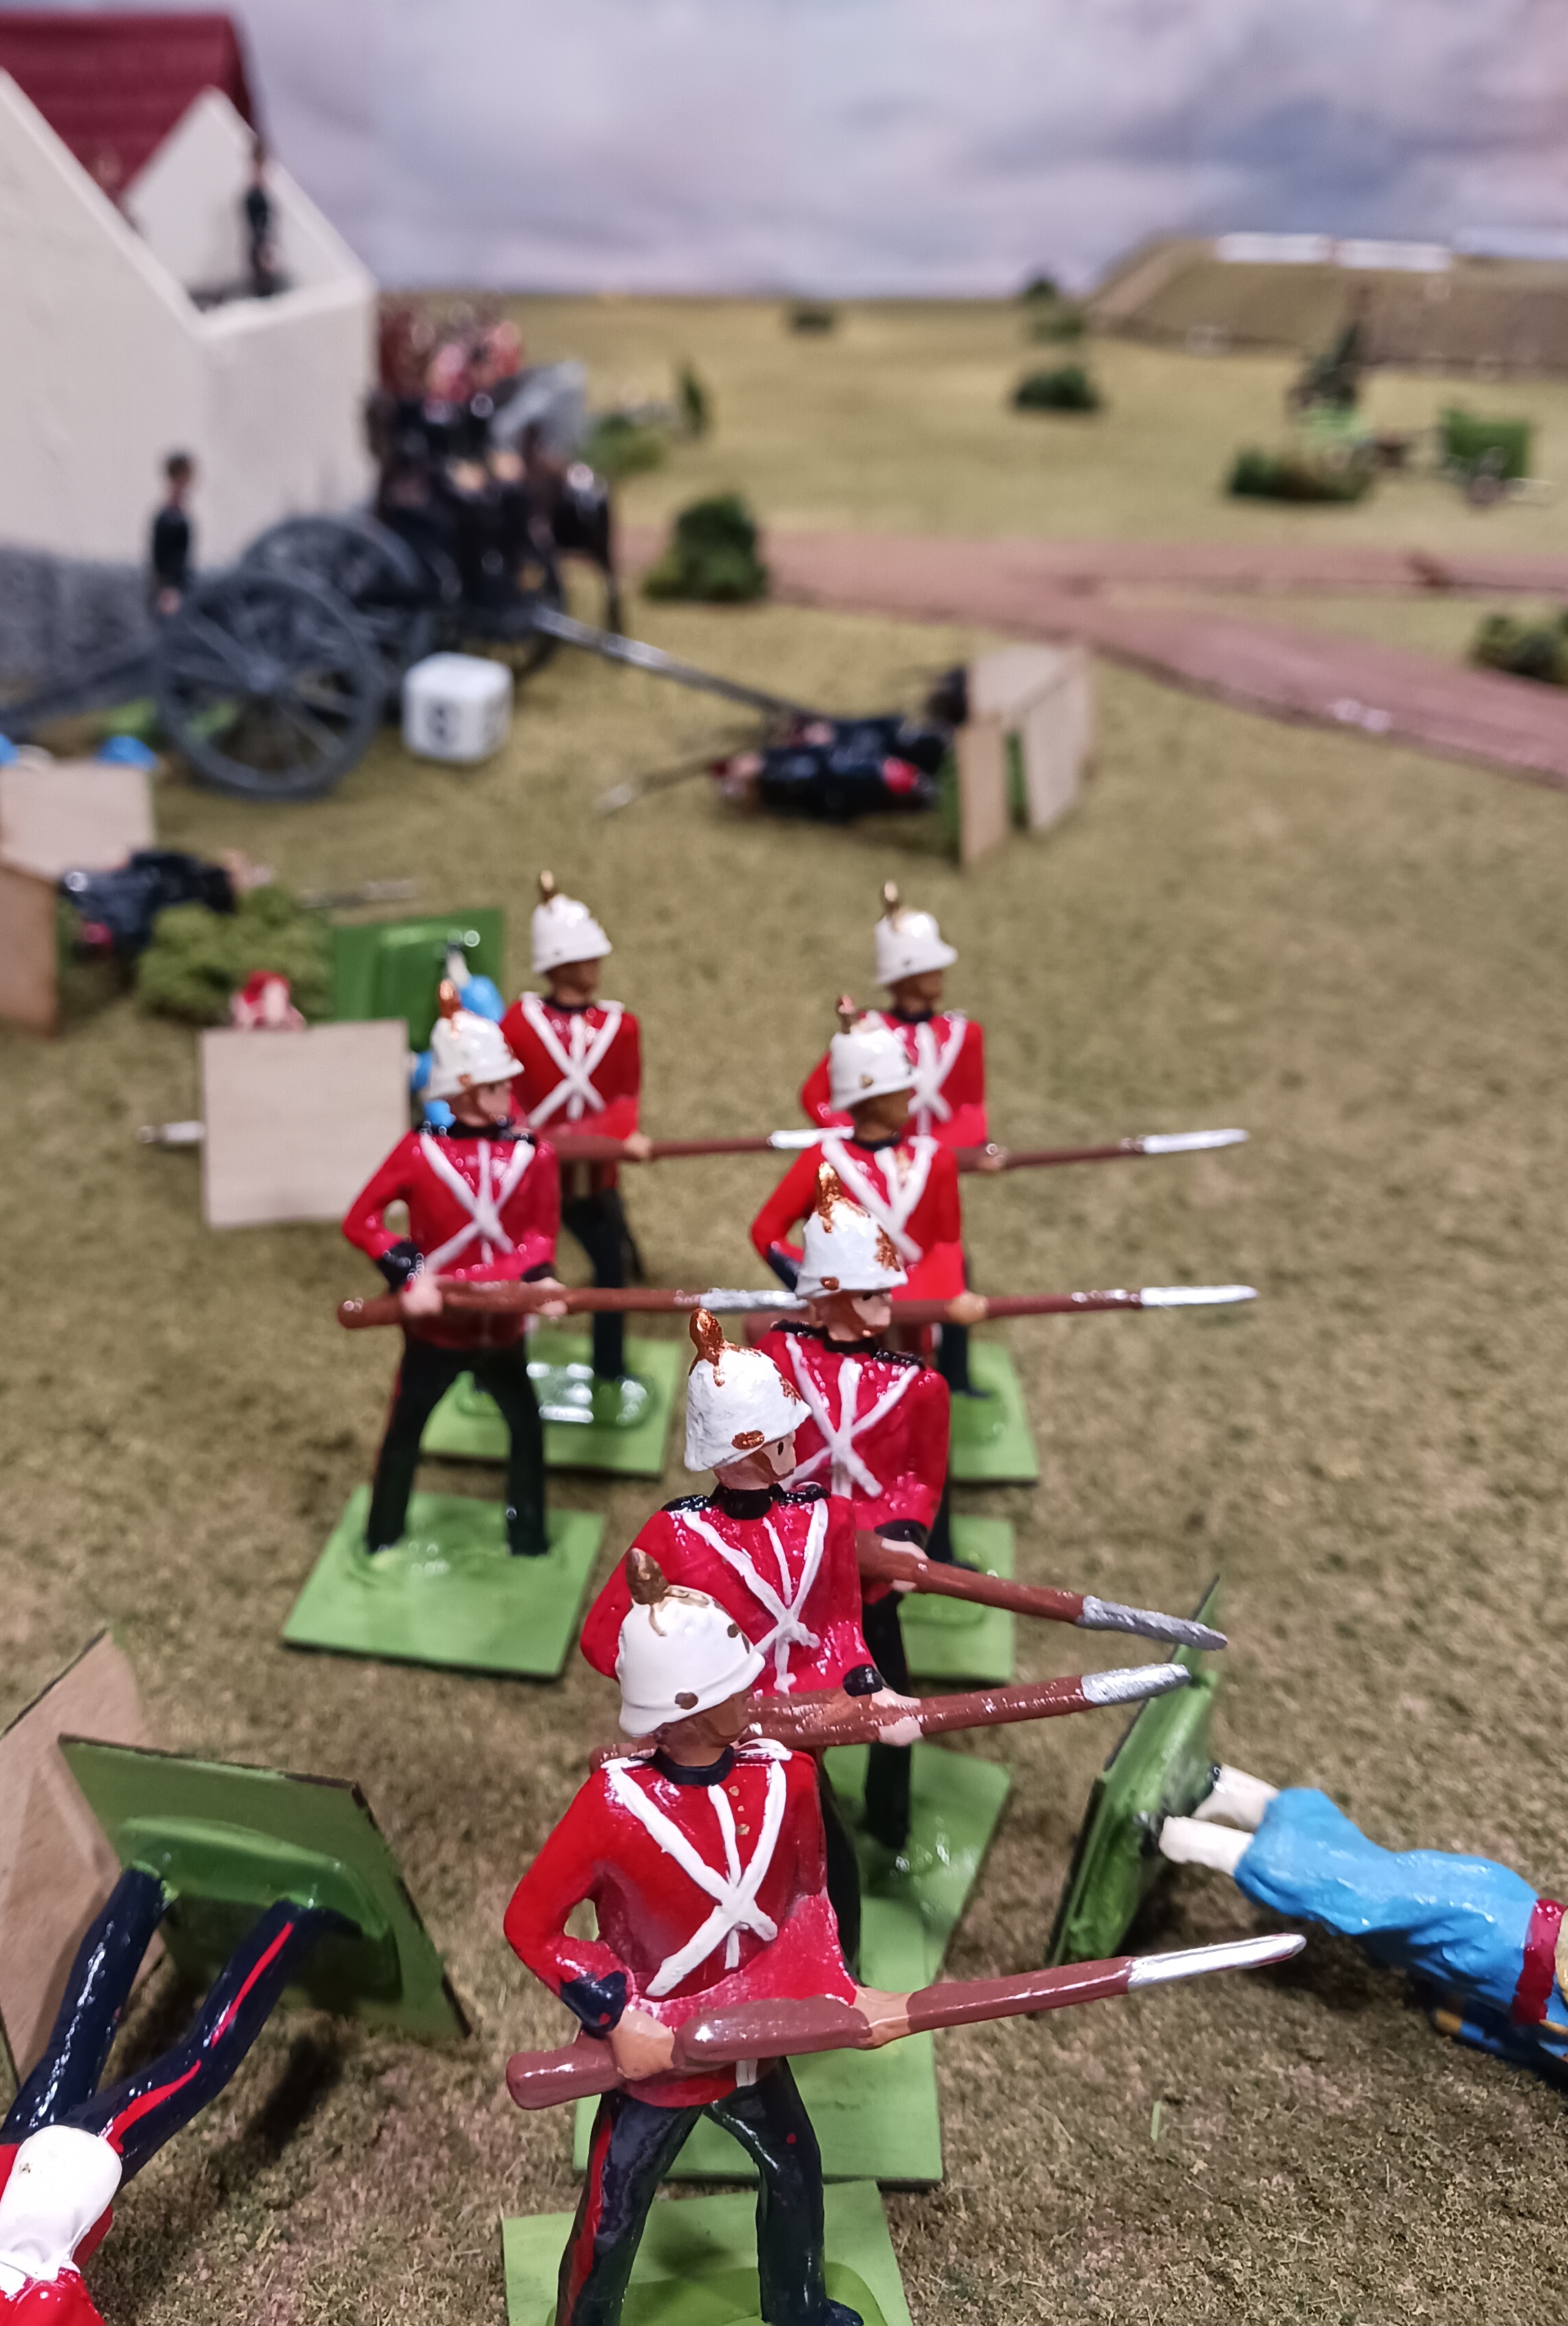
British left, at end of game.

So Nick won the game, rather handily.  My advice is to not try flanking attacks that cause your units to have their back to a table edge! They have a tendency to run right off the table!

A Gentleman's War continues to be my favorite toy soldier ruleset thus far. I think the only thing we got wrong was at the end of the game we started putting entire 12-figure units of regular infantry into skirmish order. Only light infantry units can be completely in open order - regular units can only deploy up to half their men as a skirmisher screen.

Nick gave me a box of oddball Britains figures, including two bands. I gave him my tirailleurs unit, as I am working on a "second generation" casting of that figure.

Nick and I then got dinner at the hotel restaurant, which was slammed. This caused us to be 20 minutes late to the next game session, for which I was rewarded by my GM giving my seat away to someone else. Phooey.  

The next day I was not signed up for any games, but Pete roped me into trying the Perry Brother's Valor and Fortitude rules with his Minifigs collection, which I always enjoy pushing around.  My opponent was Jesse L., who moved from Portland to Seattle last year (or so), so that was enjoyable to play against him once again.

Thursday, June 1, 2023

New Recruits

it was a bit of a mad rush, but I managed to paint up sufficient infantry reinforcements to bring all regiments up from 10 to 12 men, and also created this squadron of Hussars, with mounted and dismounted options:

Hussars, mounted and dismounted options.

As well as these French Dragoons, also in mounted and dismounted variants.
 
French Dragoons, mounted and dismounted variants.

For something more whimsical, I also made this batman for the British command. The base figure is at at-ease body, with a gurka head.  The serving tray is a ball of milliput, pressed flat on a piece of wax paper and left to set.  The bottle is also milliput.  The glasses are bits of wooden dowel.


Monday, April 24, 2023

The Defense of Lisette en Croute

The British in their initial deployments.

I have been aware of the rules A Gentleman's War for many years now, but had not really thought about trying them until recently.  I think this is because my 54mm armies simply were not at the necessary critical mass, and it so turns out that A Gentleman's War is very much written for a Belle Epoque army in a larger scale.  So I grabbed a copy form Wargames Vault for $10.  I will admit that on initial flipthrough I was not impressed - there were many charts for resolving shooting and close combat, which appears needlessly complicated at first glimpse.  But while on Spring Break vacation I read the book cover to cover and came away much more impressed.

British starting positions, on the right.

Once back, I roped old opponent Jamie into a game. We used my random terrain tiles to set up the game and deployed a generic scenario. Jamie played the French, and I the British.  Jamie arranged two units of French infantry into an oversized attack column, with two half-units of tirailleurs to each side of the column. He also placed all his artillery on his right flank. I piled a lot of infantry into the walled village, but indecisively spread everything else out across the table.

French starting positions, on the left.

The game was perhaps overlong, as we spent a lot of time trying to get the rules right.

British light infantry - the Kings Royal Rifles.

The general flow was that some tirailleurs were able to chase off the crew of the British field artillery on the far British right, although these were subsequently over powered by a flank charge from British regulars. 


The French attack column was able to use Aces to good effect and closed with British regulars quickly and overpowered them.  It then wheeled to its right and closed with another British regular unit.


By this time, though, the British had organized themselves a bit and finally brought a lot of fire to bear on the column, sending it running back towards its own center. Also around this time, the "What Luck, Chaps!" cards dropped a rainstorm on the battle - half movement and all ranges counting as two bands further!

On the opposite flank, the French artillery had been faring poorly trying to chase off the British light infantry.  They fared even worse when rain ruined the visibility!

These Worchestershires drove off the tirailleurs who had driven off the field artillery, but then spent several card turns moving an inch or two in the mud at a time.

Eventually the rain subsided (back to regular ranges but still half movement), but before anything else could happen, we drew the Fog event card, which again halved movement!  It was already almost 10:00 pm, but we agreed to call the game on account of bad weather (!).


These are the remnants of the French attack column.


French fire trying to chase of pesky light infantry.


A lot of carnage in the British center...


We then spent some time counting total figures lost to determine an actual percentage of starting forces lost for each side.  Turned out the French fared a little worse, but their situation was clearly more favorable. If I have one complaint its that a more concrete end game mechanic would be nice. The old "first side to lose half breaks and runs away" is not a favorite.  Still, its an easy fix and I have no complaints about the rest of the rule, which are an excellent fit for the Belle Epoque period.  

The name Lisette en Croute was issued by Jamie.  He tells me its a sort of French equivalent to a British village being named Samdgley-On-Broclishfire.

Sunday, November 7, 2021

Belle Epoque Battle Maker


Having now played two games of the shiny toy soldier variety, featuring a French army of the Third Republic against a British army one of Guard, Line, and Volunteer Rifle units, a rudimentary but satisfactory "Belle Epoque" battle-maker toolkit has emerged.  This toolkit is based on and evolved from my earlier Italian Wars and English Civil War battle-makers.  

Because warfare by the later 19th century had become very non-linear (in the old Napoleonic sense) and very infantry- and artillery-centric (cavalry falling to the wayside as scouts, despite much wishful thinking to the contrary), both the terrain-tiles and the random deployment components needed to change.  Variation in deployment thus becomes more central, while force composition becomes less dynamic/variable (forces are mainly infantry and artillery, with small variations for elite status).

I.  FORCE COMPOSITION

Each side rolls on the following tables to generate the forces for the game.  Obviously, these are constrained by the figures you have available put on the table. Currently I cannot run the large battles (not enough artillery crew, would have to stretch infantry to capacity).  But generally speaking, the idea is to figure out what is the largest duplicate armies you could table for each side (x), then create a dice system that will randomize out x-1 and x-2.  After the main feature, perhaps, is to determine the presence of elite units. This is done by counting a certain number of units as regular, then counting one as elite, then starting over. The number of regular units counted is determined by a 1d3+1. For example, if you have five infantry, and you roll 1d3+1 for a result of 2, then 2 of your 5 infantry will be regular, then 1 elite, then 2 more regular.  If you had eight infantry and rolled a 2, you would end up with 6 regular and 2 elite (2-1-2-1).

SMALL BATTLE:

French: 
1d3+3 infantry (then roll a 1d3+1, with the result being x - after x regular infantry, then 1 elite. Example: you roll 1d3+3 and get a total of 5 infantry. Then you roll 1d3+1 for a result of 2.  2 of your 5 infantry will be regular, then 1 elite, then 2 more regular. For ease of reference the French player designates his zouaves as the elites)
1d3-2 machine guns
1d3-2 artillery

British:
1d3+3 infantry (then roll a 1d3+1, with the result being x - after x regular infantry, then 1 elite)
1d3-2 machine guns
1d3-2 artillery

Notes: The concept is 4-6 infantry per side (with at least one veteran/elite unit) possibly supported by a machine gun or an artillery piece. Elite troops could be better trained, veterans, or especially well led units.  French could use zouaves and/or chasseurs alpin for easy-to-recognize elites. British could use Guard or Highland units.

MEDIUM BATTLE:

French: 
1d3+5 infantry (roll a 1d3+1, with the result being x - after x regular infantry, then 1 elite)
1d3-1 machine guns
1d3-1 artillery

British:
1d3+5 infantry 
1d3-1 machine guns
1d3-1 artillery

Notes: Presumption is 6-8 infantry per side (with 1-2 veteran/elite units) with up to 2 machine guns and/or artillery in support.

LARGE/FINAL BATTLE:

French: 
1d3+7 infantry 
1d3 machine guns
1d3 artillery

British:

1d3+7 infantry 
1d3 machine guns
1d3 artillery

Notes:  8-10 infantry units per side (with 2-3 veteran/elite units) with a minimum of 1 machine gun and 1 artillery in support.

II. TERRAIN

I created a entirely new set of terrain cards. Unlike the set I use for games ranging anywhen from the Punic Wars up to the English Civil War, one corner of a given terrain feature (a hill, a wood, or a building) always touches the center of the area in question. There are no blank, open field squares. 

All 12 of the Belle Epoque terrain tiles.

The tiles are shuffled and then one at a time is turned over from the top of the deck to create the board.  There are several variations on how one could lay out the tiles to generate a board.  Up until now I have laid out four in a 2-2 pattern such as pictured below, where the top and bottom edges would be the sides of the table from which each side would deploy.  This works fine for earlier periods but as the games played thus far have revealed, this set up creates a "cone of fire" in the center which artillery can dominate.

A 2x2 terrain map.

One alternative to deal four tiles but do a 1-2-1 arrangement, as pictured below. This would a require slightly different deployment system, however.

1-2-1 arrangement.

Another alternative would be a 1-2-2 arrangement.  For this you deal out a 1-2-1, then roll a dice for the left and right sides.  The higher flank is given an additional card, such as below. For this the 2-2 tile arrangement deployment method could still be used the and the lone terrain piece on the left would be unoccupied at the beginning of the game.

1-2-2 arrangement.

III. DEPLOYMENT:

This is a little tricky to convey, so bear with me.  Armies in this period have evolved away from the old infantry-cavalry-artillery trifecta, and more exclusively towards (lots and lots of) infantry and (lots of) artillery.  So the style of deployment chart from the Italian Wars campaign system is irrelevant, since we're not talking about medieval set-piece battles, where all we have to determine is the rough composition of a van, middle, and rear guard (left flank-center-right flank).  And with the increasing lethality of rifles and artillery, its rather dishonest to deploy anything in an open field at the beginning of the game.  

Battles are also becoming larger, so having all units on the table at the start is also a rather glaring untruth that miniature games enforce for the convenience of having all the toys on the table at the start. Per Moltke, enveloping attacks have become more formidable than attempting to pierce an enemy's front, while at same time increases in firepower reduced the risk to the defender in splitting its forces and increases in the size of armies made outflanking maneuvers more practical.

So, something with a little more complexity is required. My solution is a deployment mechanic that reacts to the terrain tile mechanic.   

FIRST, determine forward and flank deployments of infantry..

Attacker deploys 1 infantry unit on, and up to 1 additional infantry unit behind, a single terrain piece (dice to determine which one).  Defender deploys 2 infantry units on, and up to 1 additional infantry unit behind, on each of two terrain pieces on their side of the board.

Attacker deploys 1-3 infantry units off table on right or left table edge on their half of board. These infantry have been deployed in a Flanking Position. These may come on board any turn the attacker desires.

SECOND, deploy remaining infantry after above instructions have been exhausted... (probably larger games only)

Attacker deploys 1-3 (so 1d3) of remaining infantry units along back line starting with spaces that are directly to the rear of terrain features (infantry on back line are "Main Line Position"), and any remaining units off-table to rear edge (the "Reserve Position"). Roll 1d6+1 for each off table Reserve Position infantry unit each turn, if the result is equal to or less than current turn number (so turn 2, 3, or 4), then this unit is available to come-on table that turn. 

Defender deploys 1-2 (1d3-1) of remaining infantry units along back line ("Main Line Position"), and the rest off-table in Reserve Position in same manner as Attacker.

THIRD, artillery is placed...

The first gun for the defender is placed with the Main Line.  The second and any further additional guns (if available) for defender is placed in Reserve Position.  The first gun for the attacker is placed in the Flank Position. The second gun for the Attacker is place in the Main Line and any further additional guns (if available) for attacker are placed the Reserve Position.  

FOURTH, the general(s) are placed...

The general(s) are placed at center position of Main Line, and may start game with a unit in that space. 

RESERVE POSITION TROOPS

Reserve Position troops are troops still on the way to the battle field when the game starts. Roll 1d6+1 for each off table infantry unit - this is the turn (so turn 2, 3, or 4) that this unit is available to come-on table.  Player is not required to bring units on table on the turn first allowed to do so. However, an army's Exhaustion Point is determined only by units on table and not reserve or flank units, so holding back reserves too long is risky!

FLANK POSITION TROOPS

Flank Position troops may come on board at anytime. Like Reserve Troops, if they are not on table they do not count towards that army's Exhaustion Point.

Optional: Smaller force may buy earthworks to make up difference in SP values (1 grid face @ 1 SP per).  Attacker then moves first as the game truly begins.

IV. CHANCE CARDS

I made two sets of chance cards using those described at Grid Based Wargaming But Not Always.   These are fifteen cards as follows (you can see the effects of each in the photo):

Ammo Shortage x2
Rally x2
Initiative x2
Loss of Nerve x2
Confusion x2
No Event x5


V.  VICTORY AND DEFEAT

I like the system from the Portable Pike & Shot Wargame best: when a side reaches 1/3rd lost SP, it is exhausted and cannot advance or move towards the enemy any more, nor follow-up into a vacated square as a result of close combat.  When a side reaches 1/2 lost SP, it is broken the game is over.

The trick, therefore, is to assume that your army will become exhausted, and to plan accordingly so that when it is exhausted it can continue to fight effectively through ranged attacks so that it may still win the day.