

We played a game of Pikeman's Lament 'big battle' (no figure removal) using a scenario based on a real event, for a change, and given the pleasing result, I will probably try and make a habit of it more often! The battle was Middlewich of March 13, 1643 during the first English Civil War wherein Parliament's Gen. William Brereton approaches Royalist-held Middlewich from one side while another Parliament force of Trained Bands infantry from nearby Nantwich is en route from the other direction. Middlewich is defended by General Aston's Royalist Horse and some hastily conscripted infantry.
In Pikeman's Lament terms this worked out to a Parliament company on one side (Gen. Brereton) consisting of two elite Trotter units, a regular Trotter unit, a Pike unit and two Shot units, and a second Parliament company (Col. Robert Ellice) coming on the opposite side of the table on Turn 3 consisting of two Pike units, two Shot units, and a Commanded Shot unit. Defending Middlewich is two companies of Royalists (Gen. Thomas Aston): the first being 3 units of Gallopers (with Wild Charge rule) and 2 units of Dragoons, and the second company being a Commanded Shot, three Raw Shot units and three Raw Pike units, plus two falconet guns and crews. This all works out to 48 points per side.

The victory conditions are from the Lion Rampant book's 'Scenario B: Defending the Indefensible' and Parliament must push the Royalists off of a 6"x7" area (the boundaries of which are marked by a piece of cardboard) representing a fortified house in the middle of town (technically this should be a church per history but I do not have one). The Royalists must destroy half of the Parliament forces' points value, for the purposes of which I made a handy tracking sheet that we filled in empty dots as the points were ticked off.

Brereton (Pete) started things off by bypassing the main bridge entirely and sending almost all of his company across an unguarded bridge to the 'south'. Aston (me) mucked things up early by letting valuable cavalry units wander around in the open without much of a plan. When the Nantwich Trained Bands arrived they promptly shot up a unit of Gallopers and both Dragoon units were put to flight by Brereton's Elite Trotters. Brereton even rolled boxcars (double sixes) and received a unit of reinforcements consisting of Parliament Gallopers which thundered across the main bridge, tying of Royalist resources. Aston (me) finally got a clue and turtled up with the remaining cavalry tucked in the town ready to spring forth, which should have been my plan in the first place.


Parliament's grand strategy was to link up both companies to the south of town and make a giant assault to carry the day, and this came together quite nicely, even reducing the defenses of the defended house to just a single falconet, but the Royalists had all pikes form close order and sally forth, retaking the building.


Somewhere around this time Royalist General Aston was either killed or fled the field. The remaining Royalist Galloper finally charged and routed a Nantwich pike unit and then followed-up and routed the Nantwich Commanded Shot as well.


The assault on the key building was stalled and the Royalists were putting a lot of points on the board. Parliament Col. Robert Ellice was either killed or fled the field. Brereton at this time charged the defenses with his Elite Trotters (think Ironsides or Lobsters), rather easily routed the Royalist conscripts therein, and won the day!


This game was played in about 3+ hours, which includes some learning curve for Pete who had not played before. It was also a game designed for four players but we ended up with just two so that may have slowed things a bit (but more toys for us!). I was very pleased with the inefficiency of the Royalist falconets, which only fired a few times, and only once to great effect. Musketry was generally inefficient, and probably more casualties were caused by the 'slow bleed' results of failed Rally rolls (lose one more casualty each time) than firefights. As usual, cavalry essentially determined who carried the field (which seems historically right, to me).

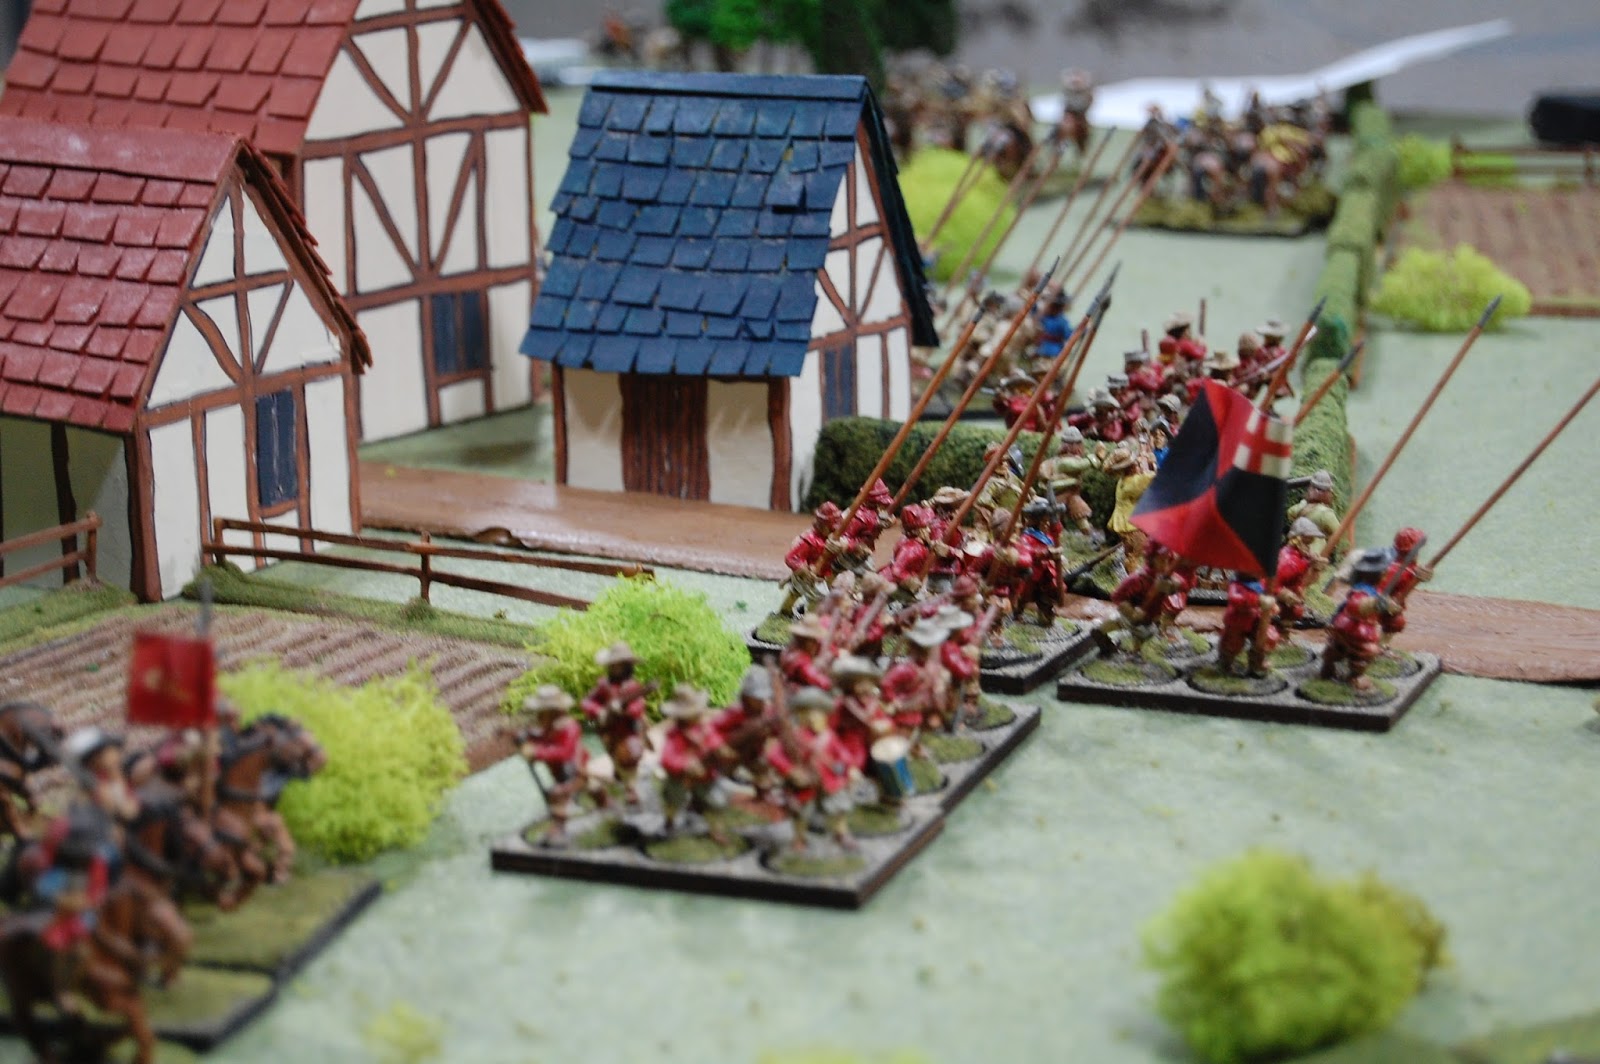
Above: Brereton victorious.
Great looking game and write up, Spencer. Figures and terrain top notch too, of course.
ReplyDeleteGreat looking game and write up, Spencer. Figures and terrain top notch too, of course.
ReplyDeleteThanks Dean! Several years of figure painting and terrain building on display in this game! It pays off (eventually)!
DeleteThis comment has been removed by the author.
ReplyDeleteIt was a great game Spencer - highly enjoyable ruleset, nice figures and super host.
ReplyDelete