

The French had invaded Italy in 1495 in order for Charles VIII to assert his claim on the crown of Naples. He easily drove the Neapolitan king Ferdinand II from the city, and then made his way back north to eventually clash with the League of Venice at Fornovo. Ferdinand II assembled his own army and asked for assistance from his cousin, the king of Aragon & Sicily (also titled Ferdinand II) in Spain, who sent an army under Gonzalo de Cordoba (the "Great Captain") consisting of veteran troops from the conquest of Granada, well experienced in guerrilla and siege warfare. Perhaps prematurely, the joint Neapolitan/Spanish army crossed into Calabria (the "toe" of the boot of Italy) and headed north, only to come upon the French army (consisting mainly of gendarmes and Swiss pikemen) under Bernard d'Aubigny arrayed before them. The resulting battle of Seminara is one of the few, if not only, "set piece" battles of the numerous Italian Wars of the renaissance period ("set piece" here meaning both armies fully deployed on what amounts to an open plain – Fornovo comes close, as does perhaps Ravenna, but Ravenna and many others typically feature one side dug in behind earthworks of some variety, or one side caught off guard and not truly drawn up for battle).

(Above: the Spanish/Neapolitan left)

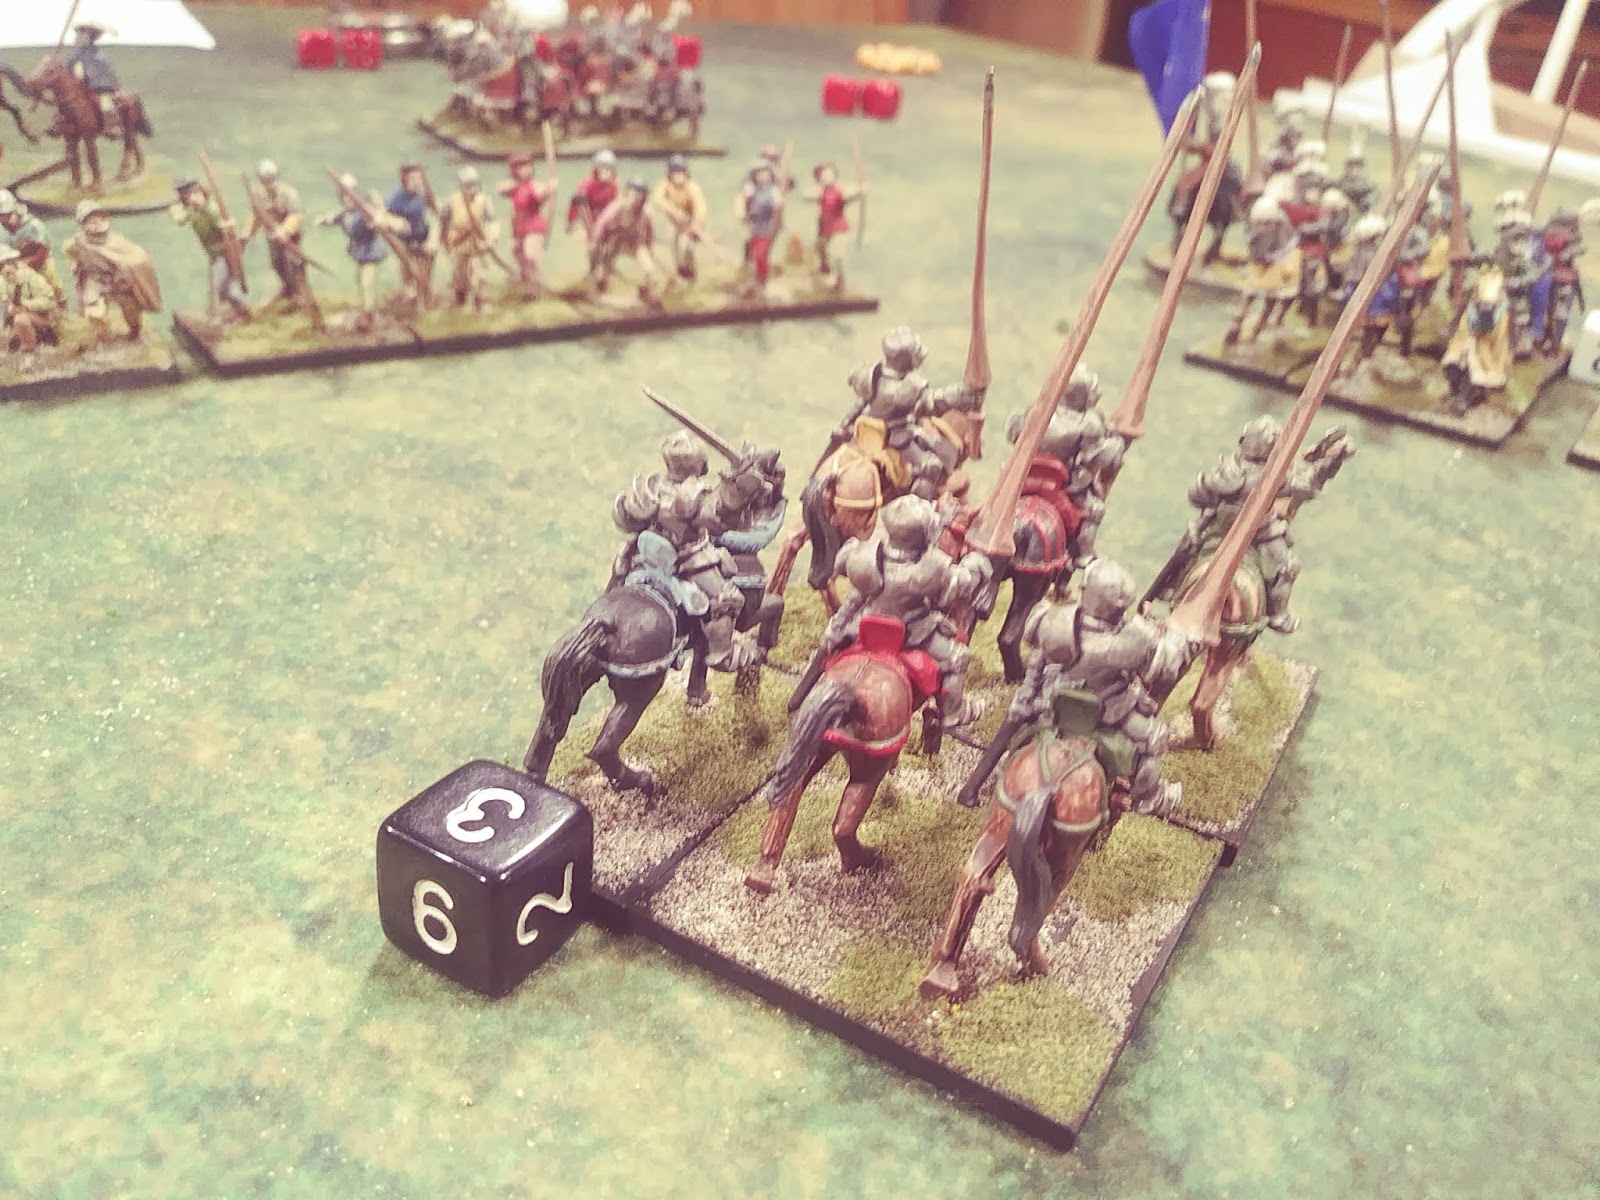
(Above: French gendarmes)
Having been disappointed in how artillery performs in prior Italian Wars as well as English Civil War games, I devised an "Opening Artillery Barrage" phase or mini-game, which we tried for the first time in this game (and it worked quite well, putting a single casualty on a Spanish unit, as I recall). The rules for the phase were as follows:
Opening Artillery Barrage Phase
At the beginning of the game, before proceeding with regular activations, roll a d6 for every artillery unit you have, then subtract the number of units from the resulting total – this is your available barrage ammo. For example, if you have two culverins, you roll 2d6 and get a 3 and 5, for a total of 8. Subtract 2 from this because you have two culverins (this represents ammo for the remainder of the game) for available an Opening Barrage of 6 shots. You must divide these shots up between available guns of that type as evenly as possible. You may then take that many shots without need for an activation roll. You may not change your guns facing during this phase. Units hit during opening barrage track casualties as normal but only take a morale check at the end – the worst result that will be allowed is a disorder + retreat – results of 0 or less are treated as result of “1”. Note that each shooting action is still carried out separately.


(Above: Swiss mercenaries in French service)
Our game used my usual "game ends when half the units on the board have been removed" scheme, with the following victory points then awarded:
• +2 to the side that has had less units removed from the table.
• +2 to the side that has more units on the opposite half of the table than it started on.
• +1 to the side that has lost fewer command stands
• +1 for every duel won
• +1 for every captured artillery piece
Again, wanting to make artillery more interesting, I added rules for capturing guns as follows:
Capturing Artillery Pieces:
When an artillery piece loses its last strength point, do not remove the model from the table. If an enemy unit removed the last strength point as a result of melee, it may “carry the position” and move adjacent to or around the gun but no further than its opposite back base. The enemy unit has captured the gun, and if the enemy unit was an infantry unit and has more than half strength, it may re-man the captured gun, in which case the gun is given a single strength point and may be rotated once up to 180 degrees for free. If the gun was loaded when it was captured it remains loaded. If the enemy unit is at less than half strength the gun will count as captured for the purposes of a victory point only if a unit is in base contact with it at the end of the game.
If the gun lost its last strength point due to enemy shooting, place a marker by the gun to indicate that it is unmanned – however it does not count as captured for the purpose of a victory point. The gun does not count as captured, but an enemy infantry unit may capture it by simply moving into contact with it, which case proceed as noted above.
If a gun loses it last strength point to artillery fire, it is truly destroyed and removed from the table.


I also tweaked existing unit profiles for Gendarmes and Swiss pikes so their "Terrible" rule was not to reroll all missed hits (which was vastly overpowered) but rather the "Venomous" rule from Dragon Rampant (all sixes count as two hits). This had the desired effect insofar as on one (and only one) occasion, a French Gendarme unit scored a devastating 13 hits! On other occasions the rule was useful for an extra hit or two or three but with accounting for the mitigating factor of armor values, at best this usually resulted in just one extra casualty – which is a nice little "extra advantage" for elite units but not dominating.

(Above: the Calabrian infantry)
Yet another new experimental rule was using a deck of cards to determine how many re-rolls on failed activations each side got each turn. At the beginning if your turn, you flipped card. If the card was a number 2-10, you divided that number in half and rounded down and that was your total rerolls for the entire turn (so 1-5). If the card was a face card, you kept the card, which could be used before rolling an ordered activation to make an automatically successful activation without rolling at all. If the Ace was drawn, you could opt to either treat it as 5 rerolls or you could treat it as a face card. If you drew a face card you kept drawing until you got a number card. You moved through the activations of each company commander in the usual way – when an activation failed you could decide whether or not to use a reroll or not. You could use more than one reroll (or all of them!) on the same unit if it kept failing. When I run this game at Ambuscade, which will be for 4-6 players, I'm planning on each side using the rerolls and face cards by designation, with one player being the general who gets the final say.
(Above: Neapolitan men at arms)
There were three items of note that resulted from this game. The first was that the Dragon Rampant "venomous" rule worked great as a elite unit advantage. The second was that my ginettes avoided getting shot to pieces early in the game and actually succeeded in getting behind the French front lines where they drew off resources for the entire game – this was very light-cavalry-appropriate and added to the "historical" feel of the game. The third was it was definitively decided that crossbows, which use the stat block from the Lion Rampant book as written, are too lethal in respect to everything else, especially when there are rerolls of failed activations involved. The 4+ to hit at up to 12" has extremely good odds of hitting, and it quickly became priority number 1 for each player to make sure the crossbows shot first in each turn. After a bit of chat after the game, it was decided that crossbows should have same stats as bows, but the maximum range for bows is increased to 24" (hitting at -1 over 12" of course). The real ill effect of the regular as-written crossbow stats was that enemy units would try everything to keep outside of 12" of them, resulting in the fearless Swiss pikes "standing around" for fear of being shot to pieces by Spanish crossbowmen.
As for the result of the game played? A total catastrophe for the Spaniards points-wise, although I felt they were doing well for a stretch give that they do not have the offensive punch that the French gendarmes and Swiss pikemen do.


(Above: in the game, as in history, the battle ends with the Spanish foot standing alone against the Swiss pike power blocks, while in the upper left hand corner you can see French cavalry driving off the Spanish ginettes...)
Great post, it's a great battle to try and refight. I like the way you have incoporated the rerolls using the cards as well.
ReplyDelete