Tuesday, January 26, 2021

Reddened Hair (366)

Continuing on with General Jovinus' campaign against the invading Alamanni in 366, here is a game based on a second surprise attack by the Romans upon the Alamanni.

...one of his scouting parties report that 'after plundering the neighboring farmhouses a predatory band was resting near the river': unfortunately [chronicler] Ammianus does not name the river.  Advancing with extreme caution, Jovinus managed to bring his troops to the edge of the valley, where: 'Hidden in a valley concealed by a thick growth of trees, he saw that some were bathing, others were reddening their hair after their national custom, and still others were drinking.'  Preparing his troops, Jovinus suddenly gave the signal, and his men rushed the enemy camp. Taken completely by surprise, the majority of the Alamanni were killed, while a few escaped by taking refuge along the 'winding and narrow paths' in the area.

- Hughes, Ian. Imperial Brothers: Valentinian, Valens and the Disaster at Adrianople (2013).

So a similar set-up to Scarponna, but with a river this time.  Since this was yet another remote game and involved a grid, we decided to give ruleset The Portable Wargame (or, more specifically, Developing the Portable Wargame, since that is where the ancient rules are located) a try.

Positions after the first turn: the Alamanni are positioning to defend themselves on the far bank of the river, while Romans advance from left.

We played with 10 units per side at exactly 46 strength points each, for an army exhaustion point of 15.  Because I had laid out a grid of 3" squares on my game mat, each unit straddled two squares, and movement and ranges were doubled. Although this mostly worked fine, the one-unit-on-two-squares element made for some tricky melees, since units could combat with only one square each touching.

Roman right flank advancing.

All of the Alamanni were classed as heavy infantry with pila (representing their franciscas, a heavy throwing axe).  The Roman infantry was also heavy infantry with pila (representing darts and javelins, rocks, and strong language), with two units of "close order archers" (a variant of light infantry), two units regular heavy cavalry, and a single unit of cataphracts.

The Roman general behind the Roman left flank.

As players of The Portable Wargame know, each side will fight until it has lost 1/3 of its total strength points, at which point it cannot move towards or charge the enemy anymore.  These strength points are tallied across the entire army.  So losing 15 strength points does not mean losing 4 units (of 4 SP each).  Instead, five units could lose 3 SP each, which would mean that none of them would be removed from the table, but that the army had still lost its fighting nerve.

Cataphracts attack an Alamanni unit in its flank.

This dynamic means that unlike most games, by the end of the game it is very possible that both sides could still have all their starting units still on the table. Furthermore, shooting and melee can only result in the loss a single SP, with a decent probability that no hit will be scored in the first place, and a decent chance the hit will result in a recoil in place of a lost SP.  This may sound like it would be a slugfest wherein nothing much happens, but the Romans rather quickly found themselves missing 12 SP to the Alamanni's 9. 

The Alamanni chief in combat against Roman heavy cavalry.

This seems to have been the result of the Roman cavalry and cataphracts getting stuck in perhaps a little early and then getting overwhelmed by the Alamanni infantry.  The Roman infantry by contrast was too cautious and took too long to get into javelin/dart range, and also routinely ended up obstructing the LOS of the archers.

Roman infantry finally crossing the river and joining in melee.

When the Roman infantry finally did get close enough, the various cavalry had accumulated too many lost SPs. One attempt was made at a sort of combined attack - one infantry unit retreating a square and throwing javelins, followed by archer fire at the same target, and then a 2nd infantry unit closing for the melee. In theory this could have resulted in 3 SP lost on the target Alamanni unit in quick succession. Instead, it escaped completed unscathed!

Roman cavalry in a messy situation on the Alamannu right flank.

Generals in The Portable Wargame can join a melee and add +1 to the dice score. The Alamanni, sensing victory in reach, had the chief join a melee with a Roman cavalry unit that had already lost 3 SP.  

However, generals also have a notional SP of 6, used solely for the purposes of calculating, and counting towards, the overall exhaustion point. If the unit a general is attached to loses a SP, a dice is rolled. If a '6' results, the general is killed and the unit loses an additional SP.  This is exactly what happened when the Alamanni chieftain joined the melee. 

After the death of the chief.

So in one swoop the Alamanni lost 8 SP which put them well over the exhaustion point.  We finished the Romans' turn and gave the Alamanni another turn to resolve existing melees and some shooting attacks, which caused the Romans to reach their exhaustion point as well.  As both sides had lost one unit but the Alamanni  had also lost their general, we agreed it was a Roman win that they could feel good about.  Next time we will have some victory point criteria in place.


I forgot to mention that there are no activation rolls in these rules.  It is a simple IGOUGO turn mechanic. However, if a unit is attacked and the attacker choses to fall back rather than losing a SP, the defender may follow up and attack.  Between this and the defender frequently having the choice of taking a SP and holding ground, or falling back and not losing the SP (but becoming exposed to a follow-up attack), means that a player will have things to do even when it is not their turn. Besides, with grid movement and no activation rolls, turns go quickly, only slowing towards the end when players become more cautious as their SP losses pile up.  

These rules worked very well in a remote-play setting, with the game concluded in about an hour and a a half, where a similarly sized game (10 units per side) of Lion Rampant or Pikeman's Lament (even on a grid and with no activation rolls) would take 2+ hours.  I am almost done with 3 units of Gothic cavalry, and I look forward to trying these rules with even more units on the table.  I will also switch back to a grid of 6" squares as the one-unit-in-two-squares dynamic made things tricky.

Thursday, January 21, 2021

Scarponna (366)


With my 'Barbarian West' collection getting to a dozen-units-to-a-side standard, it occurred to me I could play Hail Caesar in 28mm.  I have been wanting to delve into Hail Caesar some more of late, because if its comparably less swingy combat system (as opposed to Lion Rampant) and because I quite like the mechanics for units supporting other units in melee, which encourages large blocks of units and maintaining long battle lines.  Flipping through the same source material I used for the basis of the Rutupiae game, I got hooked on the invasion by, and wars with, the Alamanni tribes in 366, specifically the campaign of the Roman general Jovinus.

Gathering their forces, on or shortly after 1 January 366 the Alamanni invaded Gaul in three major 'divisions', plus many smaller groups or semi-independent tribesmen.  Hearing of the invasion, Jovinus moved to meet the intruders.  It is unfortunate that [the chronicler] Ammianus does not give us a complete description of the course of the war. .... It would appear that over the course of several months the defending [Roman] armies of Gaul fought many battles, apart from those fought by the troops under Jovinus. ....

As the Alamannic forces moved into Roman territory, Jovinus was able to identify one of the advancing Alamannic armies.  he advanced to meet them, possibly defeating or dispersing smaller groups of barbarians along the way.  As he neared the enemy Jovinus deployed his troops, 'carefully guarding both wings of his army', and cautiously moved to meet them.  Possibly in early-mid March, in the vicinity of Scarponna (Charpeigne, on the Moselle), Jovinus's tactics of stealth and care paid off handsomely.  He took the Alamannic army completely by surprise.  Before they could take up arms and form to meet the Romans, they were swept away and annihilated.

- Hughes, Ian. Imperial Brothers: Valentinian, Valens and the Disaster at Adrianople (2013).

The description of the attack near Scarponna is vague enough to devise a set-up for a game: the Romans have caught the Alamanni by surprise and are arrayed in line.  Half the Alamanni are loosely arrayed in the middle of the table, and the other half are at the far edge of the table, but start the game with a disorganized marker which must be rallied off before any other actions can be taken.

After the first Roman move. Roman infantry mostly moving up to the right. Burgundian allies in the middle, still scattered about.

I decided to try out the Late Imperial Romans and Franks lists from the Army Lists: Late Antiquity to Early Medieval source book for Hail Caesar as the source for the unit stats.  I was a little wary because there is also a 'Barbarian West' scenario in the back of the Hail Caesar rulebook that presents a quite different vision of unit composition - the rulebook having all infantry classed as heavy infantry (so therefore can 'close ranks' and shooting attacks from front are -1 to hit) while the source book has the Romans as medium infantry and the Franks as medium warbands.  Jovinus thus ended up with two divisions of four units each: the first with 3 medium infantry and 1 light infantry archer, and the second with 2 medium infantry, a light infantry archer, and a unit of cataphracts.  The Alamanni had one division of 4 Alamanni medium warbands with the pila rule (representing their throwing axes, etc.) and another division of 4 allied Burgundian warbands (no pila rule).  The Burgundians were in the forward position. 


Two divisions per side is rather on the small side for Hail Caesar, but I set it up as so because this was a remote game played via Google Meets, and I wanted the game to be concluded in two hours or less, so I erred on the small side.  Being remote, I of course converted movement and ranges into a grid-based system.  My new mat has a grid of 3" squares (barely detectable in the photos), with one unit occupying two squares. The modifications for Hail Caesar on a grid were as follows:

Command Radius:  
    Modifier to command rolls as follows: up to 4 squares 0; 5-8 squares -1; 9-12 squares -2 etc.
Movement:
    No diagonals.
    Infantry and Cataphracts: 2 squares per move
    Cavalry: 3 squares/move
    Light cavalry in open order/horse archers: 3 squares
    Commanders: 4 squares/move
Ranges:
    No diagonals for distance.
    Target but be in the square that is within range, not adjacent.
    Line of sight measured from center of originating square to center of target square.
    If line crosses square with another unit or obstructing terrain there is no LOS. 
    If at perfect 45 degree angle the line touches the corner of a square with obstructing terrain or another unit, LOS is not blocked, but cannot shoot “through” the diagonal space between two obstructing squares.
    Javelins, darts, throwing axes, etc: 2 squares.
    Slings: 4 squares
    Bows, crossbows, staff slings: 6 squares.
Hand to Hand:
    Units attack via adjacent squares.
    Victorious unit only moves into loser’s vacated square if clearing a building or defended obstacle such as a wall.


Jamie was playing the Romans via remote, and decided to attempt to land an early punch with a well-supported charge of his infantry against some of the isolated Burgundians.  Although his left flank (with the cataphracts) fell behind (the cataphracts hardly moved at all the entire game), a well supported attack on the Burgundians was executed. 


Unfortunately, the Roman attack dice came up rather poor, and the Burgundians over-performed a little, such that the entire Roman flank was bounced back. Subsequently, on their turn the Burgundians fell back and formed a battle line, and things were back and forth for a while after that. 


The Alamanni units took almost the entire game to move up into support of the Burgundians, who were exceptional allies as they managed to grind it out with the Roman infantry despite heavy losses.  Even the flight of their chief did not deter the Burgundians.  While the Roman left was able to eventually join their infantry in one last assault, by that time the Alamanni had finally come up in support, and destroyed the archers on the Roman right flank.


The Alamanni who had destroyed the archers were then able to attack the flank of the remnants of the Roman right flank infantry (who were already shaken), and with the routing of that Roman unit, the game ended and victory went to the Alamanni and Burgundians.


The final flank attack on the Romans by the Alamanni.


Roman right breaks and flees, ending the battle.

I had forgotten a lot of the smaller points of the rules since I last played, so there was some wasted time flipping through the rulebook, but otherwise the game went smoothly.  I still like Hail Caesar's propensity to suddenly generate 15 or more dice for an attack when one gets their supports in order and throws a general into the front line. However, the specter of failed activations/orders haunts the table. Both the entire Alamanni division, and most of the Roman division on the left, failed to advance for the majority of the game. 

When you combine this unreliability with the swingy-ness of the combat mechanics I'm left with that "roll some dice, some stuff happens" feeling, despite the fact that I won the game. I contemplated eliminating order rolls altogether (as I did so much with Lion Rampant and its variants last month) but then you lose the double and triple moves which I do like, in the end.  I love the Barbarian West period and am enjoying putting the armies together.  I like the same-same quality of pretty much all and any armies in the period (slight exception for the Huns, but only slightly), and I look forward to gaming in it more.


Wednesday, January 13, 2021

Invasion of 1897 Research

GOORKAS SLAUGHTERING THE FRENCH ARTILLERY AT GREENWICH OBSERVATORY

"But the dice had been thrown, and the sixes lay with Moloch." 

The Great War in England in 1897 (1895) by William Le Queux, page 43.

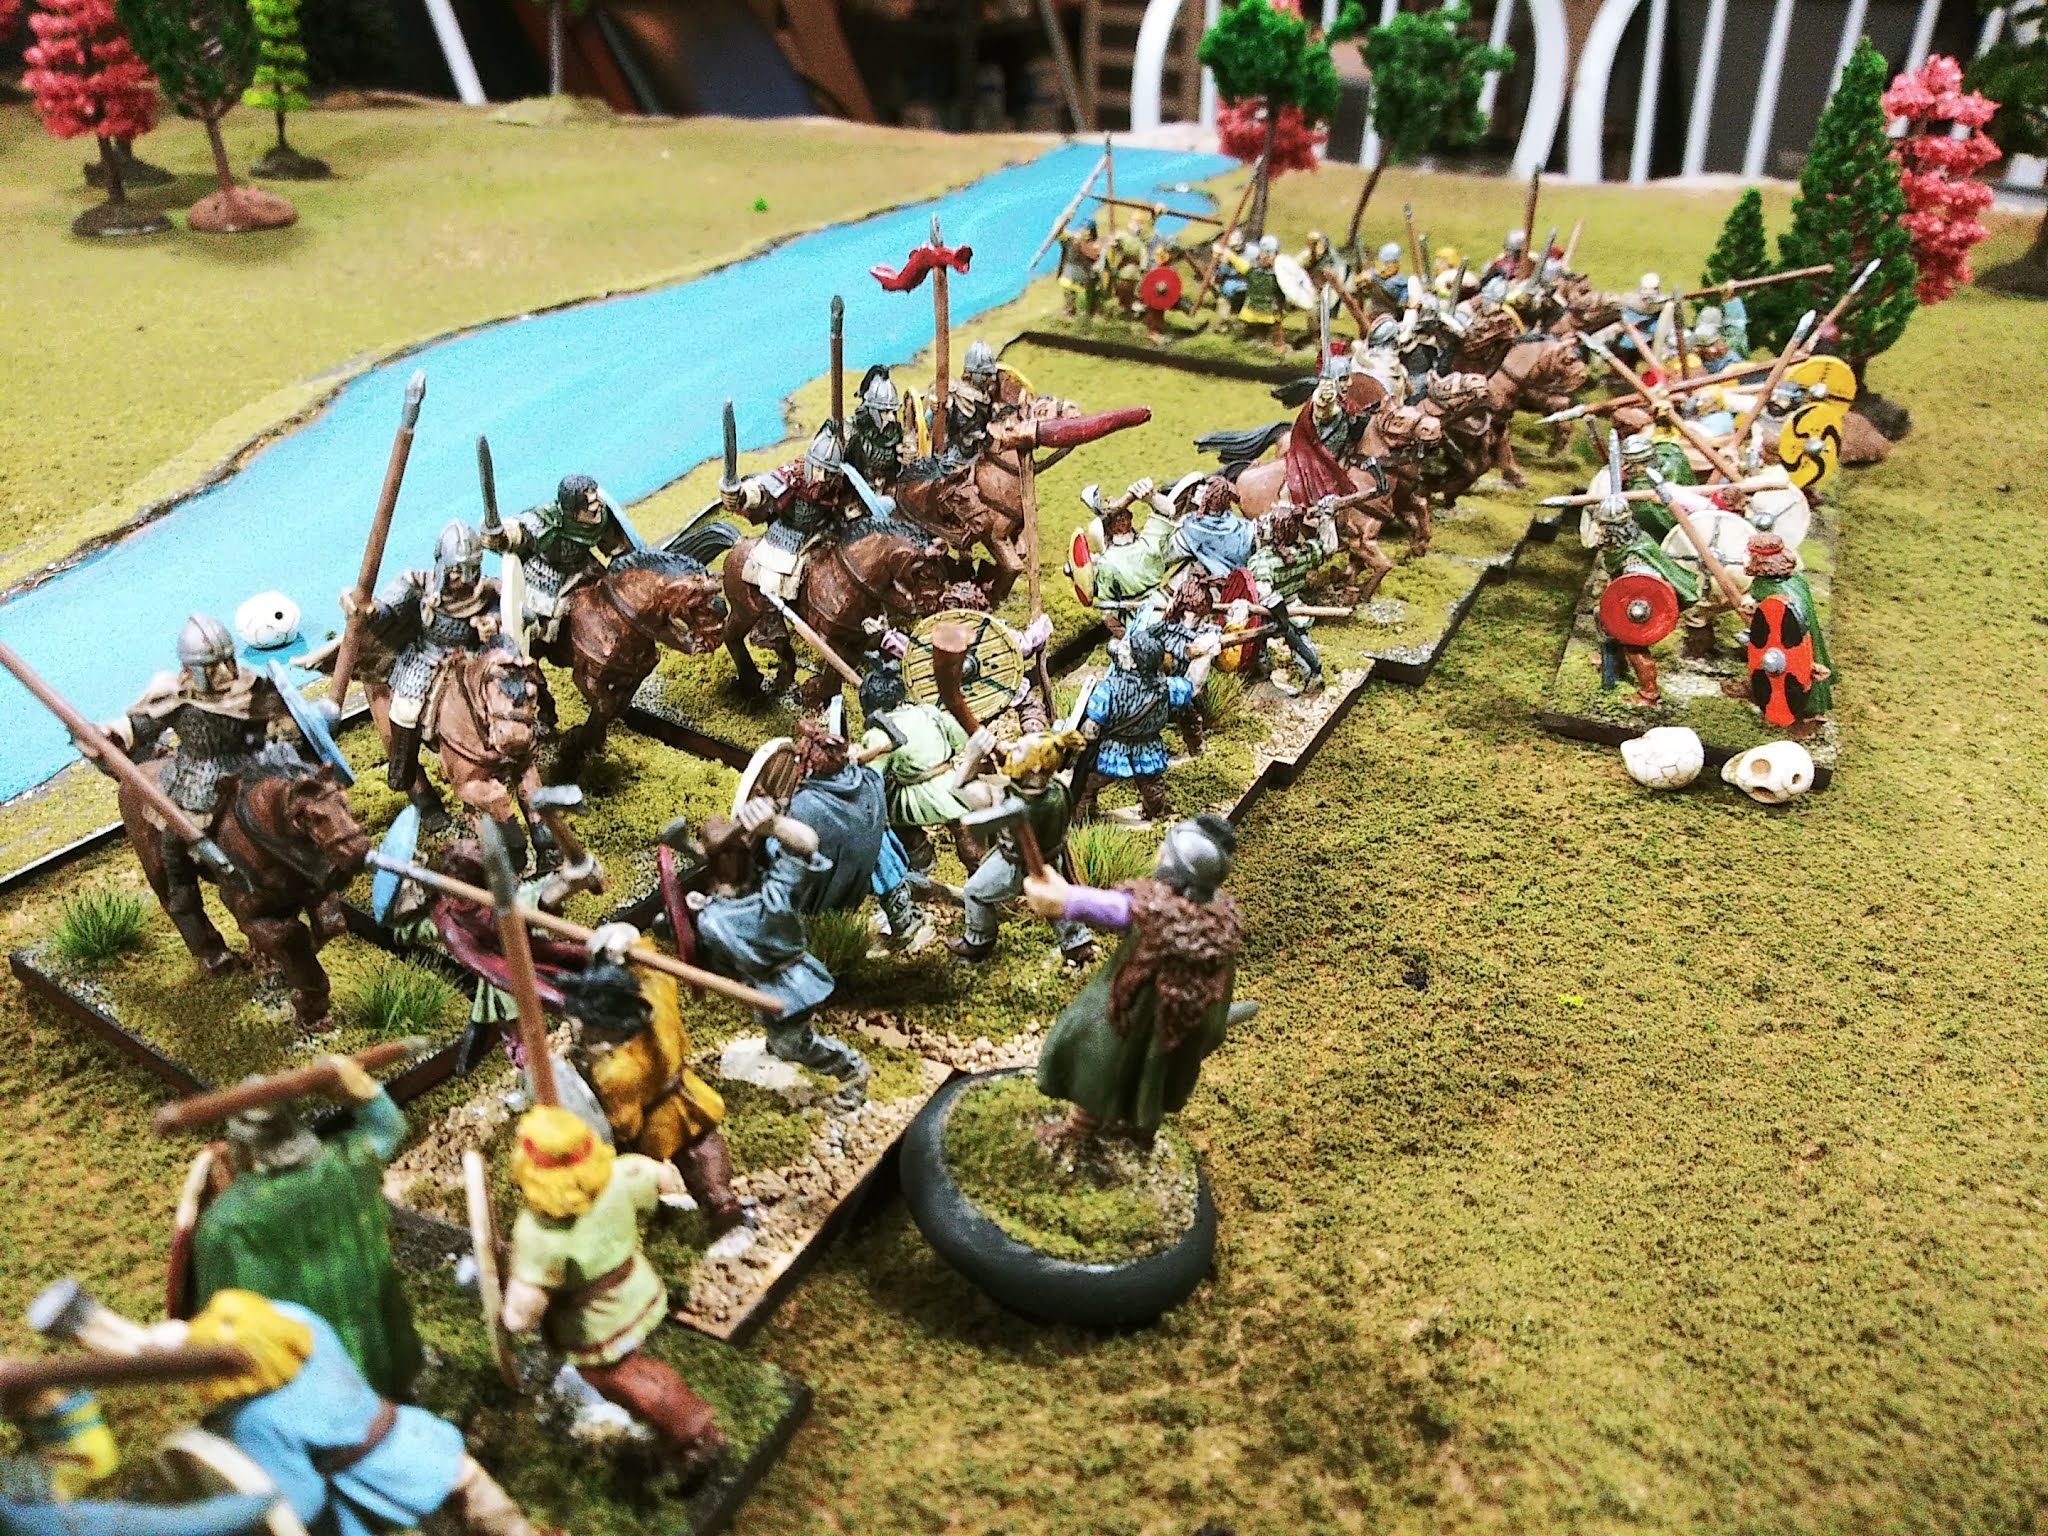
As a decent toy soldier French army begins to come together, I'm now thinking about toy soldier games featuring armies organized by nationality rather than mere jacket color.  So perhaps fewer battles between the hazy "Empire" in their red uniforms against the equally vague "Allies" in their panoply of blues, greens, and greys.  If an "army" (let's say five units infantry, two guns, and cavalry squadron) each of British and French troops is at hand, then in what way to pit them against each other?  Simply using Napoleonic Wars battles as a source of maps and deployments (a la Nick's Quatra Bas game) is certainly a proven option, but the whole point of playing (games) with toy soldiers seems to insist on something even more fanciful (as if toy soldiers were not fanciful enough).

A potential rich vein for mining scenarios or even campaigns is invasion literature from before the First World War.  A mainly British phenomena, the common thread of these stories is that the British military is unprepared or underprepared for the defense of the island from a large invasion by a continental foe (or even sometimes multiple foes!).  The genre firmly emerged with George Chesney's The Battle of Dorking (1871), wherein 'the Other Power' (a thinly veiled Prussia) invades England. The Great War in England in 1897 (1895) by William Le Queux featured a simultaneous invasion by French and Russian armies, and The Invasion of 1910 (1906), also by Le Queux, featured a Prussian invasion.  Of course, the most well know example today is probably The War of the Worlds (1898) by H.G. Wells.  Across the channel, French writer and army veteran Emile Driant wrote more than twenty guerre imaginaire stories, including the 1,000 page (!) Guerre Fatale: France-Angleterre ("The Fatal War: France-England) in 1902.  

Because it features the French, and because I shall soon have a toy soldier French army, I examined Le Queux's The Great War in England in 1897 for potential game inspiration.  This fictitious invasion of 1897 is told in roughly three parts: (1) the defeat of of the British navy by the combined French and Russian fleets, and the invaders' navies subsequent shelling of British ports; (2) the landing of Russian troops in the midlands, and the battles for Birmingham and Manchester; and (3) the French advance on London from the south, including almost an entire chapter on the shelling of London by French artillery. The British are of course vastly outnumbered at every step, and there's a repeated cycle of the defenders appearing to almost carry the day, only to be overwhelmed in the end. 

Its a somewhat entertaining read, but also very formulaic, predictable and rather boring, with descriptions of the burning of this or that English city or the dead piled up on this or that road, being more numerous than specific descriptions of battles.  Le Queux attempts to shock by using the familiar - the resonance is a bit hollow for me since I am not familiar with the English place names. 

The outlines of some toy soldier games, however, are present.  There are even maps, although they are are of very large scale and only show shaded squares marking deployment of British troops. The maps for battles with the French in the south are for the positions of the volunteer rifle units for the defense of the Surrey hills, and for the British positions for the battle of Caterham.

BRITISH VOLUNTEER POSITIONS ON THE SURREY HILLS

BATTLE OF CATERHAM- PLAN OF THE BRITISH POSITIONS

These maps provide details for battles much too large for toy soldiers to fight. So instead, specific, fleeting descriptions of smaller actions must be teased out.  Take, for example, this description of what could be called the battle of Leatherhead from defense of the outer lines of London:

Our Regulars and Volunteers, notwithstanding their gallantry, were, alas! gradually driven back by the enormous numbers that had commenced the onslaught, and were at last thrown back westward in disorder, halting at Ripley. Here he survivors snatched a hasty rest, and they were during the night reinforced by a contingent of Regulars who had come over from Windsor and Hounslow. On the arrival of these reinforcements, the Colonel, well knowing how serious was the situation now our first line of defence had been broken, sent out a flying column from Ripley, while the main body marched to Great Bookham, with the result that Leatherhead, now in the occupation of the French, was from both sides vigorously attacked. The British flying column threatening the enemy from the north was, however, quickly checked by the French guns, and in the transmission of an order a most serious blunder occurred, leading to the impossibility of a retreat upon Ripley, for unfortunately the order, wrongly given, resulted in the blowing up by mistake of the bridges over the river Mole by which they had crossed, and which they wanted to use again.

Thus it was that for a time this force was compelled to remain, at terrible cost, right under the fire of the French entrenched position at Leatherhead; but the enemy were fortunately not strong enough to follow up this advantage, and as they occupied a strong strategical position they were content to await the arrival of their huge main body, now on the move, and which they expected would reach Leatherhead during that night. After more fierce fighting, lasting one whole breathless day, the defenders were annihilated, while their main body approaching from the south also fell into a trap. (pages 270-271)

There are some decent narrative elements for a scenario embedded in this excerpt, with the British attempting a pincer attack on the French who are embedded in the town and houses of Leatherhead, with one half of the pincer coming across the bridges over the river Mole. This claw of the British pincer cuts off its own line of retreat by blowing up the bridge(s) it had just crossed.  The pincer move then becomes a complete disaster, with the first British force, pinned against the river and unable to retreat, completely destroyed, while the second pincer vaguely "fell into a trap" and simply vanishes from the narrative.  We could abstract this into a "Battle of Leatherhead (1897)" scenario, with a river with two bridges on one short end of the table and a town in the middle.  Half the British approach deploy on the river-side of the table.  Perhaps half the French deploy in the town, maybe with some defensive works here and there. Starting on the second or third turn, and every turn thereafter, both players will roll a d6, and when the British player reaches, say, a cumulative total of 13 or more, the other half of their army will arrive on the other short end of the table. When the French player reaches a cumulative total of perhaps 19 or more, the rest of their army will arrive on the French player's wider edge of the table. 

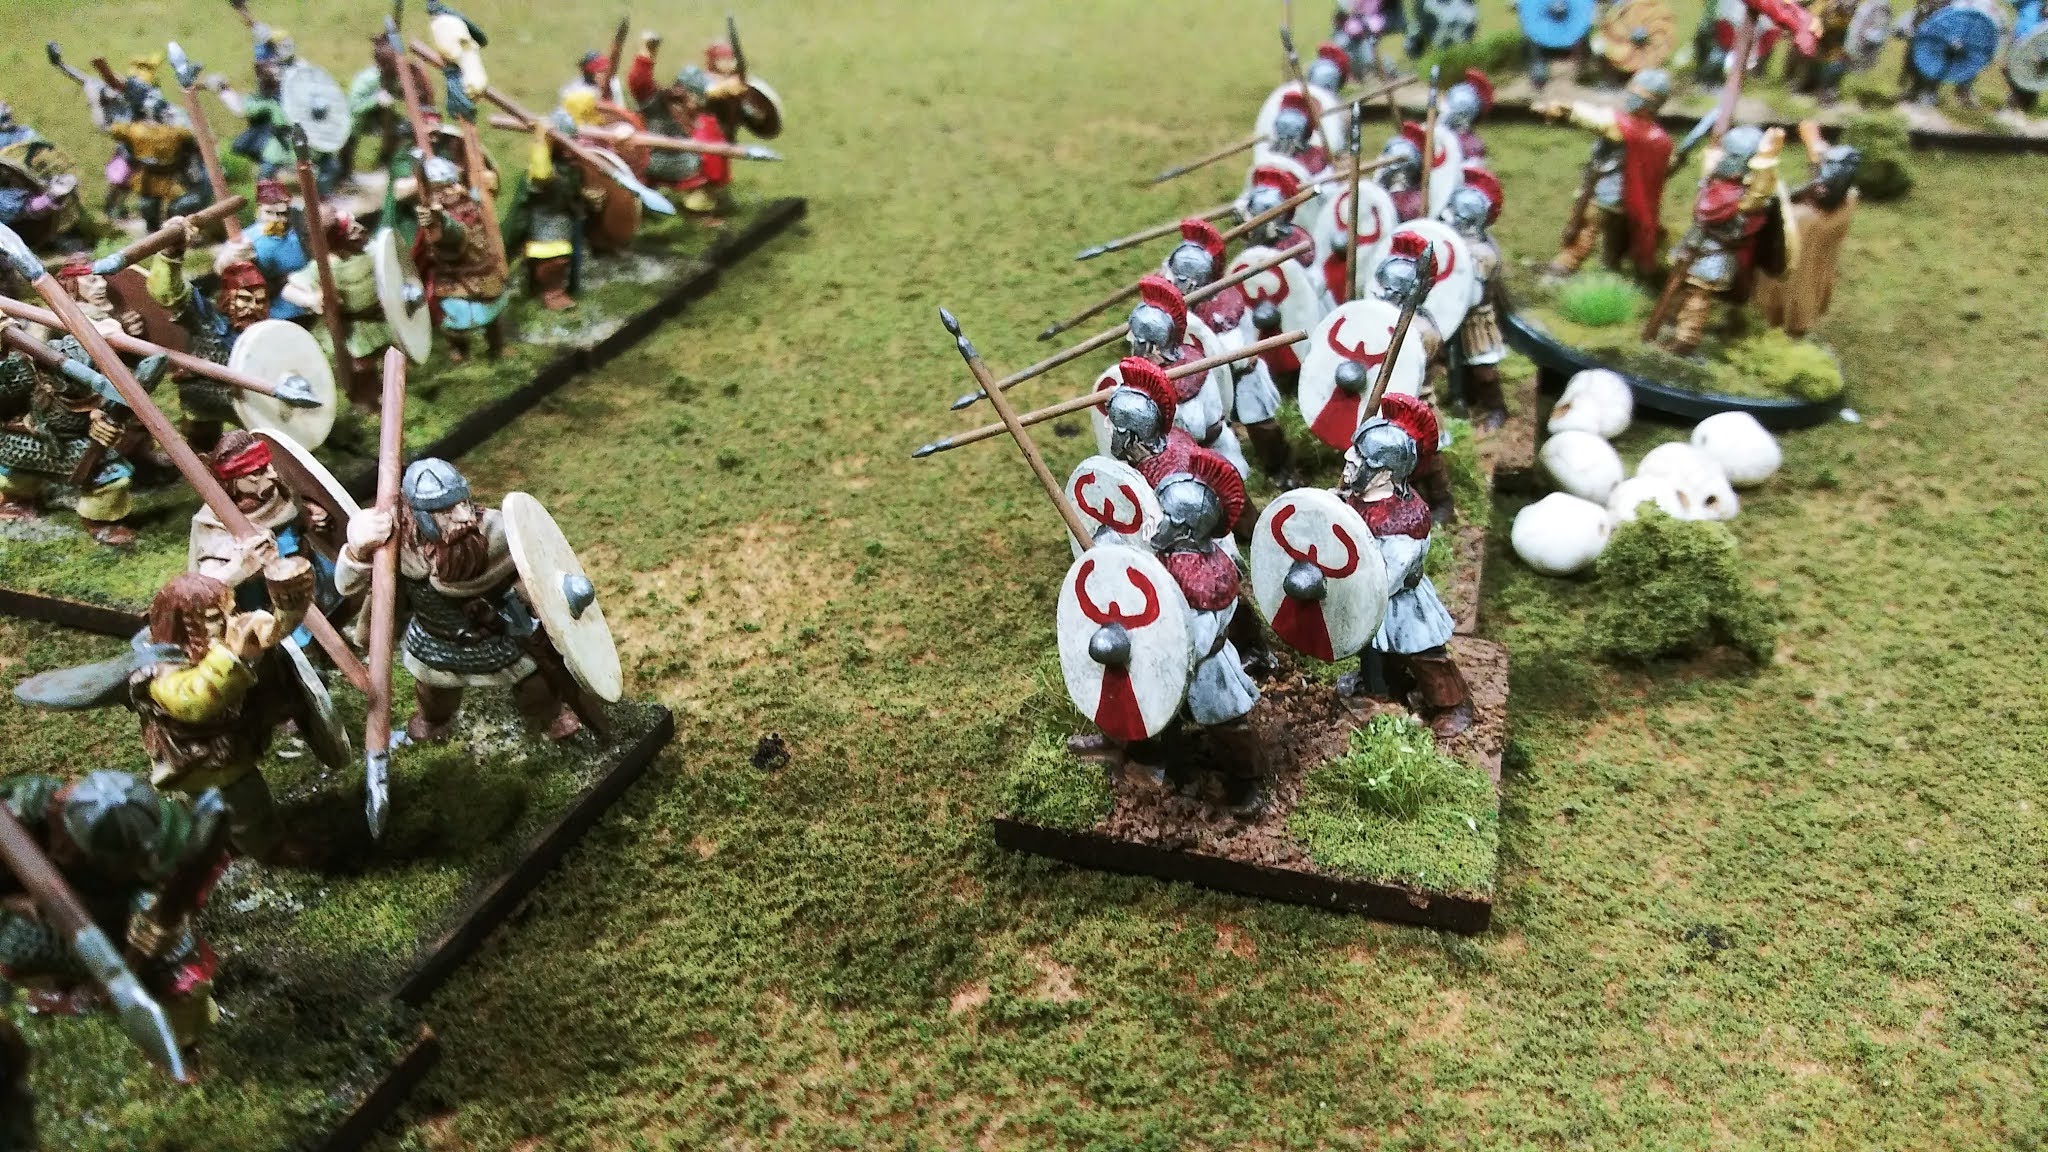
As one reads through The Great War in England in 1897, I think its fair to say that the most common battle is the defense of English towns and cities.  While I think this is mainly an easy "shock of the familiar," this "built up area" fighting is the main focus (although not explicitly stated as such) of Well's Little Wars.  Since War of the Worlds is a close relative of invasion literature, books such as Le Queux's also seem to be inspiration for the battles Wells' Red and Blue armies fought, replete with photos of distinctly English country homes and cottages.

FRENCH BOMBARDING LONDON FROM THE CRYSTAL PALACE PARADE

A somewhat more spectacular game could be gleamed from this British counterattack on French positions during the battle of London:

The [French] batteries on Streatham Hill having been assaulted and taken, the force of [British] defenders pushed quickly onward to Upper Norwood, where our cavalry, sweeping along Westow Hill and Church Street, fell upon the [French] battery in front of the Crystal Palace. The enemy, owing to the interruption of their field telegraph, were unaware of their presence, and were completely surprised. Nevertheless French infantrymen rushed into the Crystal Palace Hotel, the White Swan, Stanton Harcourt, the Knoll, Rocklands, and other houses at both ends of the Parade, and from the windows poured forth withering volleys from their Lebels. Our cavalry, riding down the broad Parade, used their sabres upon the artillerymen, and the whole of the French troops were quickly in a confused mass, unable to act with effect, and suffering appallingly from the steady fire of our Volunteers, who very soon cleared the enemy from the White Swan, and, having been drawn up outside, poured forth a galling rifle fire right along the enemy's position. (pages 294-295)

Really, this passage would just be an excuse to build a toy version of the Crystal Palace and have it defended by the French.  Who cares if doesn't make any sense to take cover in a glass building!

French on the march.

You can read The Great War in England in 1897 and learn about the war in the midlands against the Russians at Project Gutenberg. You can also read Le Queux's The Invasion of 1910, and Chesney's The Battle of Dorking is also available.  The Invasion of 1910 was also made into a short film in 1914, retitled If England Were Invaded and/or The Raid of 1915 - I tried to see if I could find a version of it online but no luck.

Saturday, January 2, 2021

2020 in Review

 1. Games Played

1. Muster Green (1642) (January)
2. Warhammer Fantasy 54mm game (April)
3. Little Wars game (April)
4. 2nd Little Wars game (April)
5. Lion Rampant 54mm game (April)
6. Men Who Would be Kings game with toy soldiers (June)
7. Siege of Novarra (1500) game - Lion Rampant + siege rules (June)
8. Aylesbury (1642) (July) Pikeman's Lament.
9. Dertosa (215 BC) Hail Caesar (August)
10. Swiepwald Woods - Men Who Would be Kings toy soldier game (September)
11. Isted - Charge! variant with toy soldiers (September)
12. Blasthof Bridge - Charge! variant with toy soldiers (October)
13. Trimsos River - Charge! variant with toy soldiers (October)
14. Quatra Bras - Big Wars (November) Big Wars
15. Dornach (1499) (November) Lion Rampant
16. Nantwich (1644) (November) Pikeman's Lament.
17. Rutupiae (368) (December) Lion Rampant
18. Fornovo (1495) (December) Lion Rampant
19. Ripple Field (1643) (December) Pikeman's Lament.
20. Rezonville - Charge! variant with toy soldiers (December)

Really not too shabby of a year in terms of games played.  Things were off to a slow start even before the quarantines kicked in. I played a few games with my son (April, mostly) and for awhile had what ended up being my "gaming pod," which was Pete coming over and we would play with masks and with the basement windows open and fans to circulate air.  This ended in October when his family had some proximity to a positive test result, at which point I (finally) tried out remote gaming using Google Meets. I had tried setting this up earlier in the year but that was before we got our internet upgraded and my old service couldn't handle the streaming video. With the new bandwidth it was a cinch! 

I really encourage any gamer with a permanent gaming room/table set up to strongly consider taking the plunge for remote gaming - not only does it allow you to play with other players who you may only see once or twice a year at regional conventions, but I could see even playing remote games post-pandemic because there is a convenience and some added flexibility to not gaming in person (two examples: playing a game over two consecutive evenings during the work week with each session starting at 9:00 p.m., which would plainly be an impossibility in person; and starting games at 9:00 a.m. on a weekend, which although certainly possible in person, can be bit easier for the guest player when all they have to do is make coffee and fire up the computer).  

My other "new thing" this year was gridded gaming.  I have read Ross' Battle Game of the Month for years and occasionally pondered gridded games but it was the desire for a satisfactory 54mm medieval game that drive me to take a sharpie to a piece of felt and give it a try.  Perhaps impressed by the added speed of play by doing away with tape measures, I went a step further and started trying out familiar rules with activation roll mechanics removed. Lion Rampant and its relations appear to work just fine without this rule (which so many players despise anyway), and I look forward to trying something similar with the Hail Caesar/Pike & Shotte rules.  With either ruleset I want to try a grid with 3" squares instead of 6" - this would mean that units would  probably occupy two squares instead of one, but at the benefit of slightly less abstracted movement and crystal clear facing/flanks.

2. Miniatures Painted

Looking back at last year's review, I was remarkably successful in checking off several painting projects.  I added to my ECW cavalry collection, and can now table 10 units of cavalry, which is only 3 more than the 7 I had before, but this makes a marked visual difference. I also added some new command stands and touched up some pikemen and shotte units.  Looking forward, I would like to rebase and touch up my mounted ECW commanders, and figure out a way to (re)base, and increase the number of units of, my dragoons.

For my Italian Wars armies, I painted the 12 Perry plastic renaissance mounted men-at-arms which have been sitting on the shelf forever. I also painted 36 Swiss pikemen (to make 3 units) using the Essex collection I got at Enfilade in 2019. These three do a lot to bump up the number pikes on the table for my 1490s-1520s games, which really enhances the period look and feel.  

For my Barbarian West armies (i.e. the late-Roman era), I finally got those 60 late-Roman-era Franks and 18 Cataphracts painted up, and had a very enjoyable game with them.  In acquired 60 Gothic infantry, 20 Gothic cavalry, and another 30 late Roman infantry, the latter of which are currently on the painting bench. It is these armies which I particularly look forward to using with Hail Caesar on a 3" grid.

Not a ton of painting involved, but there is a new collection added to the family - 54mm Britains-style shiny toy soldiers.  I have coveted a collection like this for over ten years now.  Early in the year I committed to the investment and proceeded to swoop up as many re-issue sets of factory painted britains as possible on eBay. I set some personal limits on how much I would pay for infantry and cavalry sets, and used "best offers" as much as possible.  I also targeted mixed lots with broken figures and repaired and repainted or touched up damaged figures.  In very little time I had enough figures for some simplistic games of the original Little Wars.  I was then offered, and purchased, a great number of unpainted infantry and original hollow-cast cavalry that was part of the Dirk Larsen estate, and am now able to put together quite large shiny spectacles of games using a variant of the old Charge! mixed with bits from the Men Who Would Be Kings. My only disappointment is that painting a unit of 10 toy soldiers in the toy soldier style only take a few hours as opposed to a few days like thirty 28mm figures, only because painting the toys is so much fun.

3. The Year Ahead

I made a flocked gaming mat, and now need to figure out how to add grid points to it in a visually pleasing way.  In person gaming is still out over and past the horizon, so I plan to host some more remote games in the months to come. But it is overwhelming to think about how many games I would have to run to play even once with the many players I have not seen in person in almost a year now.  I'll try to connect to as many as I can.