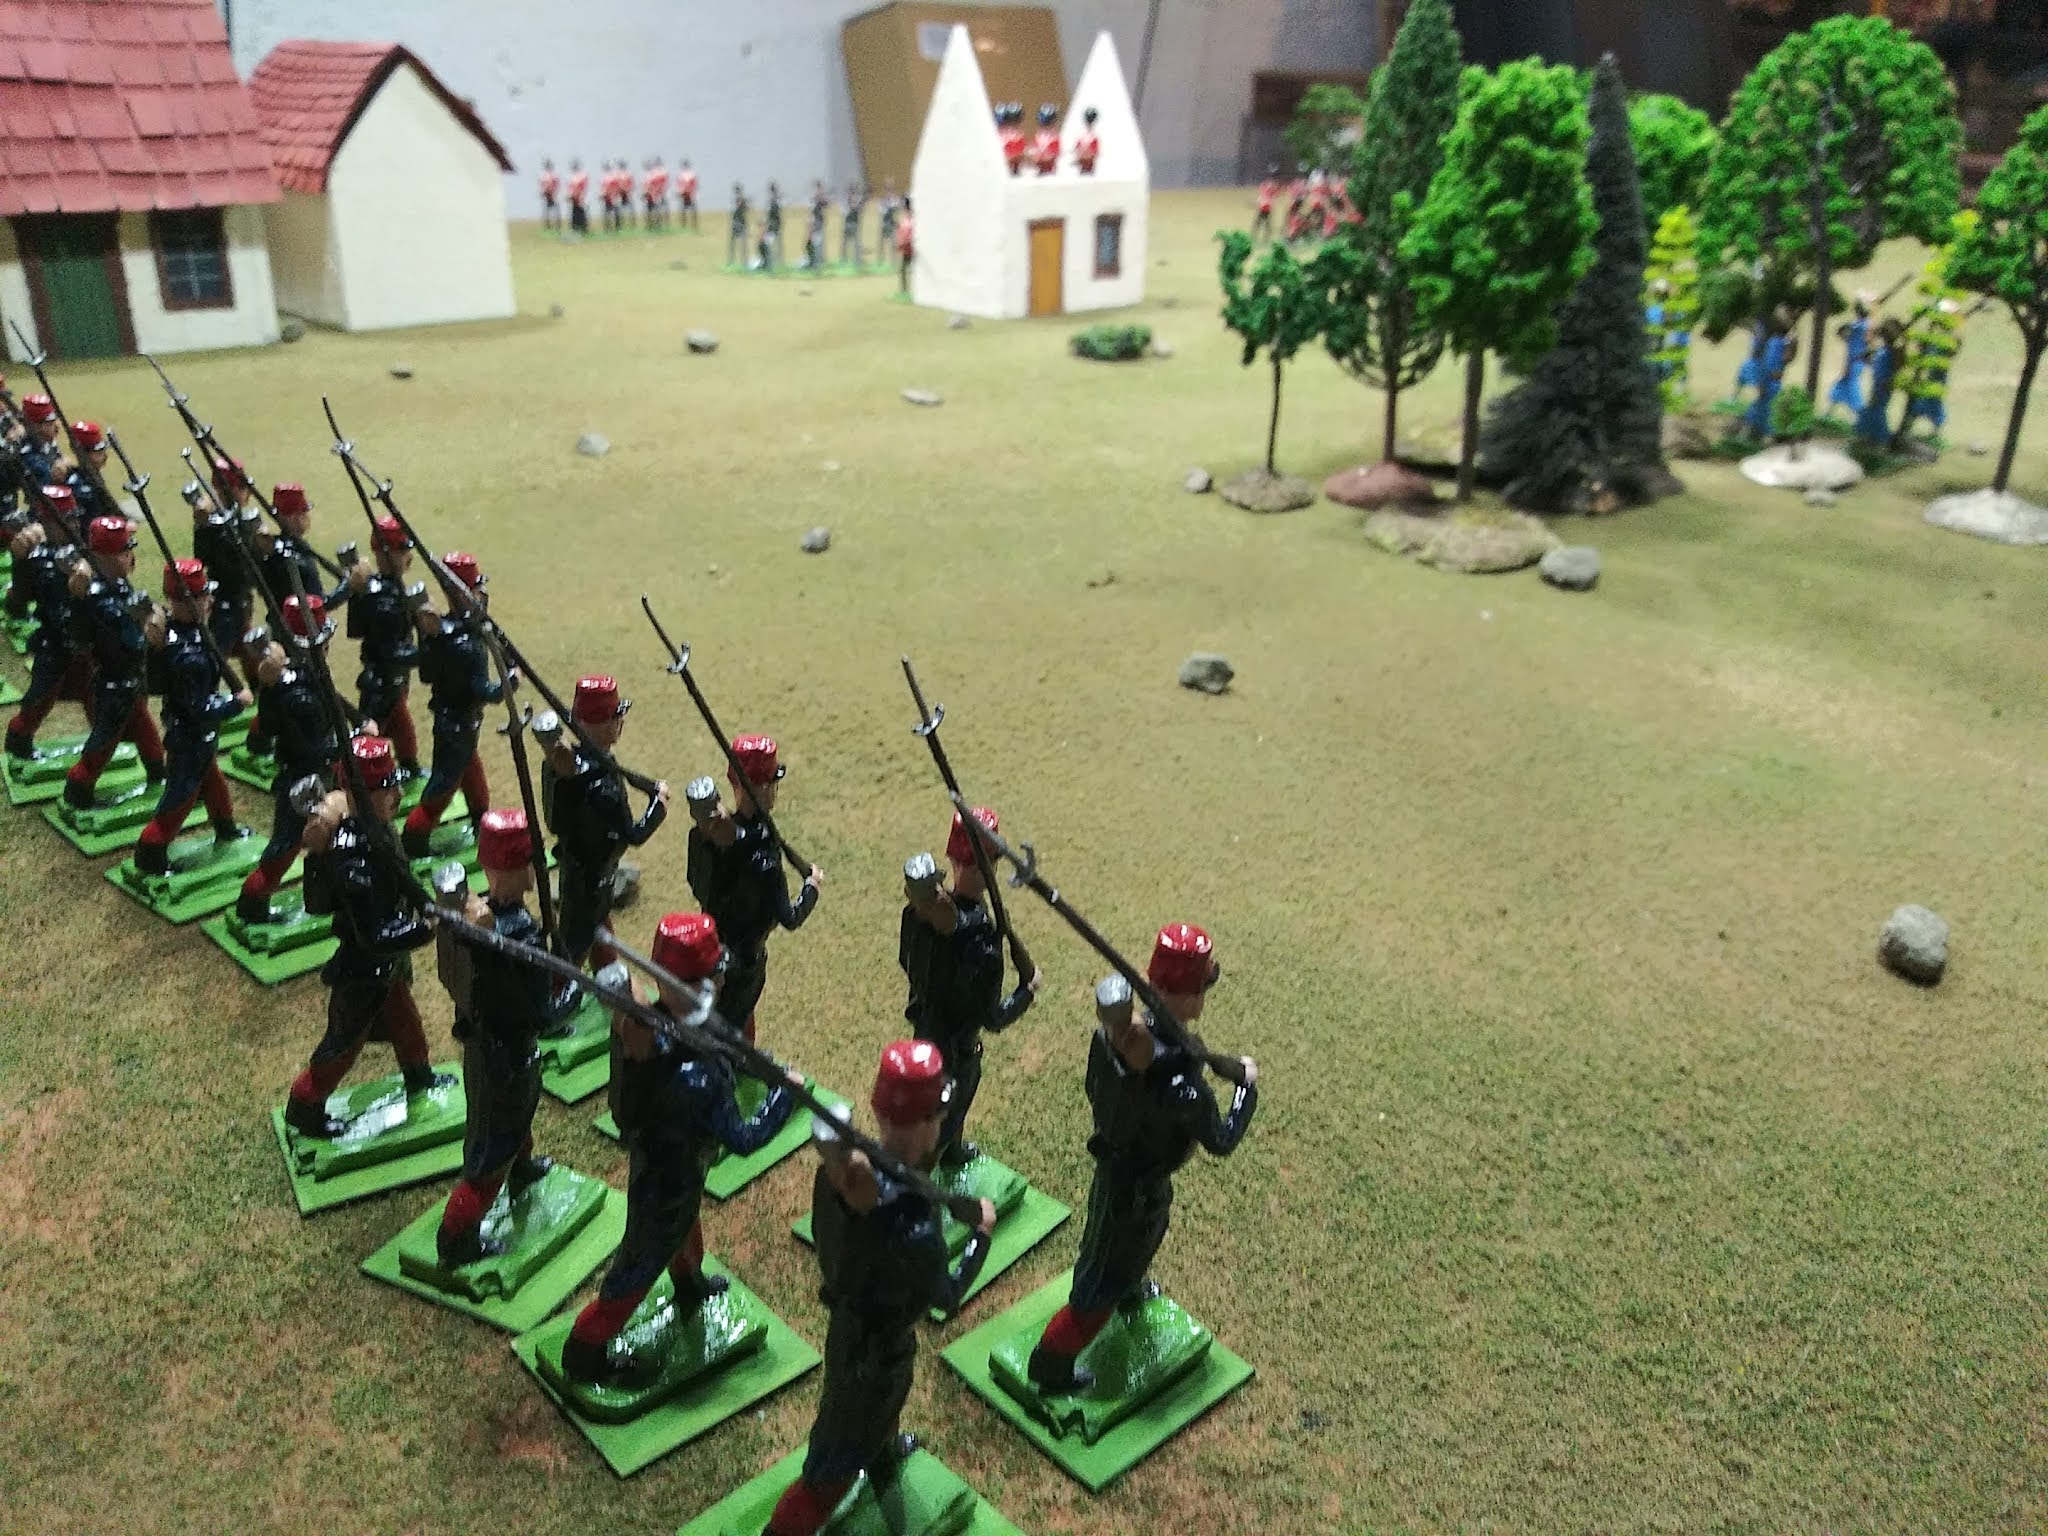
French:
1d3+3 infantry (then roll a 1d3+1, with the result being x - after x regular infantry, then 1 elite. Example: you roll 1d3+3 and get a total of 5 infantry. Then you roll 1d3+1 for a result of 2. 2 of your 5 infantry will be regular, then 1 elite, then 2 more regular. For ease of reference the French player designates his zouaves as the elites)
1d3-2 machine guns
1d3-2 artillery
British:
1d3+3 infantry (then roll a 1d3+1, with the result being x - after x regular infantry, then 1 elite)
1d3-2 machine guns
1d3-2 artillery
Notes: The concept is 4-6 infantry per side (with at least one veteran/elite unit) possibly supported by a machine gun or an artillery piece. Elite troops could be better trained, veterans, or especially well led units. French could use zouaves and/or chasseurs alpin for easy-to-recognize elites. British could use Guard or Highland units.
MEDIUM BATTLE:
French:
1d3+5 infantry (roll a 1d3+1, with the result being x - after x regular infantry, then 1 elite)
1d3-1 machine guns
1d3-1 artillery
British:
1d3+5 infantry
1d3-1 machine guns
1d3-1 artillery
Notes: Presumption is 6-8 infantry per side (with 1-2 veteran/elite units) with up to 2 machine guns and/or artillery in support.
LARGE/FINAL BATTLE:
French:
1d3+7 infantry
1d3 machine guns
1d3 artillery
British:
1d3+7 infantry
1d3 machine guns
1d3 artillery
Notes: 8-10 infantry units per side (with 2-3 veteran/elite units) with a minimum of 1 machine gun and 1 artillery in support.
 |
| All 12 of the Belle Epoque terrain tiles. |
The tiles are shuffled and then one at a time is turned over from the top of the deck to create the board. There are several variations on how one could lay out the tiles to generate a board. Up until now I have laid out four in a 2-2 pattern such as pictured below, where the top and bottom edges would be the sides of the table from which each side would deploy. This works fine for earlier periods but as the games played thus far have revealed, this set up creates a "cone of fire" in the center which artillery can dominate.
 |
| A 2x2 terrain map. |
One alternative to deal four tiles but do a 1-2-1 arrangement, as pictured below. This would a require slightly different deployment system, however.
 |
| 1-2-1 arrangement. |
 |
| 1-2-2 arrangement. |
III. DEPLOYMENT:
This is a little tricky to convey, so bear with me. Armies in this period have evolved away from the old infantry-cavalry-artillery trifecta, and more exclusively towards (lots and lots of) infantry and (lots of) artillery. So the style of deployment chart from the Italian Wars campaign system is irrelevant, since we're not talking about medieval set-piece battles, where all we have to determine is the rough composition of a van, middle, and rear guard (left flank-center-right flank). And with the increasing lethality of rifles and artillery, its rather dishonest to deploy anything in an open field at the beginning of the game.
Battles are also becoming larger, so having all units on the table at the start is also a rather glaring untruth that miniature games enforce for the convenience of having all the toys on the table at the start. Per Moltke, enveloping attacks have become more formidable than attempting to pierce an enemy's front, while at same time increases in firepower reduced the risk to the defender in splitting its forces and increases in the size of armies made outflanking maneuvers more practical.
So, something with a little more complexity is required. My solution is a deployment mechanic that reacts to the terrain tile mechanic.
FIRST, determine forward and flank deployments of infantry..
Attacker deploys 1 infantry unit on, and up to 1 additional infantry unit behind, a single terrain piece (dice to determine which one). Defender deploys 2 infantry units on, and up to 1 additional infantry unit behind, on each of two terrain pieces on their side of the board.
Attacker deploys 1-3 infantry units off table on right or left table edge on their half of board. These infantry have been deployed in a Flanking Position. These may come on board any turn the attacker desires.
SECOND, deploy remaining infantry after above instructions have been exhausted... (probably larger games only)
Attacker deploys 1-3 (so 1d3) of remaining infantry units along back line starting with spaces that are directly to the rear of terrain features (infantry on back line are "Main Line Position"), and any remaining units off-table to rear edge (the "Reserve Position"). Roll 1d6+1 for each off table Reserve Position infantry unit each turn, if the result is equal to or less than current turn number (so turn 2, 3, or 4), then this unit is available to come-on table that turn.
Defender deploys 1-2 (1d3-1) of remaining infantry units along back line ("Main Line Position"), and the rest off-table in Reserve Position in same manner as Attacker.
THIRD, artillery is placed...
The first gun for the defender is placed with the Main Line. The second and any further additional guns (if available) for defender is placed in Reserve Position. The first gun for the attacker is placed in the Flank Position. The second gun for the Attacker is place in the Main Line and any further additional guns (if available) for attacker are placed the Reserve Position.
FOURTH, the general(s) are placed...
The general(s) are placed at center position of Main Line, and may start game with a unit in that space.
RESERVE POSITION TROOPS
Reserve Position troops are troops still on the way to the battle field when the game starts. Roll 1d6+1 for each off table infantry unit - this is the turn (so turn 2, 3, or 4) that this unit is available to come-on table. Player is not required to bring units on table on the turn first allowed to do so. However, an army's Exhaustion Point is determined only by units on table and not reserve or flank units, so holding back reserves too long is risky!
FLANK POSITION TROOPS
Flank Position troops may come on board at anytime. Like Reserve Troops, if they are not on table they do not count towards that army's Exhaustion Point.
Optional: Smaller force may buy earthworks to make up difference in SP values (1 grid face @ 1 SP per). Attacker then moves first as the game truly begins.
IV. CHANCE CARDS
V. VICTORY AND DEFEAT