
Showing posts with label Strelets Miniatures. Show all posts

Tuesday, December 12, 2017

'Almost the Alma' Black Powder Game

I ran my Black Powder 'Almost the Alma' Crimean War scenario at Ambuscade!, an one-day historical wargaming event that I helped organize, which was very fun by the way, and anyone and everyone is encouraged to attend next December.  The scenario set-up was the same as the previous playtests, with the following changes to unit profiles and composition:

(1)   Previously all the British cavalry units were classed as "small", with their hand-to-hand and stamina stats reduced accordingly. For this game I graded them up to "normal" size, which gave the British heavy cavalry units (Heavy Dragoons and Scots Greys) eight melee dice and the light cavalry (Hussars) six.

(2)   Per the Crimean War scenario from the back of the Black Powder rulebook, I upgraded all the Russian infantry to have a stamina of 4 instead of 3.  This acts as a counterbalance to the general lack of special rules for the Russian side as well as the plethora of special rules for the British and higher British staff ratings. 

(3)   I also calculated the point values for both sides using the appendix in the Black Powder rulebook, and using all available figures, the Russians start the scenario with a 200+ point advantage (approx. 1,200 vs. 1,000).  I went ahead with this since I figured the British need the challenge since they have so many factors in the their favor, especially the higher staff ratings.

The rough outline of the game was as follows (I did not take many pictures – I was having too good of a time!):


(Above: the Cossacks advance on the Russian left (bottom of photo) while the British heavies tussle with the Russian lights on the opposite side of the board)

Both sides advanced.  The Russians sent cavalry probing attacks out on both flanks.  The Russian light cavalry, consisting of dragoons and hussars, were effectively smashed by the British heavies, and the Cossacks on the other flank were turned back, despite 2-to-1 odds, by the British Hussars.  The Russians established a very long, dense firing line of infantry in the center of the table and attempted to out-shoot the British.  Most of the British infantry responded by falling back a bit to be out of Russian range but still in range to counter-fire with their longer-range rifled-muskets. 
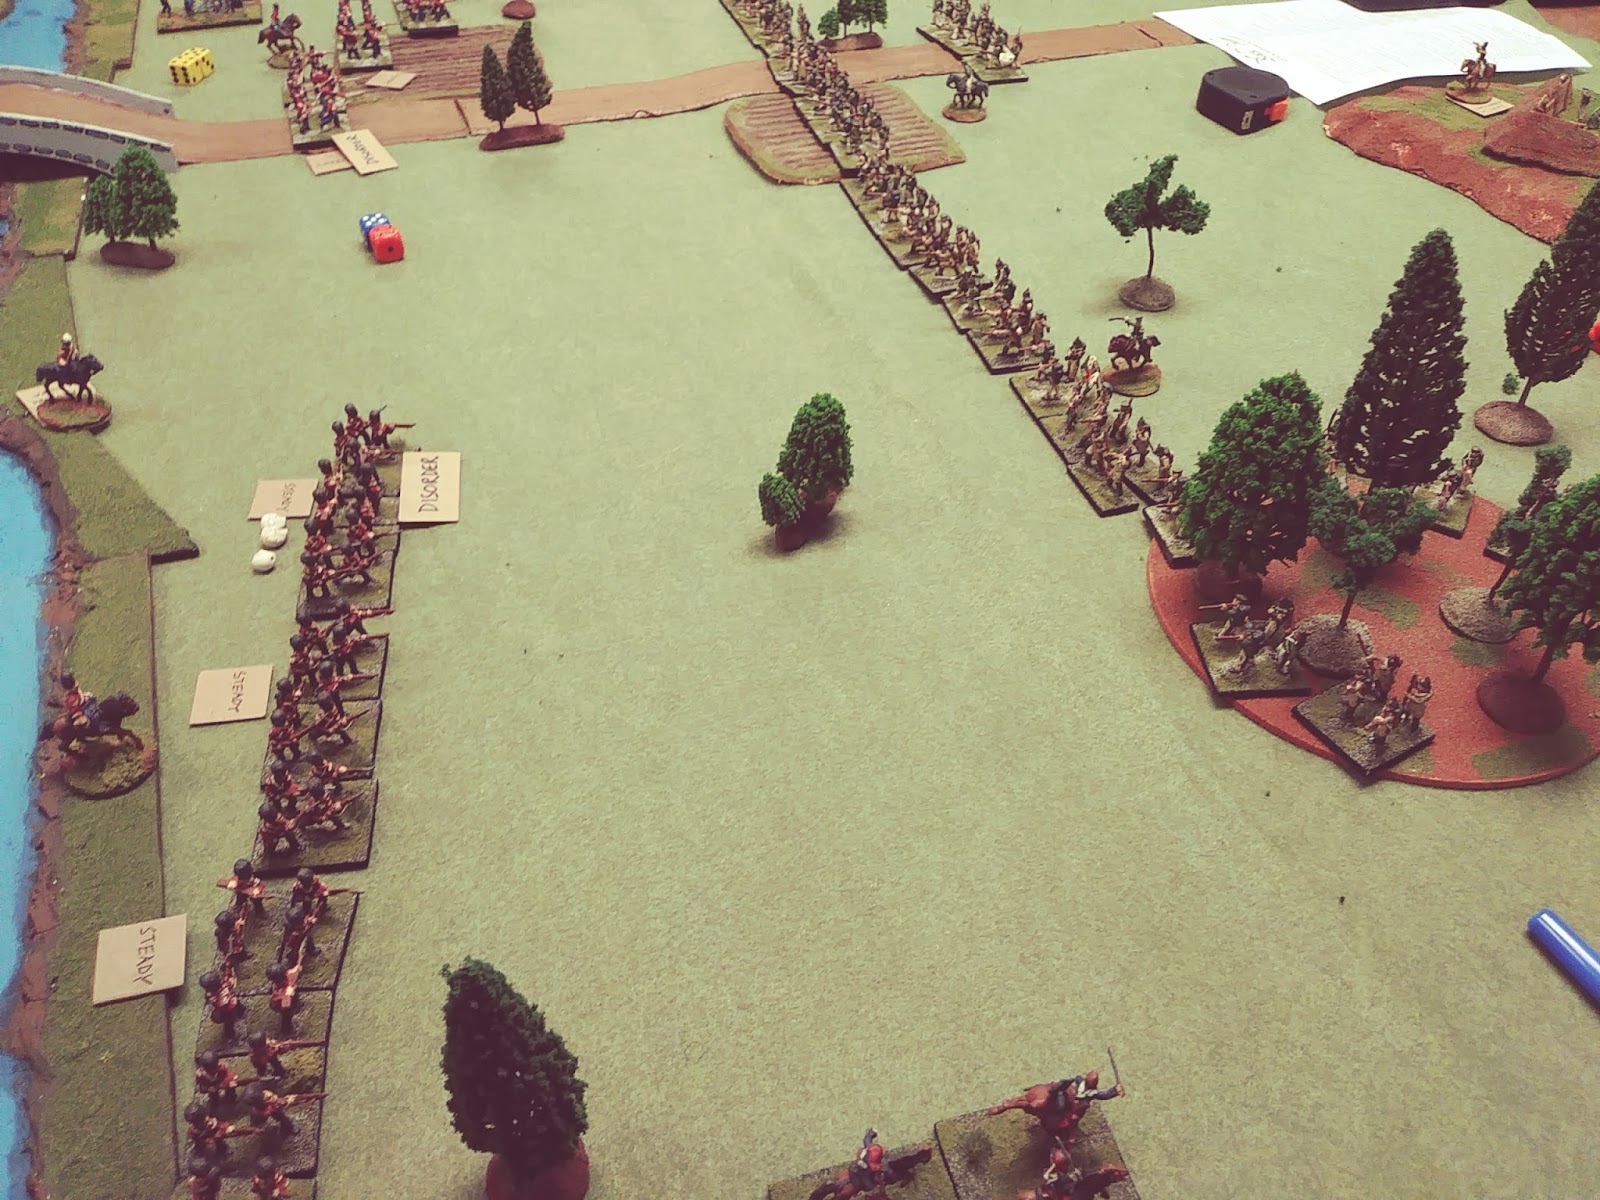


(Above: the long green line of Russian infantry straddles the board)

Meanwhile, a unit each of Heavy Dragoons and Scots Greys succeeded in getting all the way to the Russian edge of the board, and turning and charging one of the Russian redoubts, and taking the position – an automatic partial victory for the British! 

At this point the Russian players conceded the game, since there was no infantry in reserve to protect the other redoubt position, and losing both would be an automatic full British victory.

I think the scenario was fair in terms of troop dispositions, and a review of the rulebook the next day confirmed that I did not adjudicate any rules wrong (phew!).  I'm a little curious why the Russian players chose to stop their advance midway across the board and engage in a musketry duel, which hurt them because it whittled down their superior stamina score of 4.  With the British heavy cavalry scattered about on the Russian flank, its seems there was a missed opportunity for the Russian infantry to put some serious pressure on the British center.  Also, a few infantry units protecting the Russian guns would have been useful in retrospect.

As in the playtests, I ignored the 'brigade morale' rule (it is optional, after all) and just tracked army morale instead – so if over half of one side's units were lost (either off table, destroyed, or on table with 'shaken' status), the entire army was deemed broken and would commence retreat.  I really recommend this method, with a visual scorecard of some sort to track how close each side is to breaking, for Black Powder and probably Pike&Shotte and Hail Caesar! as well.

Sunday, November 26, 2017

'Almost the Alma' Playtest No. 2

With Ambuscade just a week away, I cajoled Gabe into coming over for another playtest of my Crimean War scenario, 'Almost the Alma', so I could continue to hone my knowledge of the rules and also see if the game was more competitive with the addition of three more infantry units and two more cavalry units per side.  The only other change was each side had an unattached Commander-in-Chief with a higher staff rating, which benefited both sides equally, it turned out.  We also remembered to use initiative moves which really picked up the pace in the second half the game. I also ignored the "broken brigade" rules and just went with overall army break point (when half of total units in army are shaken, destroyed, or off table, that army has broken), which eliminated additional accounting steps.

Long story short, the British infantry (me) on the British left failed to cross the river and set up in the woods for almost the entire game.  This gave the Russians (Gabe) the ability to set up a very lethal and sturdy fire line across most the board, which proceeded to pile concentrated fire on select British units with the help of their artillery on the heights.  The British heavy brigade (Scots Greys and Heavy Dragoons) charged and were rather easily repulsed, since aforementioned supporting infantry was not in the woods where they were supposed to be!  Still, with the help of the scoreboard to track total number of shaken units, it came down to a nailbiter in turn 7 where the British "Almaost" bagged a 10th shaken Russian unit but came up short. In the bottom of the 7th it took the final melee of that turn for the Russian to break some British Hussars and win the game.


(Above: end of turn 1)


(Above: end of turn 2, I think, with British having significant problems crossing the Alma)


(Above: around Turn 4 or 5, I believe, with British heavy brigade charging on British left and the Guards doing a nice job enfilading Cossacks on the left)


Overall, it was the most satisfying game using a Warlord Games ruleset I have ever played, and I really think it was the 'scoreboard' visual aid (my kids' old stand-up chalkboard, in this case) which made the difference - both sides knew exactly how close they were to collapse at all times and it helped focus both commanders with short-term game decision making and also added some narrative tension.

There will be a few more tweaks for the Ambuscade version of this game but otherwise I feel very comfortable and prepared.

Tuesday, November 7, 2017

'Almost the Alma' playtest

I'm running a Crimean War game at Ambuscade on December 2, and although I'm still furiously painting additional figures for that game, I figured we'd run a playtest with the armies that are currently table-ready.  Also I'm running Black Powder I have not played a ton so I needed the refresher. The scenario is basically the Battle of the Alma from the Crimean scenario in the back of the Black Powder rulebook.  The Russians command two earthworks, each atop a hill.  The British deploy on the opposite banks of the river across the board. Russians outnumber the British but the British have more special rules at their disposal.  The British objective is to take one earthwork for a partial victory or both for a stunning victory.  The Russian needs to break the British forces before they accomplish this.


The result was a pretty decisive Russian victory, which was troublesome for the upcoming Ambuscade game.  However, there were a couple muck-ups that probably made things easier for the Russians.  First off, the British player (me) complete forgot about the First Fire special rule which adds +1 to hit on any British infantry's first shooting attack.  Used correctly this could have softened up a spot in the Russian lines to break through later on.  Secondly, the British sort of walked calmly forward with little sense of urgency - the British player(s) need to really focus their forces on the earthworks and push hard from the get go.  Third, on a related note, the British heavy cavalry was barely involved at all, while Russian Cossacks succeeded in breaking an entire British infantry brigade (and basically setting up the eventual Russian win).

Some of these issues will also be corrected by the addition of more British troops, which should give them some resiliency and allow them to be a bit more aggressive early on.