Showing posts with label terrain. Show all posts

Tuesday, July 9, 2024

Mystery Fish

One of the scenarios for Turnip28 is called 'Gone Fishing' and simply declares that both sides' regiments have been swallowed by a fish! But now they are escaping (they deploy in turns directly into a 12" square in the middle of the board - which is very close proximity to each other!). This scenario visually benefits greatly if you have a fish terrain piece for the two armies to climb out of.  Well, here's mine:


This is Sculpey formed around aluminum foil. I tried to make the guts weird but not too gross. The decision to give it a human nose and teeth was partially inspired by medieval drawings of whales and other sea beasts which the illustrators had never actually seen.  Below are some work-in-progress photos...


Here a spare toady shows you the various bits of the work in progress... (and to give you a sense of scale).


Wednesday, January 10, 2024

Medieval Tower on a Hill

I recently finished this medieval-esque tower on a hill/rocky crag.  It could probably be used for late-antiquity all the way up through renaissance. The hill part is two pieces of packing foam glued together and the tower is formboard with cardboard shingles. There's some work-in-progress photos below to give an idea of the steps.


Sunday, October 22, 2023

More Turnip28 Terrain


I finally had/made the time to finish up this piece of terrain for Turnip28. Being larger at 8x10, it would be treated as 'dangerous terrain'. The fish are 'terror fish' by Reaper with thier creep legs trimmed off. Like a lot of turnip28 projects this did not finish in the form originally intended. Just gotta go with the flow, y'know?

Get in here!


Chimney pipe is just cereal box cardboard rolled up sections and superglue together.

Getting a good feel for using the 'Realistic Water' product.

And here are some work-in-progess photos:


Wednesday, September 13, 2023

Turnip28 Terrain Set

 
Feeling confident from the recent refurbishing of older buildings, I pushed forward with the necessary terrain pieces for a Turnip28 table.   Turnip28 has three types of terrain: dangerous (usually on a 9"x9" base), defensible (on a 6"x6), and impassable (also a 6"x6).  After making a few kitbashed custom regiments, I managed a casual game using available terrain created for other games, and was immediately struck that the effort that went into the figures was diminished by the lack of matching terrain.
 

The first new piece was this dangerous terrain board (8"x10", so close enough to 9"x9") featuring a ramshackle and broken foot bridge. I had two goals for this piece: (1) to try using Woodland Scenics Realistic Water effect for the first time, and (2) to resolve a perpetual thorn in my side when making terrain, which is that the base MDF board always warps like crazy.

On the second point, it turns out that I have been using way too much water in my PVA mixes and too much water when thinning paint for terrain.  I also discovered the habit of applying a "primer" coat of un-thinned PVA to a side of the board, then using a brush just wet enough to help spread the glue evenly, then immediately doing same for other side.  This greatly helps control warping during the various steps. As to the Realistic Water effect, I think I did not "push" the effect to the edges of my pond enough, which caused the effect to have a raised surface-tension appearance like a puddle of oil instead of water.  I painted the pond area black to create illusion of depth, which seemed to work.

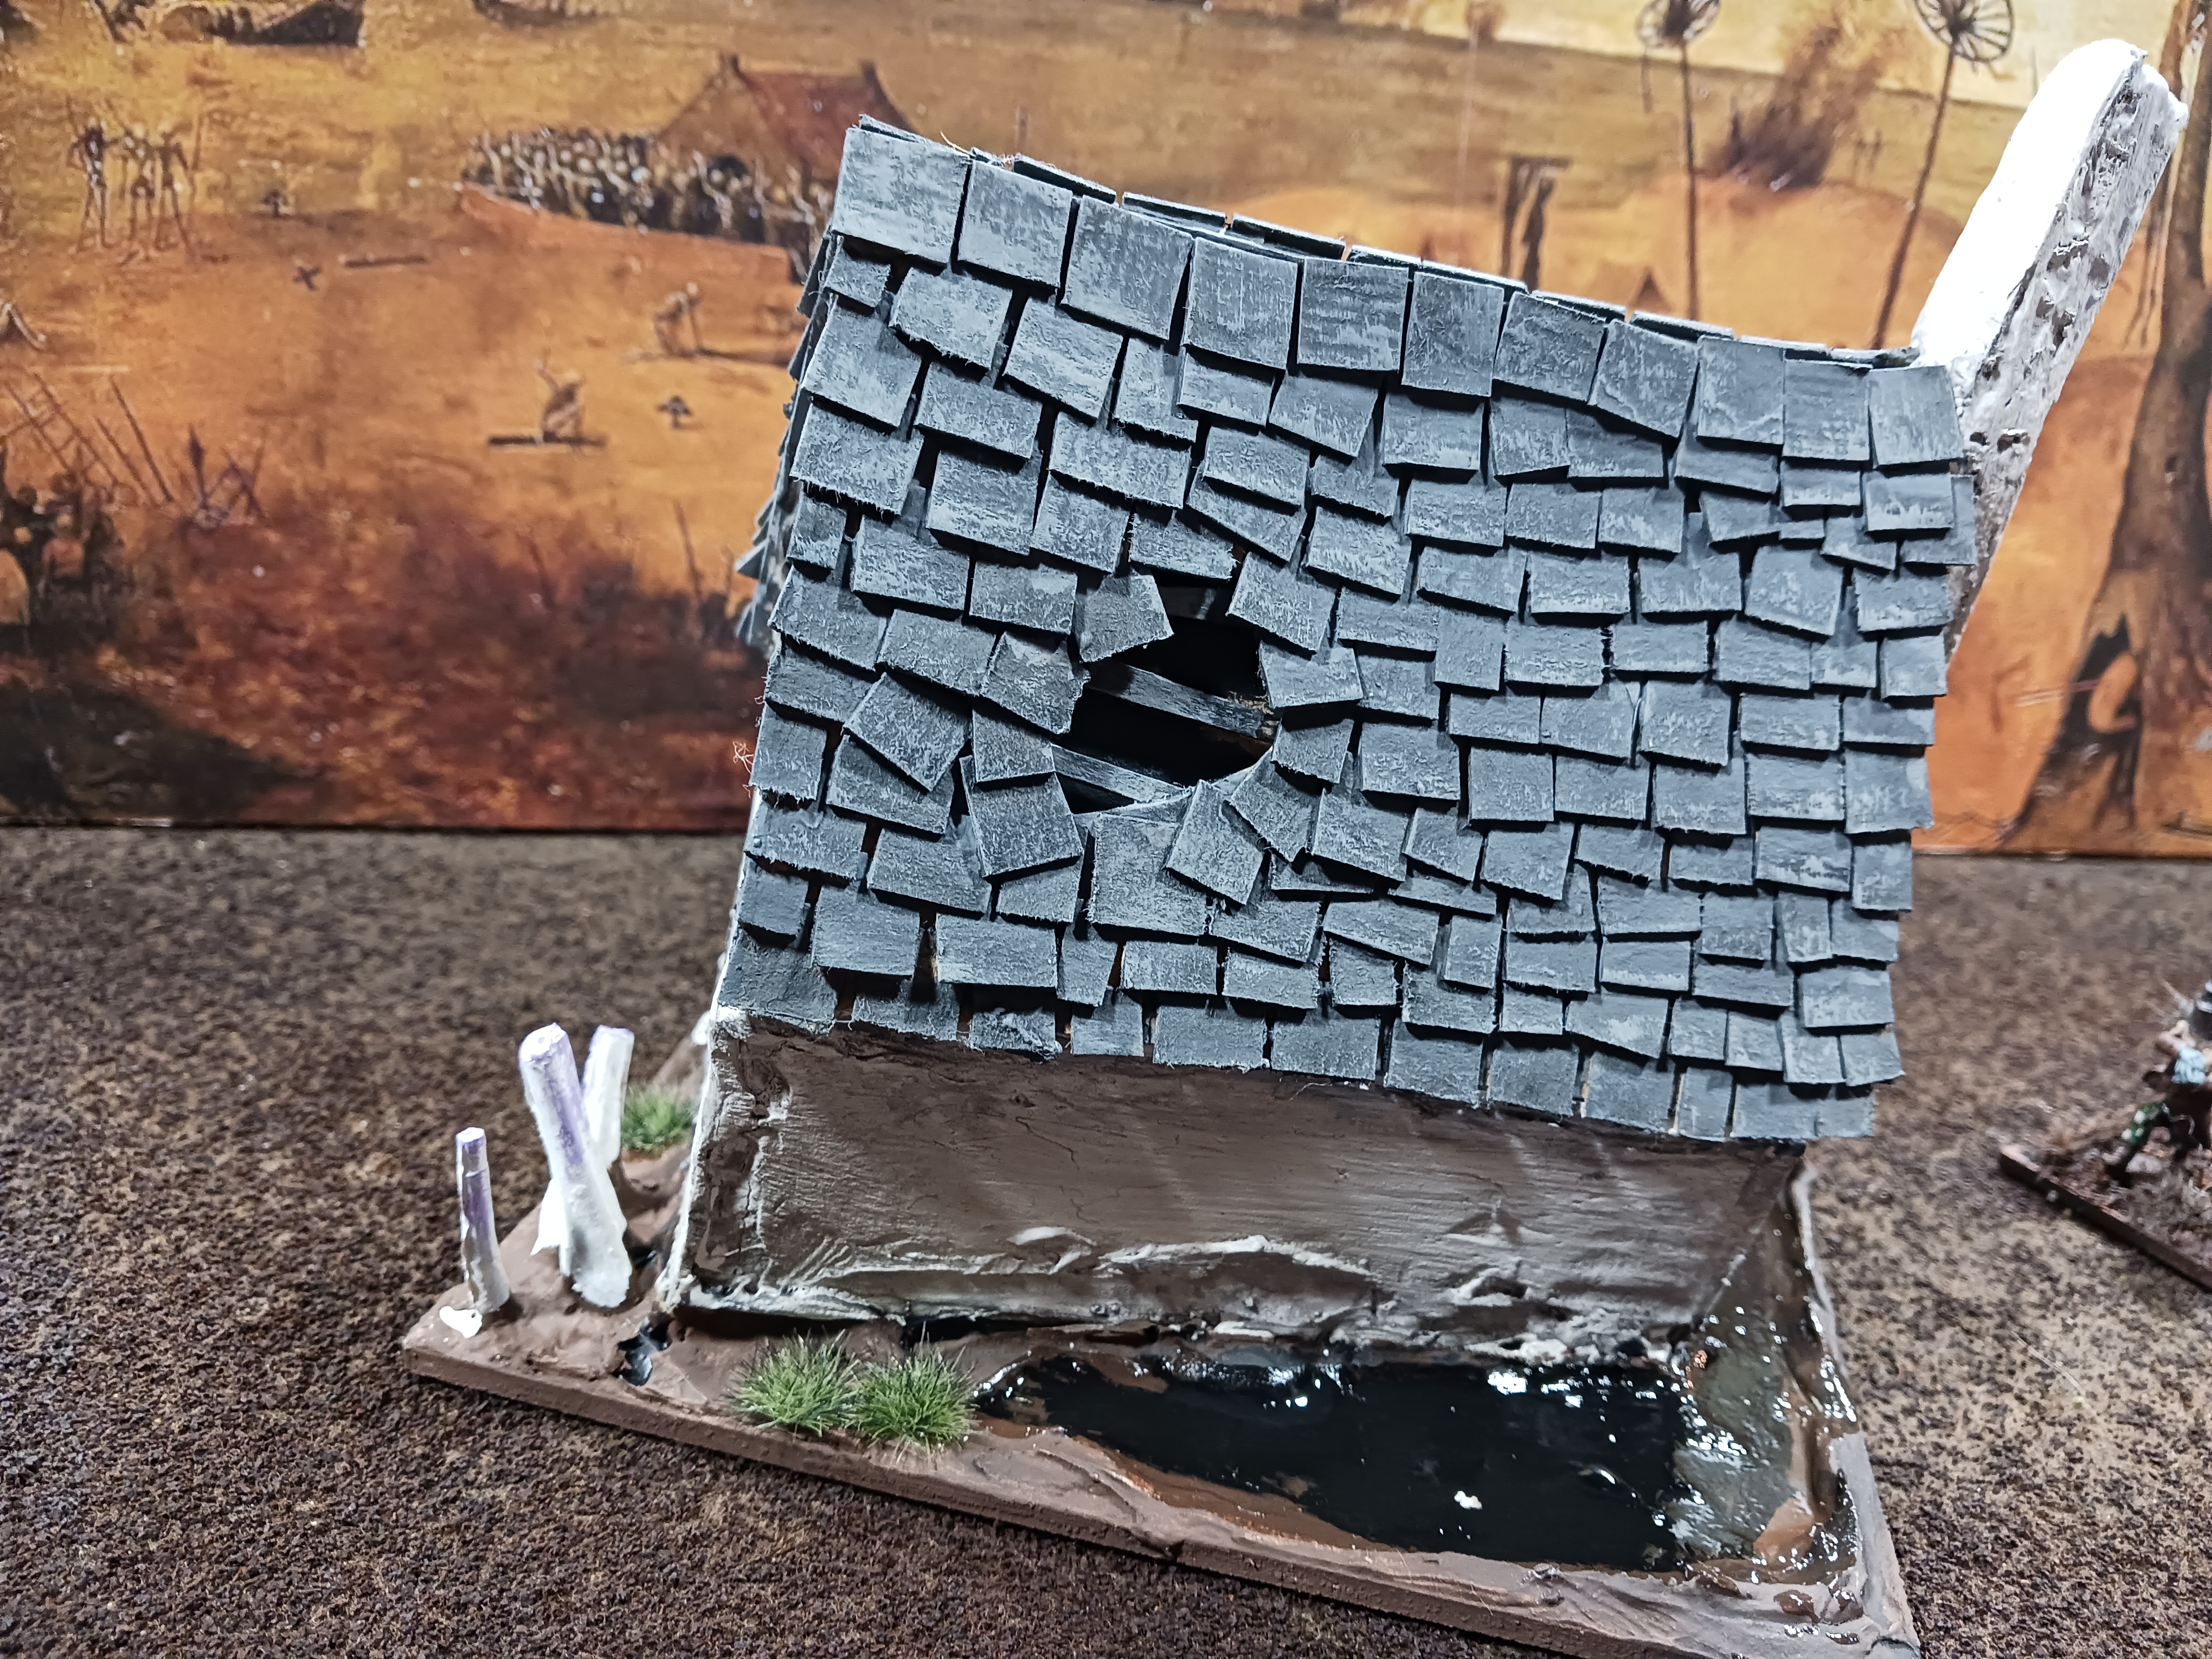
The second piece is this 6x6 impassable terrain, featuring a house sinking into a pool of water. The recent refurbishing of the older buildings using DAP joint compound and individual shingles was applied here. The white fungal stalks growing at the side of the house are stems from the leaf stalks of the horse chestnut tree that grows behind our house.  I pre-soaked these in a water/PVA mix, and after letting them dry, discovered that if you cut them they had a hollow tube in the middle, which gives them an eerie organic look. They also have some natural little bumps that look that part.

Speaking of those chestnut leaf stems, the next piece is a boggy dangerous terrain piece, 8x10, featuring little islands with fungal growths all over them. Here you can see how different parts of the chestnut stems can look very different based on what part you use and even which direction you glue it to the board.

The only fault here is that I poured the water effect a little too thin, and you can see granules of coffee grounds which I used for texture that got into the "water" portions of the board. These reflect light and create all those little white spots. Otherwise, I am quite pleased with use of some thinned dark green paint I applied before adding the water effect.

This house and bridge is a 6x6 defendable terrain piece. I think I originally was envisioning a bridge with a toll gate, and maybe a warming hut/guard hut on the side. But this is what actually came out. The house has a rhomboid footprint, so I got make an irregular shaped, warped roof.

This was a fun exercise in trying to cram the visual features I wanted into a small space.


This last one was very fun and definitely did not end up being what I originally intended.  The initial idea was a piece of dangerous terrain consisting of a bog or marsh with a few small muddy islands, with two Reaper Bones giant toads lurking around. 

I painted the toads first and while looking at them was struck that it would be funny if they had little crowns. So I made little crowns out of paper, carefully cut with spikes and sealed with superglue. And toad monarchs need a throne, right?

The idea of an ancient stone set of thrones as a terrain piece for fantasy wargames is an idea that's been kicking around in my head for a while, so making a stepped dias and two simple chairs out of foamcore scraps was easy enough. I then covered in joint compound and sanded down (and coated in PVA before painting!).  I did a base coat in very dark gray and then did two coats of drybrushing in progressively lighter greys.  The toad on the right came with its tongue extended, but I trimmed it out.

Now the next game should be a real treat!


Monday, September 11, 2023

Refurbishing Buildings (or, Yet More Fool's Errand)

I've been playing around with two new techniques in scratch-building houses for gaming terrain.  One is the slightly maddening but also meditative application of individual 1cm square "chipboard" cardboard shingles (chipboard being similar to the backboard of a notepad).  Previously, I would cut a strip of chipboard as wide as my roof, and cut very narrow wedges to suggest individual shingles. When these were layered and offset, the end result looked the part. 

Individual 1 cm square shingles, however, create a very striking effect and are totally worth the effort. A key trick is to stop after you've glued a row or two and use a wet brush to break up any globs of glue that are visible. After an initial coat of paint, a drybrush in a lighter color really makes the roof visually pop.  Since we as gamers always have a bird's eye view of the table, having these distinctive rooftops really improves the table experience.

The other technique is plastering the foamcore walls of the building with DAP-brand joint compound.  I apply with a craft stick, being careful around doors and windows. After this dries, I sand it flat and remove any obvious directional drag marks that my applicator stick left.  Then I apply a layer of PVA (wood glue) over all the plastered surfaces, dampening the brush as needed to get a better spread.  This gives the joint compound some additional durability.  Since my terrain is basically for the late medieval or early modern periods, I do a base coat of white acrylic and then a wash in a medium brown, which I then dab off the excess with cotton balls.

A new old house.

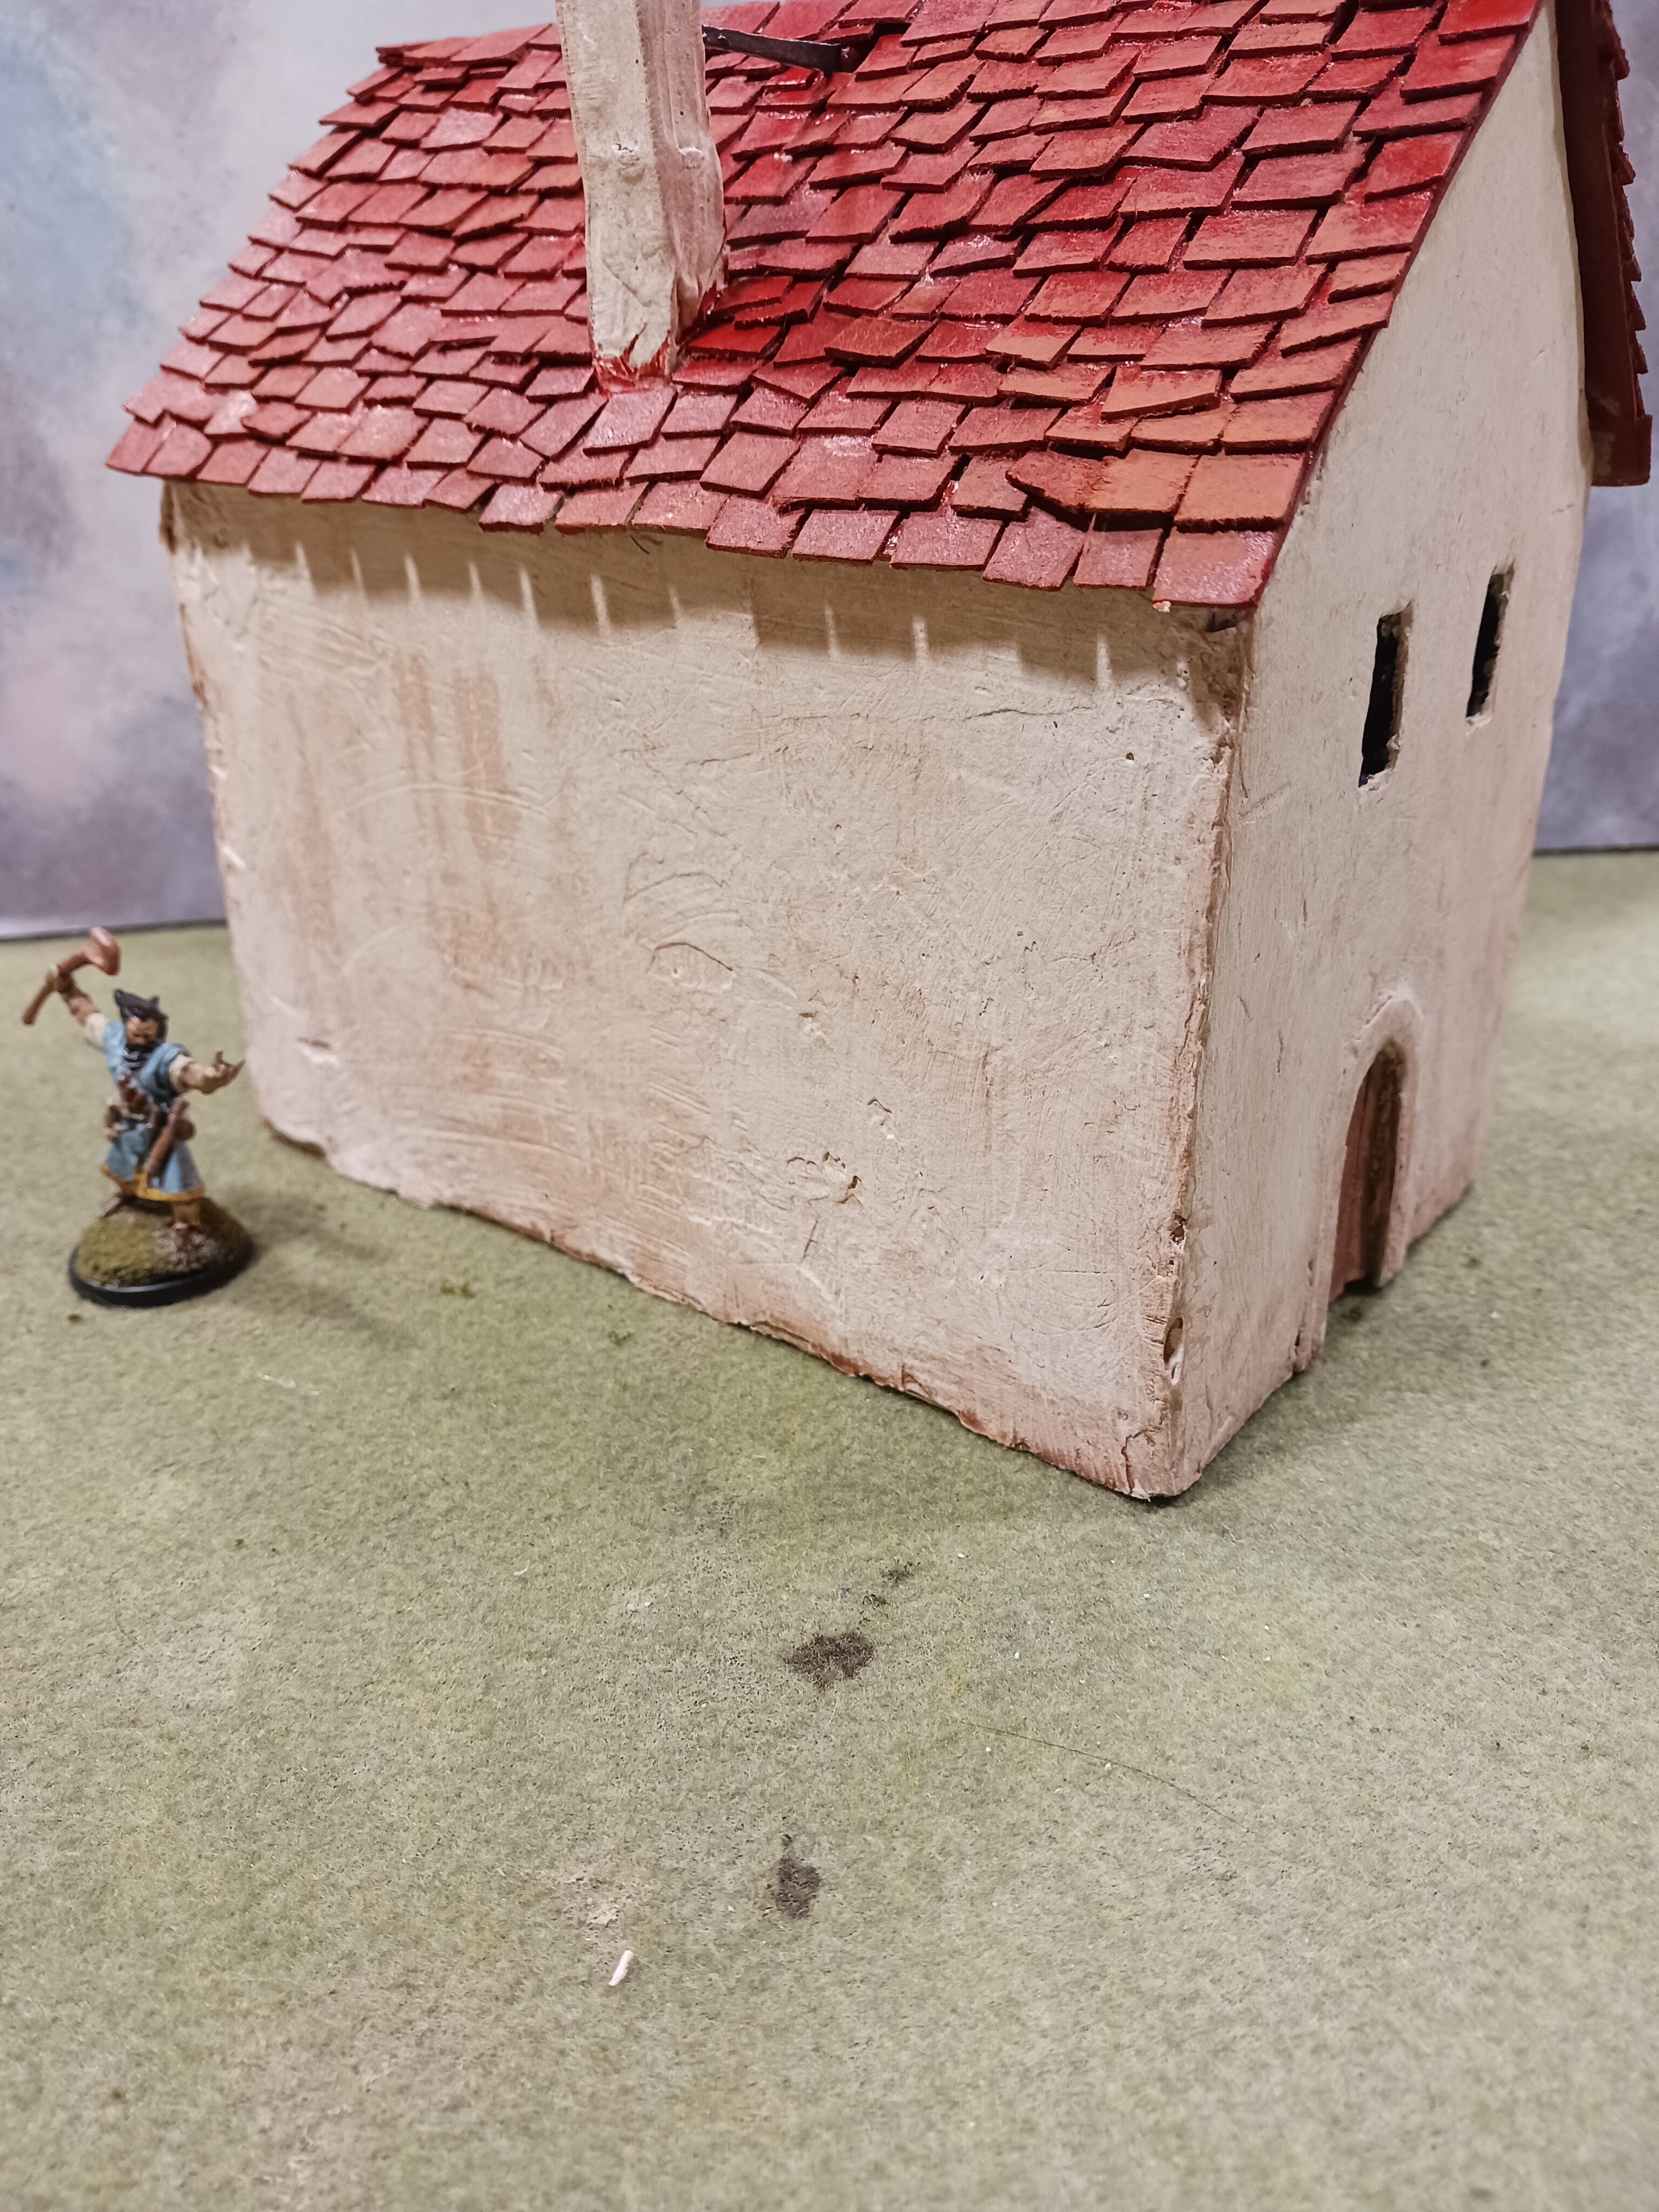
The four walls of the above house have now been refurbished twice. The original dated back to 2017 or so and the only texture was small squares of card glued on for random brick effect.  Its actually part of the larger compound to the right in the below picture of an early Italian Wars game.

I separated the house from the rest of the compound and covered the original walls in texture paste and painted an antique white.  For the current refurbishment, I sliced the bricks off with an old kitchen knife before applying joint compound to the entire building.

A Reaper Miniatures wizard for scale.

I also made it so the roof is removable, and added a floor at the top so that units can easily be understood to be in or moving through the building.

I then repeated the same process for these two buildings.  They are meant to be more Mediterranean because they have a less pitched roof and a terracotta color to their roof shingles. These were in tough shape as I used model railroading plastic sheet with a tile pattern for the roofs, which were not very durable for gaming.   

I don't know why I made the windows so small!

To better facilitate units moving through the buildings, they also now have removable rooftops.

Here's all three of the refurbished buildings together.