Showing posts with label solo wargaming. Show all posts

Friday, February 3, 2023

Experimental Kings of War Historical

Experimental how? This Italian Wars game sought to try out three new things with Kings of War Historical:

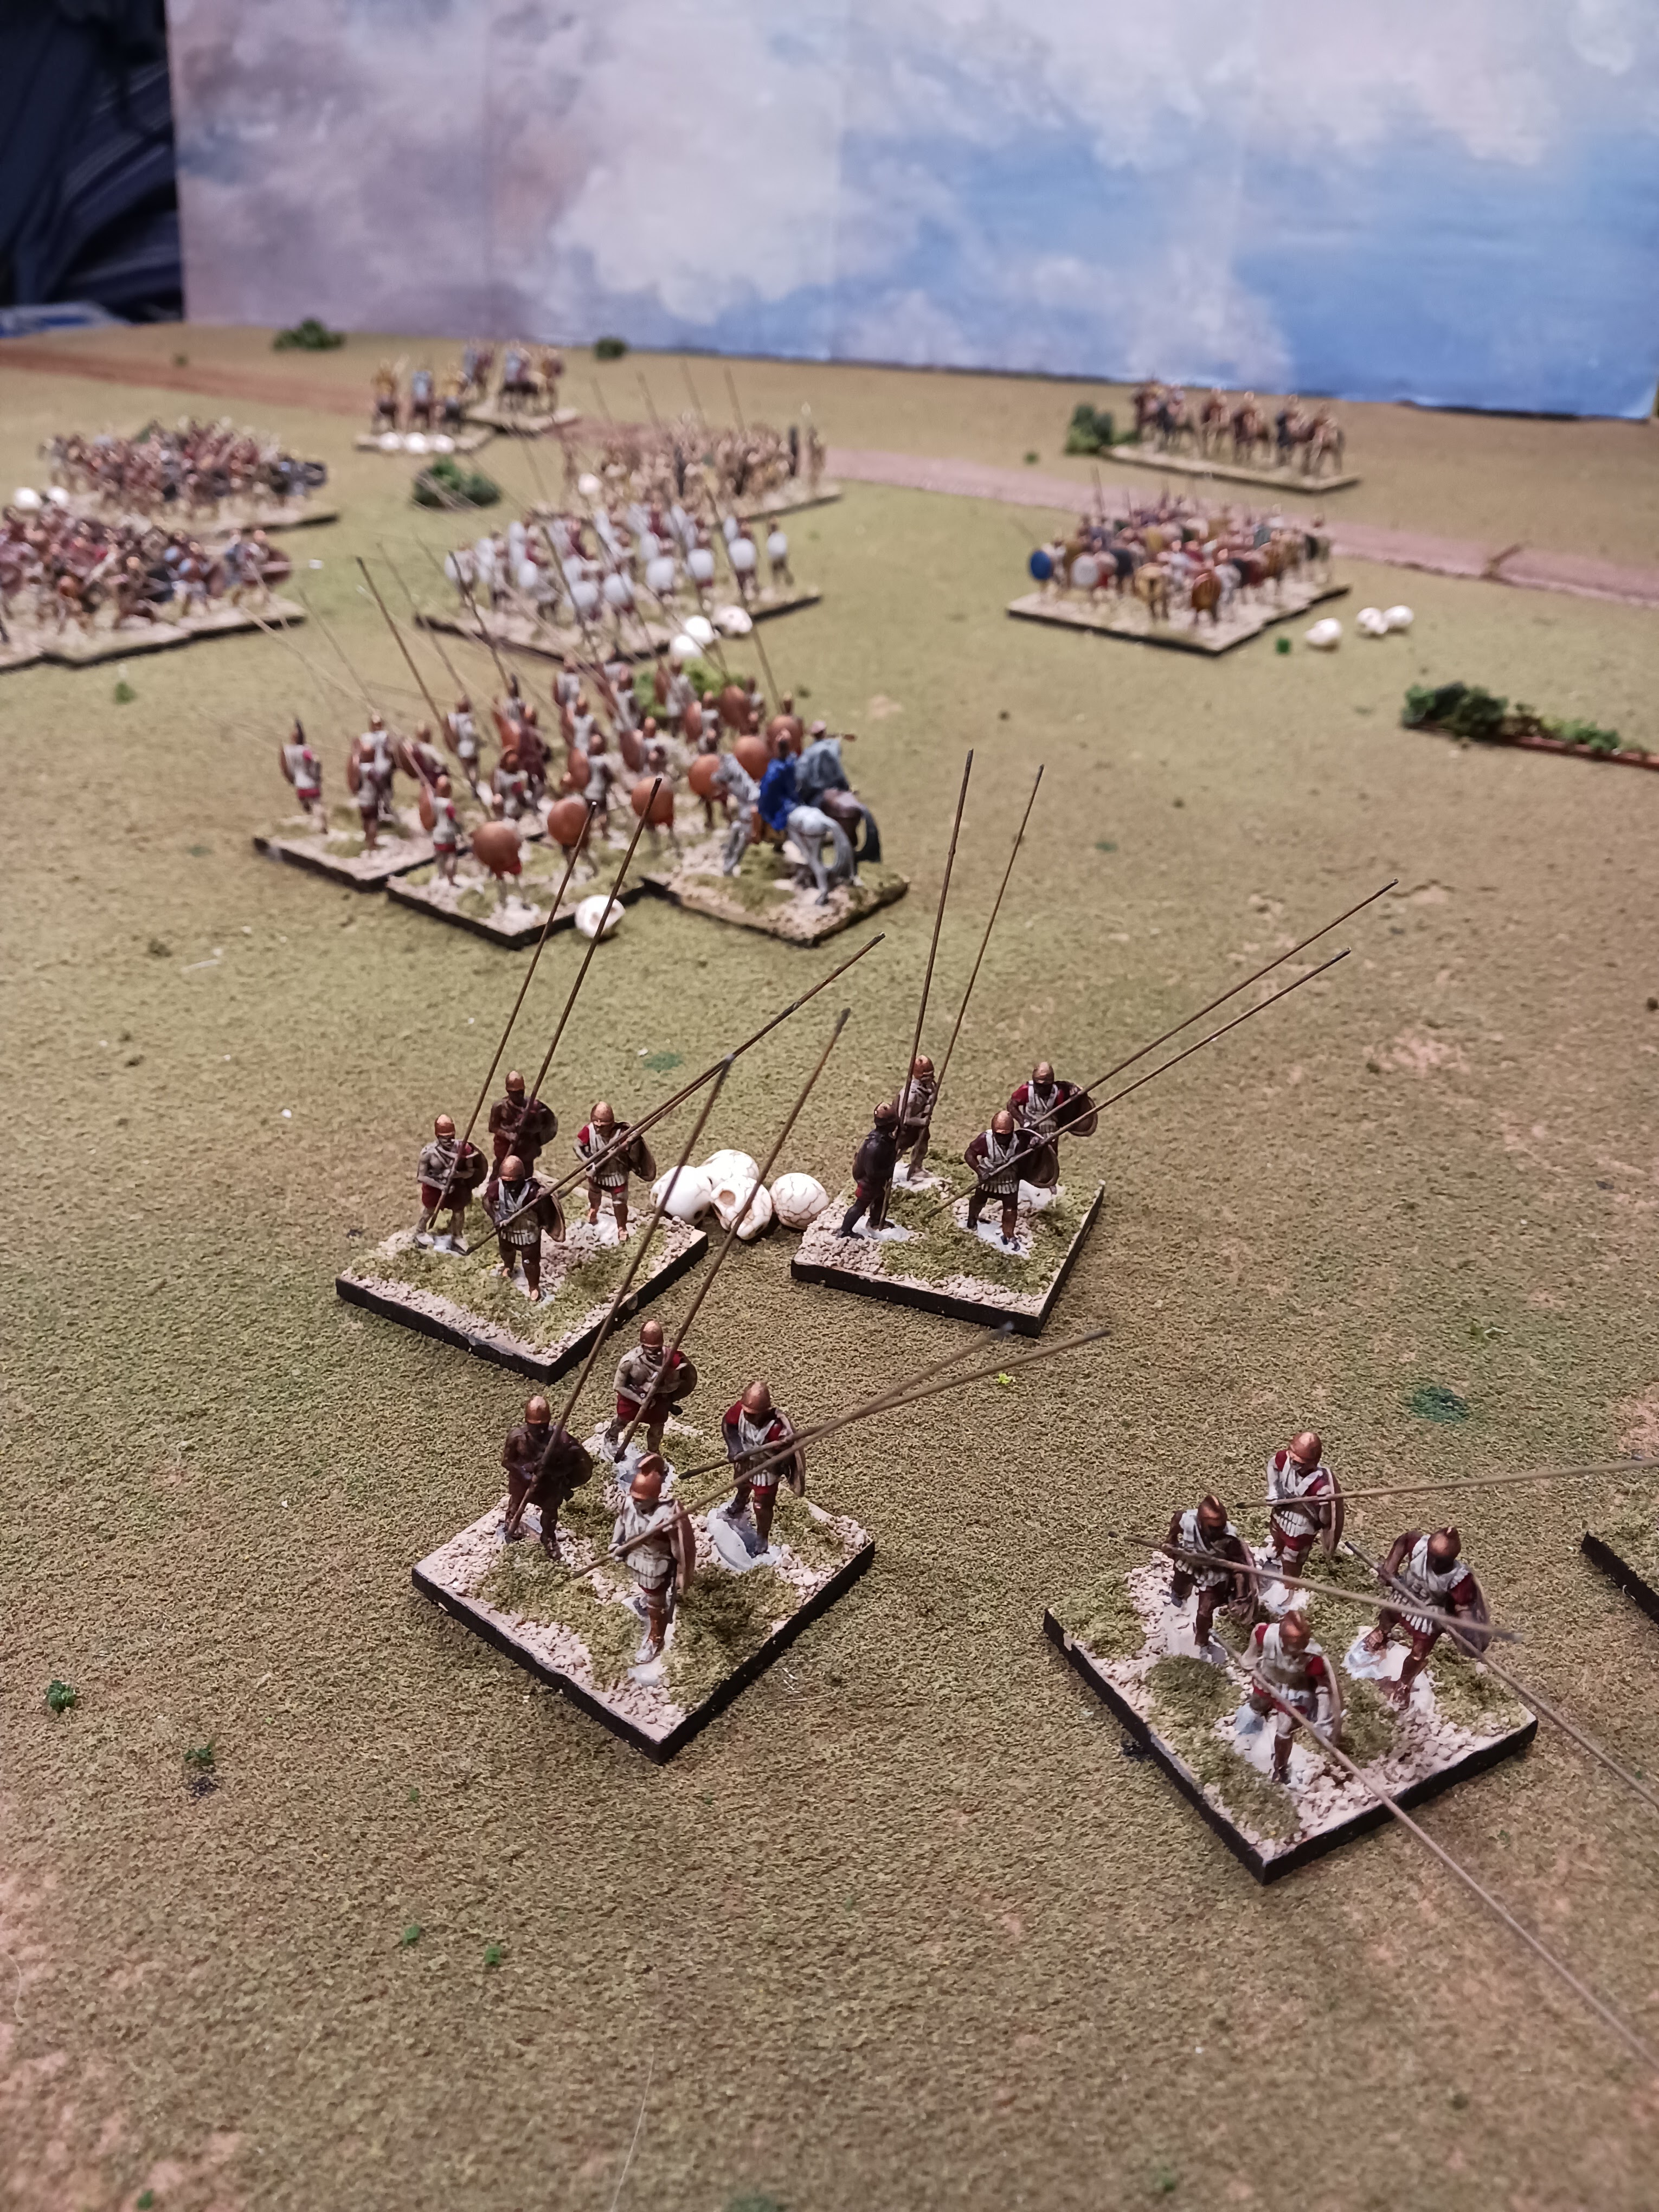
Swiss pike in French service.

1. The opposing sides' armies (French and Venetians) are drawn up from non-Kings of War Historical army lists, and KoWH point values have not been calculated and are almost certainly not equal.  Will the game be competitive and/or interesting?  Or will it be one-sided, predetermined, and boring?

2. How will the addition of my chance cards affect play? 

3.  Kings of War Historical does not have a unit-type that matches the Renaissance troop type of the mounted crossbowman.  Mounted crossbowmen are found in pretty much every conflict from the 1490s to up to 1520 or so. Because I think a nimble mounted horse archer kind of unit profile is not a good match, I'm instead taking the (foot) Crossbowman profile, increasing the speed to 9" land lowering the attack dice from 8 to 7 like light cavalry.  They retain the crossbow's 24" shooting range (with Piercing (1) and Reload) and Nerve of 9/11 of Crossbowmen (Melee, Shooting and Defense stats stay save as Crossbowmen but these are same as Light Cavalry anyways). 

French starting positions. Crossbows on left, Swiss in the center, Gendarmes and a mounted crossbow on the right.

The French army thus ended up being four regiments of Swiss pike, three troops of crossbowmen, one troop of mounted crossbowmen, three troops of Gendarmes (heavy cavalry), one cannon, one organ gun, and a general and two army standard bearers as sub-commanders.

Mercenary arquebusiers in Venetian service.

Opposing them were the Venetians, with an interesting composition of six troops of arquebusiers, two troops of stradiots (light cavalry), two troops of mounted crossbowmen, two troops of Elmeti (heavy cavalry), and one organ gun.  They were led by a general and two army standard bearers (so ending up with 13 units per side, not counting the commanders).

Venetians start with firepower clustered around a village. My "Italian" buildings do not have removable roofs, so I used my English Civil War half-timbered ones instead.

Terrain was laid out with terrain tiles, and ended up being quite open. Deployment was randomized using the more recent draft from my ancients round robin games, which favors putting infantry in a block in the center, with variable wings of lighter infantry and cavalry. The French won the toss and got to go first.

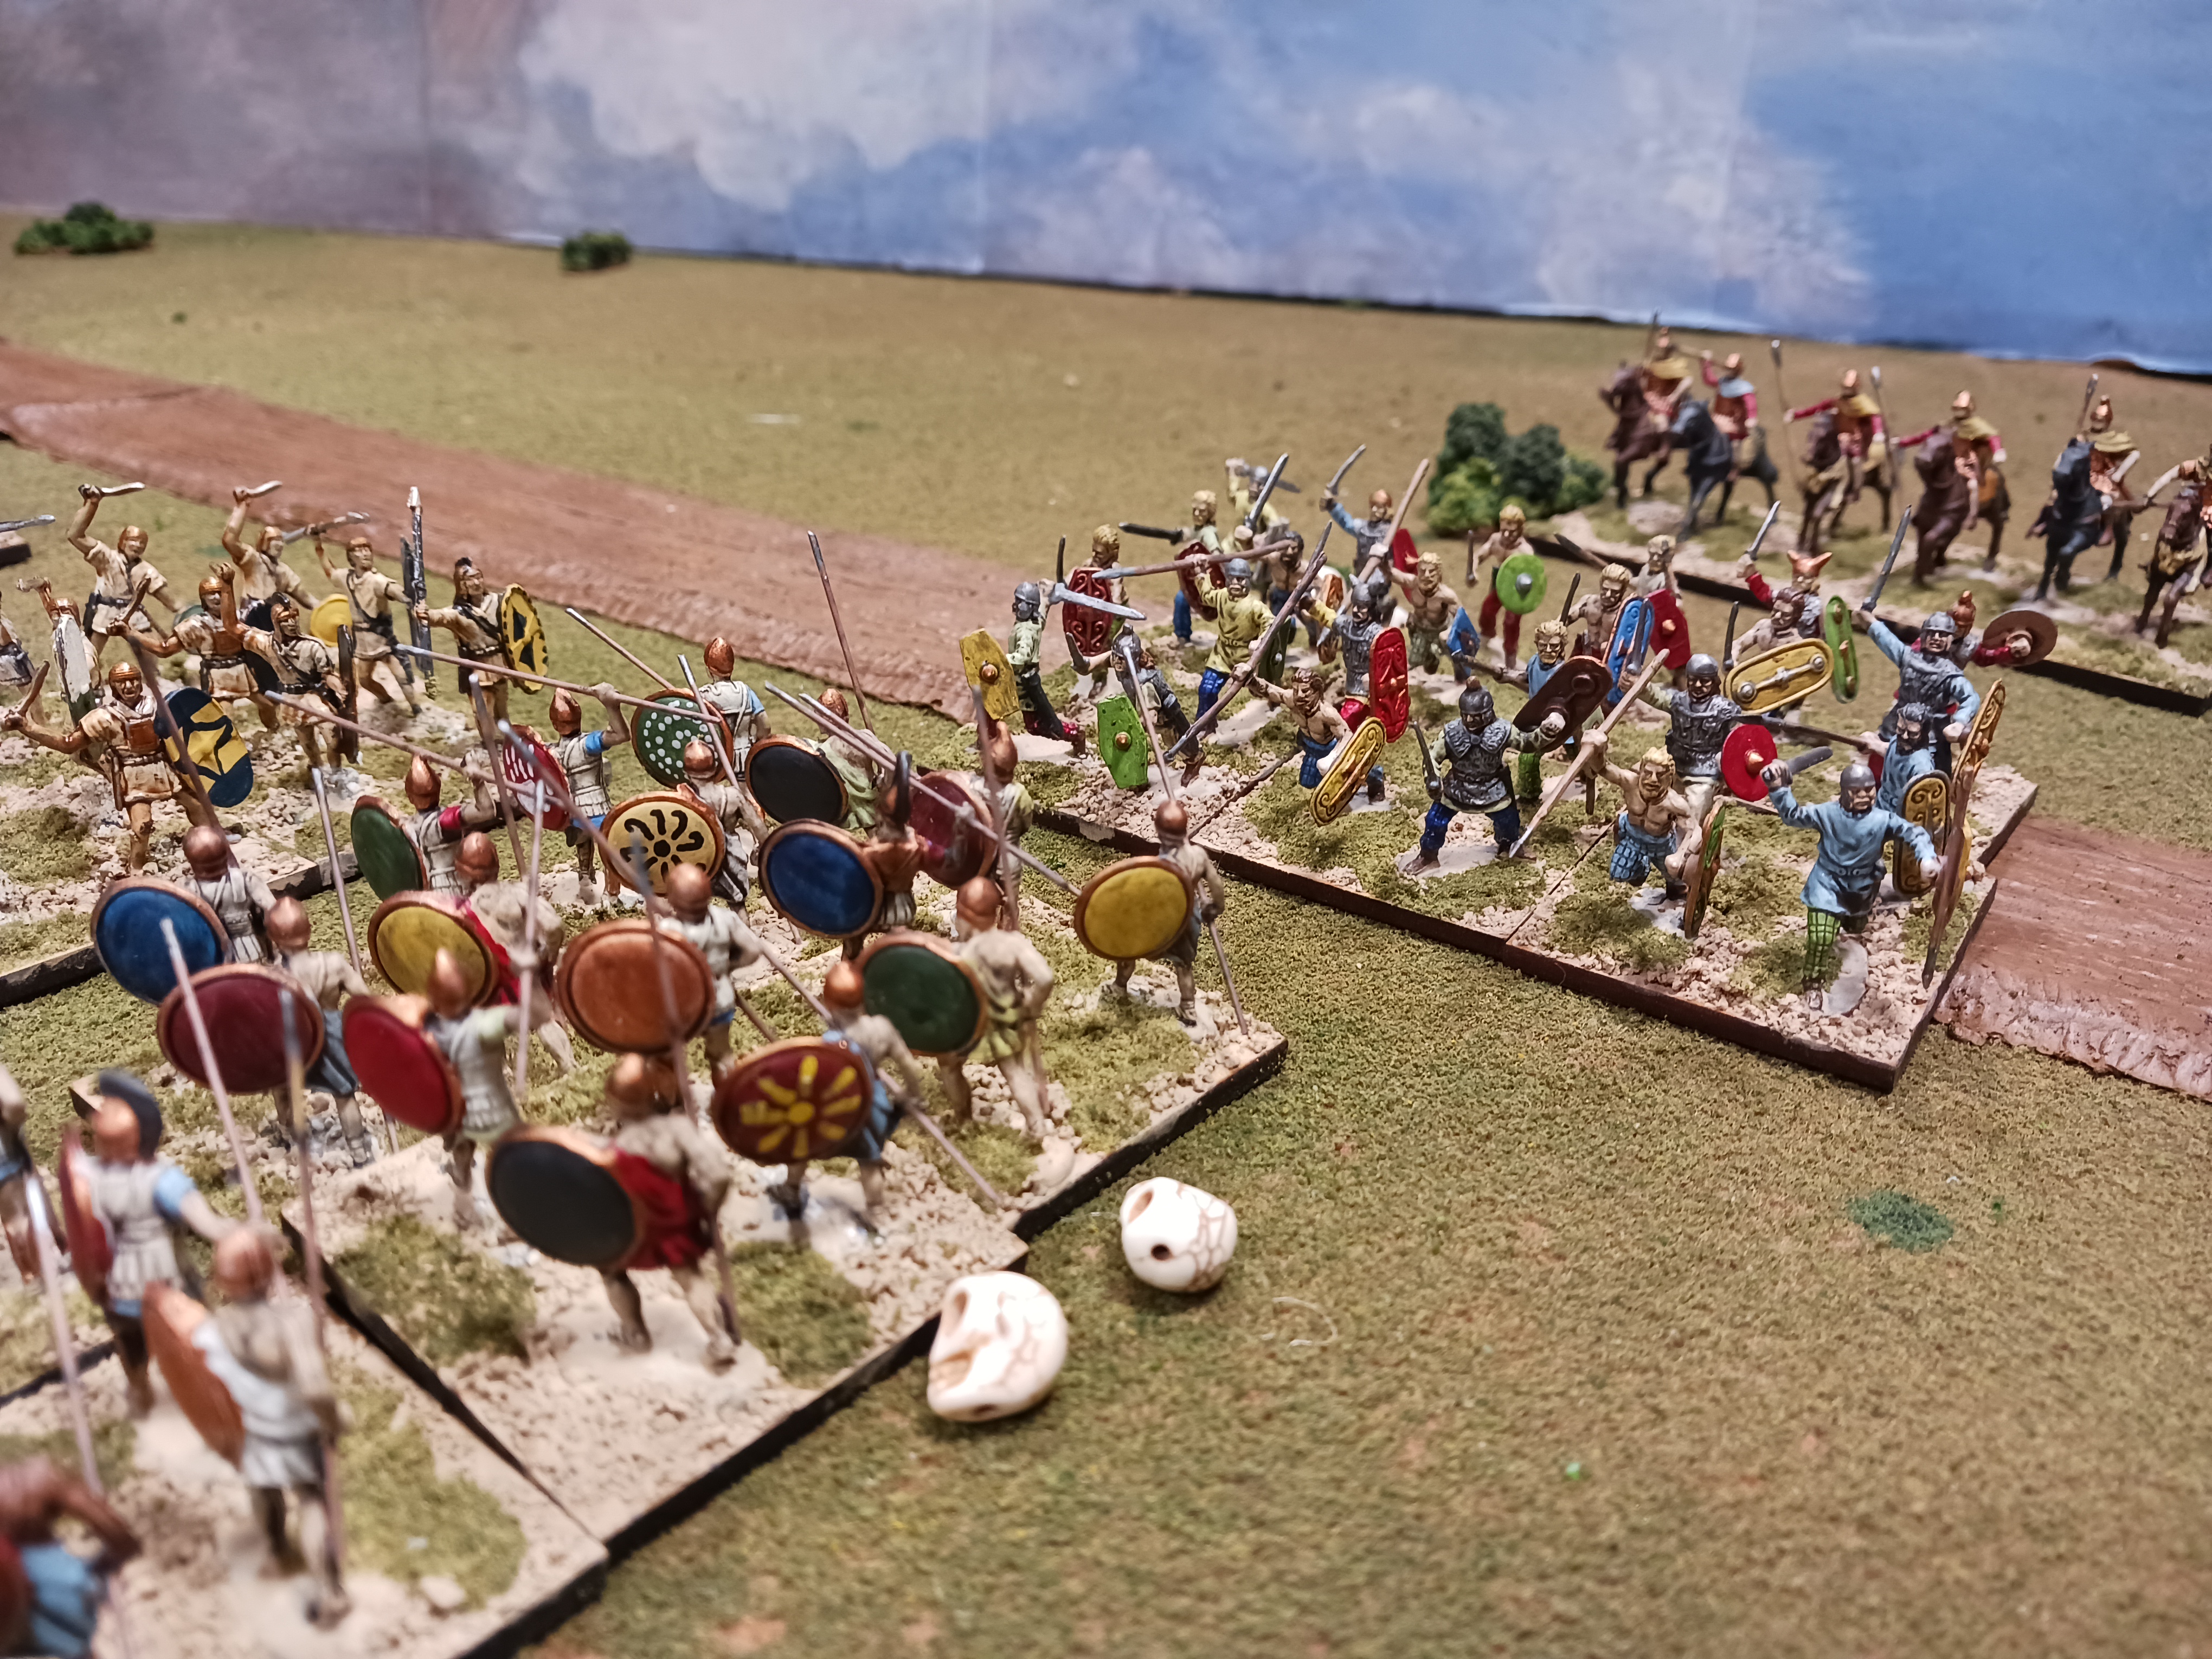
Venetian mercenary arquebusiers.

The French began a general advance, while the Venetians arranged their mass of firepower in the center.  Crossbows and handgunners in Kings of War Historical may not shoot if they moved in the same turn, so there was some urgency in getting everyone in place early on to maximize the number of shots before the Swiss pike blocks closed in.

French Gendarmes looking towards the Venetian positions.

French gendarmes on French right flank.

Venetians set up a firing line.  

The Swiss pike blocks trundle forward.
 
Venetian handgun fire, and mounted crossbow fire against the French right, both scored some hits but nothing major. The French Gendarmes and Venetian cavalry on French right came to grips, while the Swiss pikes closed within a few inches of the Venetian handgunners.

Swiss pike blocks advancing under fire from the Venetians.

The first few melees went overwhelmingly in favor of the French.  Then I realized that I was using a unit print-out from my previous Italian Wars game using KoWH, which had the Gendarmes as regiments and not troops (i.e. rolling 16 dice instead of 8 in melee).  So I reset those figures and refought the melees with Gendarmes as troop-sized units.

French Gendarmes route a troop of arquebusiers.

This still resulted in a troop of arquebusiers being easily routed by some Gendarmes.  On the opposite flank, some concentrated crossbow fire sent a troop of stradiots running, while in the center the Venetians simply were not bringing enough firepower to bear on the Swiss.

A troop of Stadiots are routed by French crossbow volleys.

Venetian arquebus fire not proving terribly effective against advancing Swiss.

Rather quickly it became evident that the Venetian handgunners should have been "counted as" regiments and not troops.  With ten dice instead of eight and a slightly higher waver/route target number, they could have given the Swiss more trouble.

Venetians making a good show of things - their cavalry on their left doesn't completely collapse in face of heavier French Gendarmes.  The center is laying down heavy fire on the Swiss, and the cavalry on the right has engaged the French crossbows.

Even so, the sheer number of handgunner units, plus the single organ gun, make a good show of things. Significant casualties are taken by at least one of the Swiss regiments, causing it to waver/disorder and halting its advance. 

Swiss keep coming on, though.

The good showing is short-lived, however.  The flanking gendarmes route one handgunner unit and a Swiss regiment routes another.

Things going less well... Swiss route some of the Venetian handgunners. French Gendarmes also route a second troop. In the distance, a troop of Venetian mounted crossbows are also routed.

Swiss pikes starting to push through.

Venetian general tries to hold the center.

On the other flank, Venetian Elmeti and Stradiots make slow progress against the French crossbowmen. After losing a troop of Stradiots, the Elmeti do eventually route one and then another of the French crossbow troops, but this will be the only positive result for the Venetians on this day.

Venetian Elmeti and Stradiots on Venetian right route two troops of French crossbows.

In the center, a third regiment of Swiss is able to loop around and attack the Venetian center from the side, routing another unit of handgunners and leaving only the organ gun and the general!

Swiss pikes swarm the center, route yet another troop of arquebuses.

Venetian cavalry, the only success of the day.

Venetian general holds what's left of the center with a stubborn organ gun.

While on the Venetian left, the Elmeti fight the French gendarmes to a standstill, thanks to a Rally! card drawn by the Venetians which removed two casualty markers. But the other two gendarme squadrons are able to route the Venetian crossbowmen and wreak havoc on Venetian arquebusiers in the center.

Elmeti and Gendarmes fight to a standstill.

After six turns, I considered the following conditions: If a side lost 1/3 or more of starting units, it is fatigued.  If it lost more than 1/2 of starting units, it has broken. If one or both sides are fatigued, but not broken, play additional turns until a side is broken at the end of a turn.  The Venetians had lost more than half of their starting units, so the game was over at the end of turn 6.

Mercenary handgunners flee the field.

Results of the experiment?

1. Was the game competitive and/or interesting with armies drawn up from non-Kings of War Historical army lists?  The game was obviously pretty one-sided in favor of the French, which I knew was a probable outcome at the beginning, given that the Venetian army is a bit of a peculiarity with such an emphasis on mounted troops. I definitely goofed in leaving the Venetian handgunners as only troops and not regiments. Those extra two dice for shooting and slightly higher Nerve ratings could have shifted things a bit.  The randomized terrain was also okay but not great for the Venetians. The 'walled villa' tile could have been helpful, and I might add a tile with a "L" shaped section of wall or hedge on it to the deck.

2. How will the addition of my chance cards affect play? The "ammunition shortage" card came up once for both sides.  This probably contributed to more or faster success by Venetian cavalry against the French crossbowmen, but definitely hurt the Venetian center late in the game, seeing as shooting is a key component of the entire army.  The Rally! card came up for the Venetians, and I interpreted it to simply remove 2 casualty markers.  In retrospect, this was pretty ineffective. Maybe remove 1d6 casualties from two units, or twice on the same unit? That could really recharge a unit and make a difference in the game.

3.  How did the Mounted Crossbowmen do? They seemed interesting and not overpowered either.  The more effective use would be to get them around the flank and behind opponent's lines, and then just shoot into the backs the whole game from 24" away. The two Venetian mounted crossbow units were able to lay down some effective fire before the French gendarmes closed. The fact that the Italian Elmeti heavy cavalry was split between both flanks gave the French an 3-1 heavy cavalry advantage on the French left, which consequently tied up the Venetian mounted crossbows in melee and prevented them from harassing other troops from afar.

Conclusions? Definitely worth another try.  The need for larger arquebusier units has caused me to open a bag of Spanish arquebusiers that has been laying around for almost a year.  Those should be table ready as soon as this weekend, along with a bag of mounted arquebusiers that has been unpainted since 2018 (!). Looking forward to trying to be a bit more active with this collection in 2023!

Saturday, January 21, 2023

Carthage vs Epirus - The Portable Ancient Wargame

With the holidays over, I finally played this last of my round-robin ancient games, this time between Epirus and Carthage.  The rules again were the Ancient Portable Wargame, as published in Developing the Portable Wargame.  I used a rough draft, more-linear, randomized deployment chart and terrain tiles to complete the set-up.  The army compositions were again based off DBA 1e army lists.  This confrontation was of course fictional, as it features a later-period Carthaginian army facing off against the Epirotes, but how could I resist elephants versus elephants?

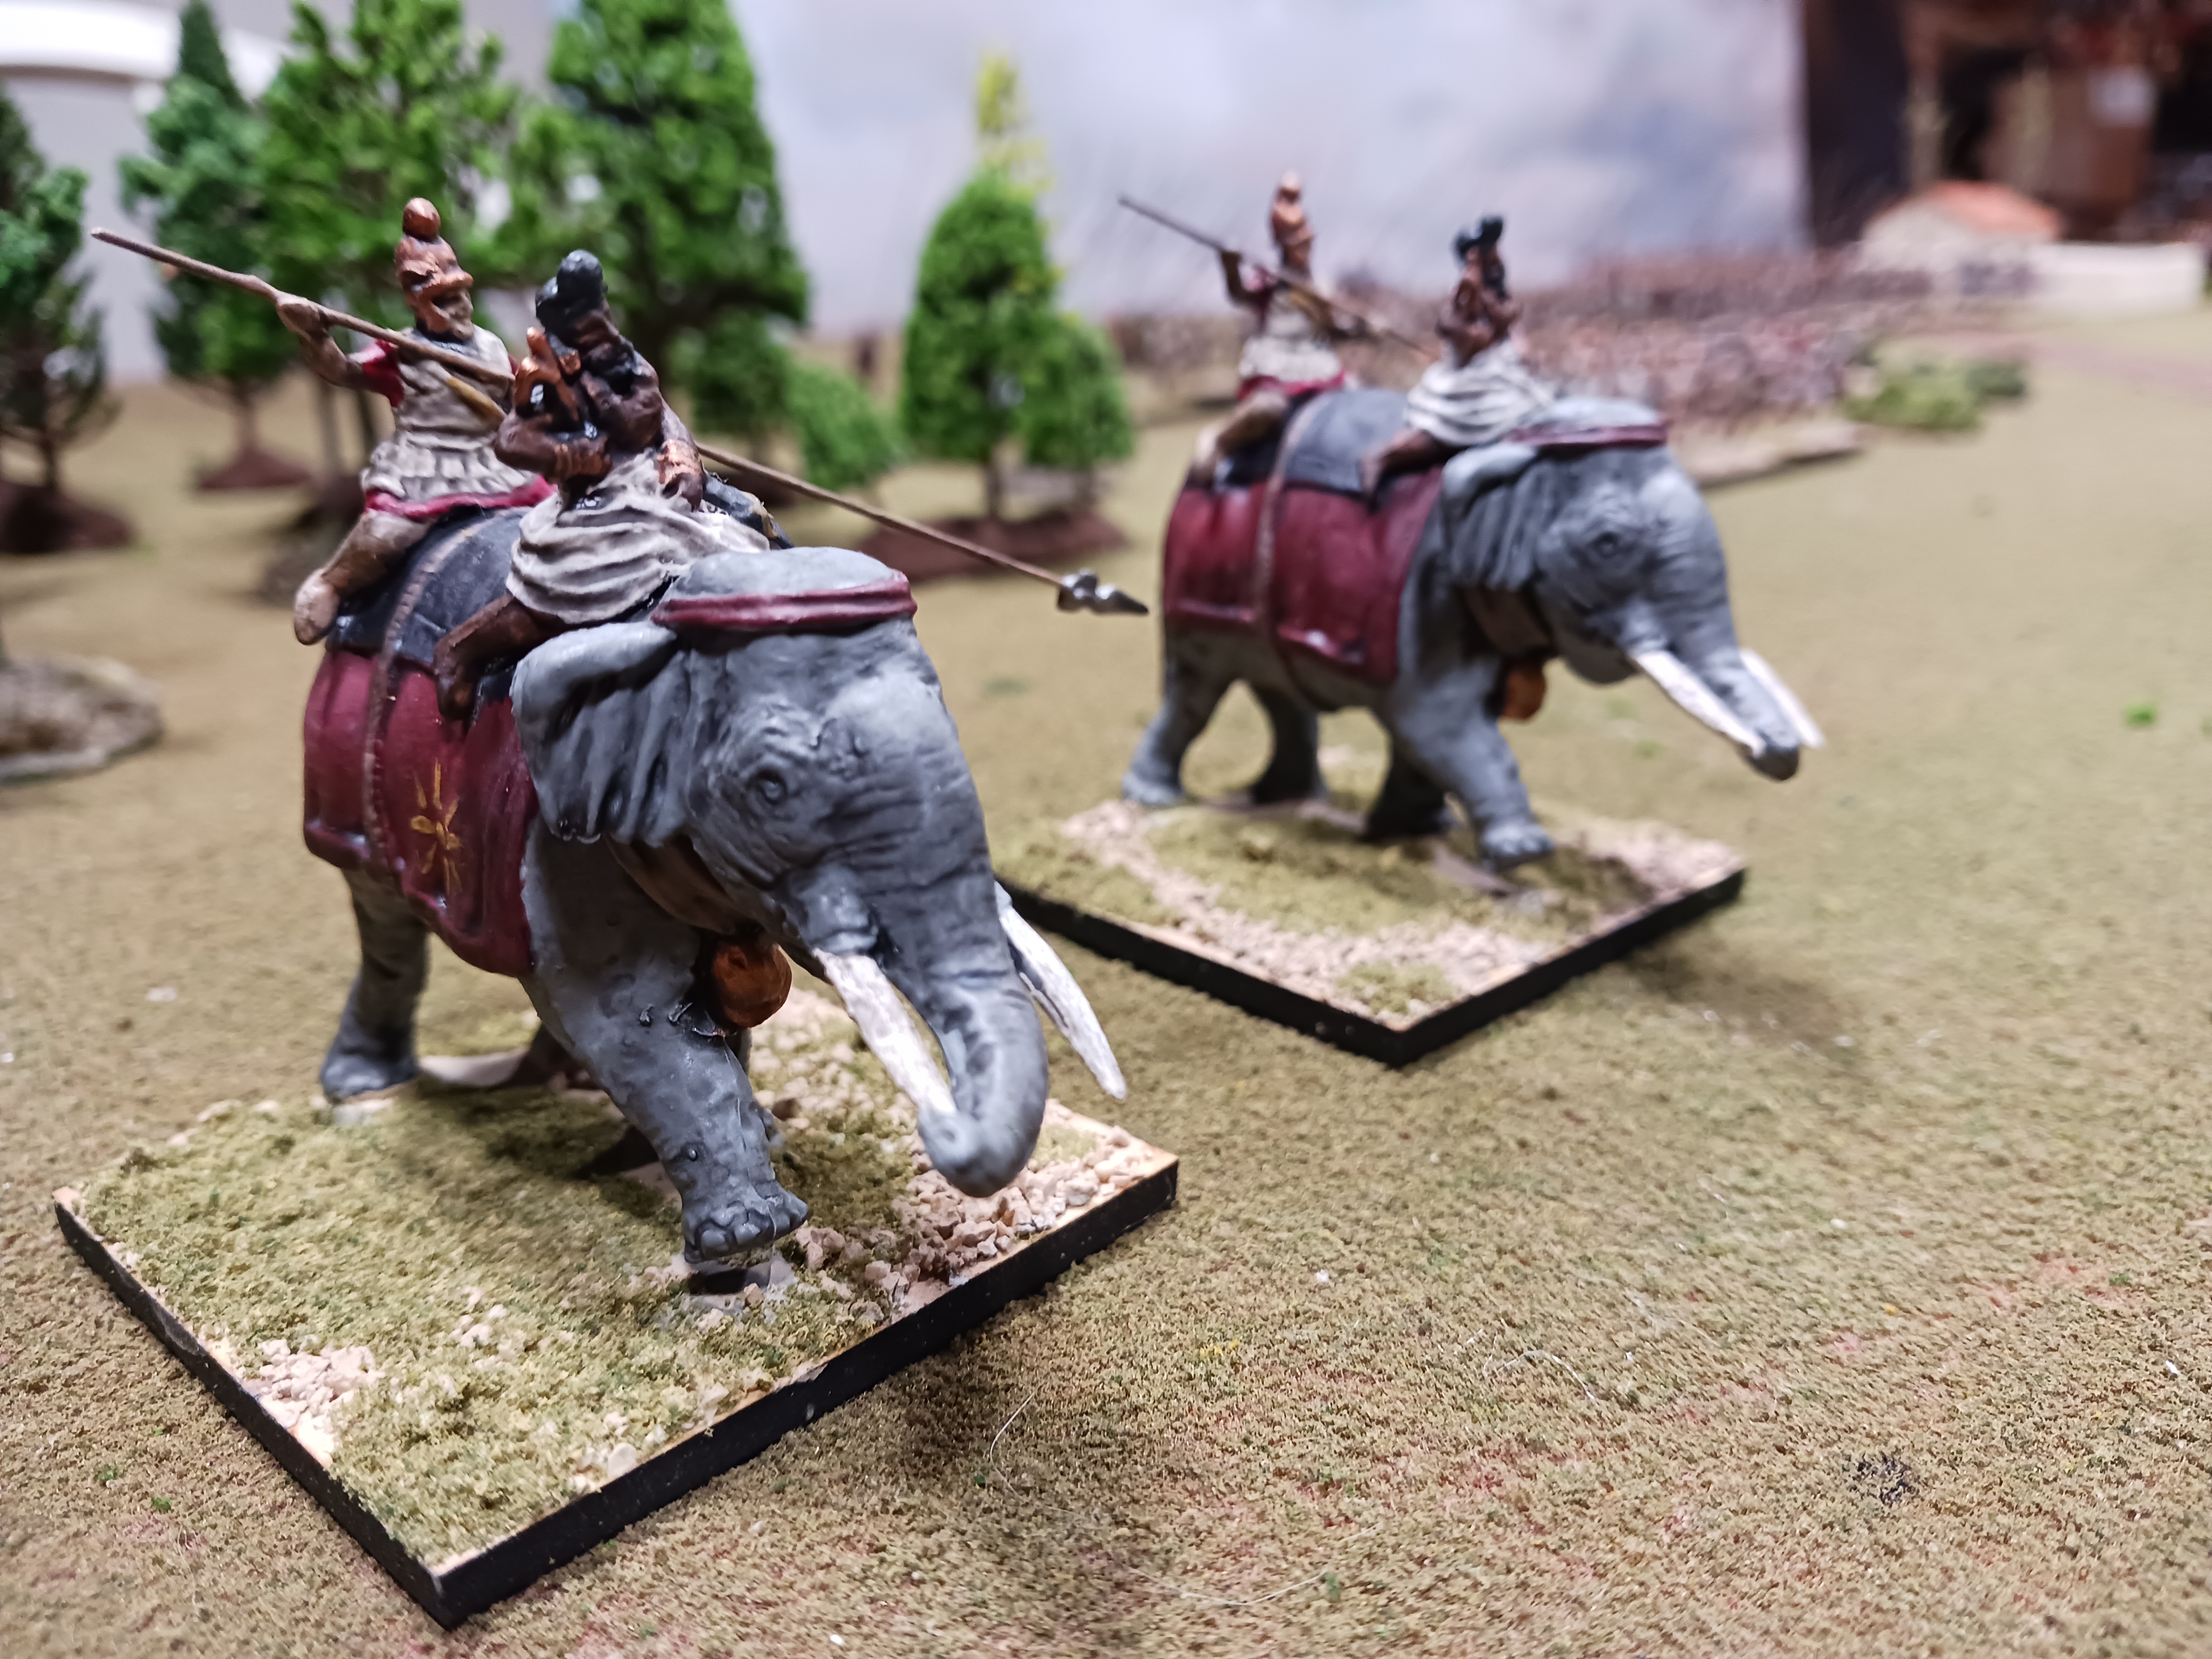
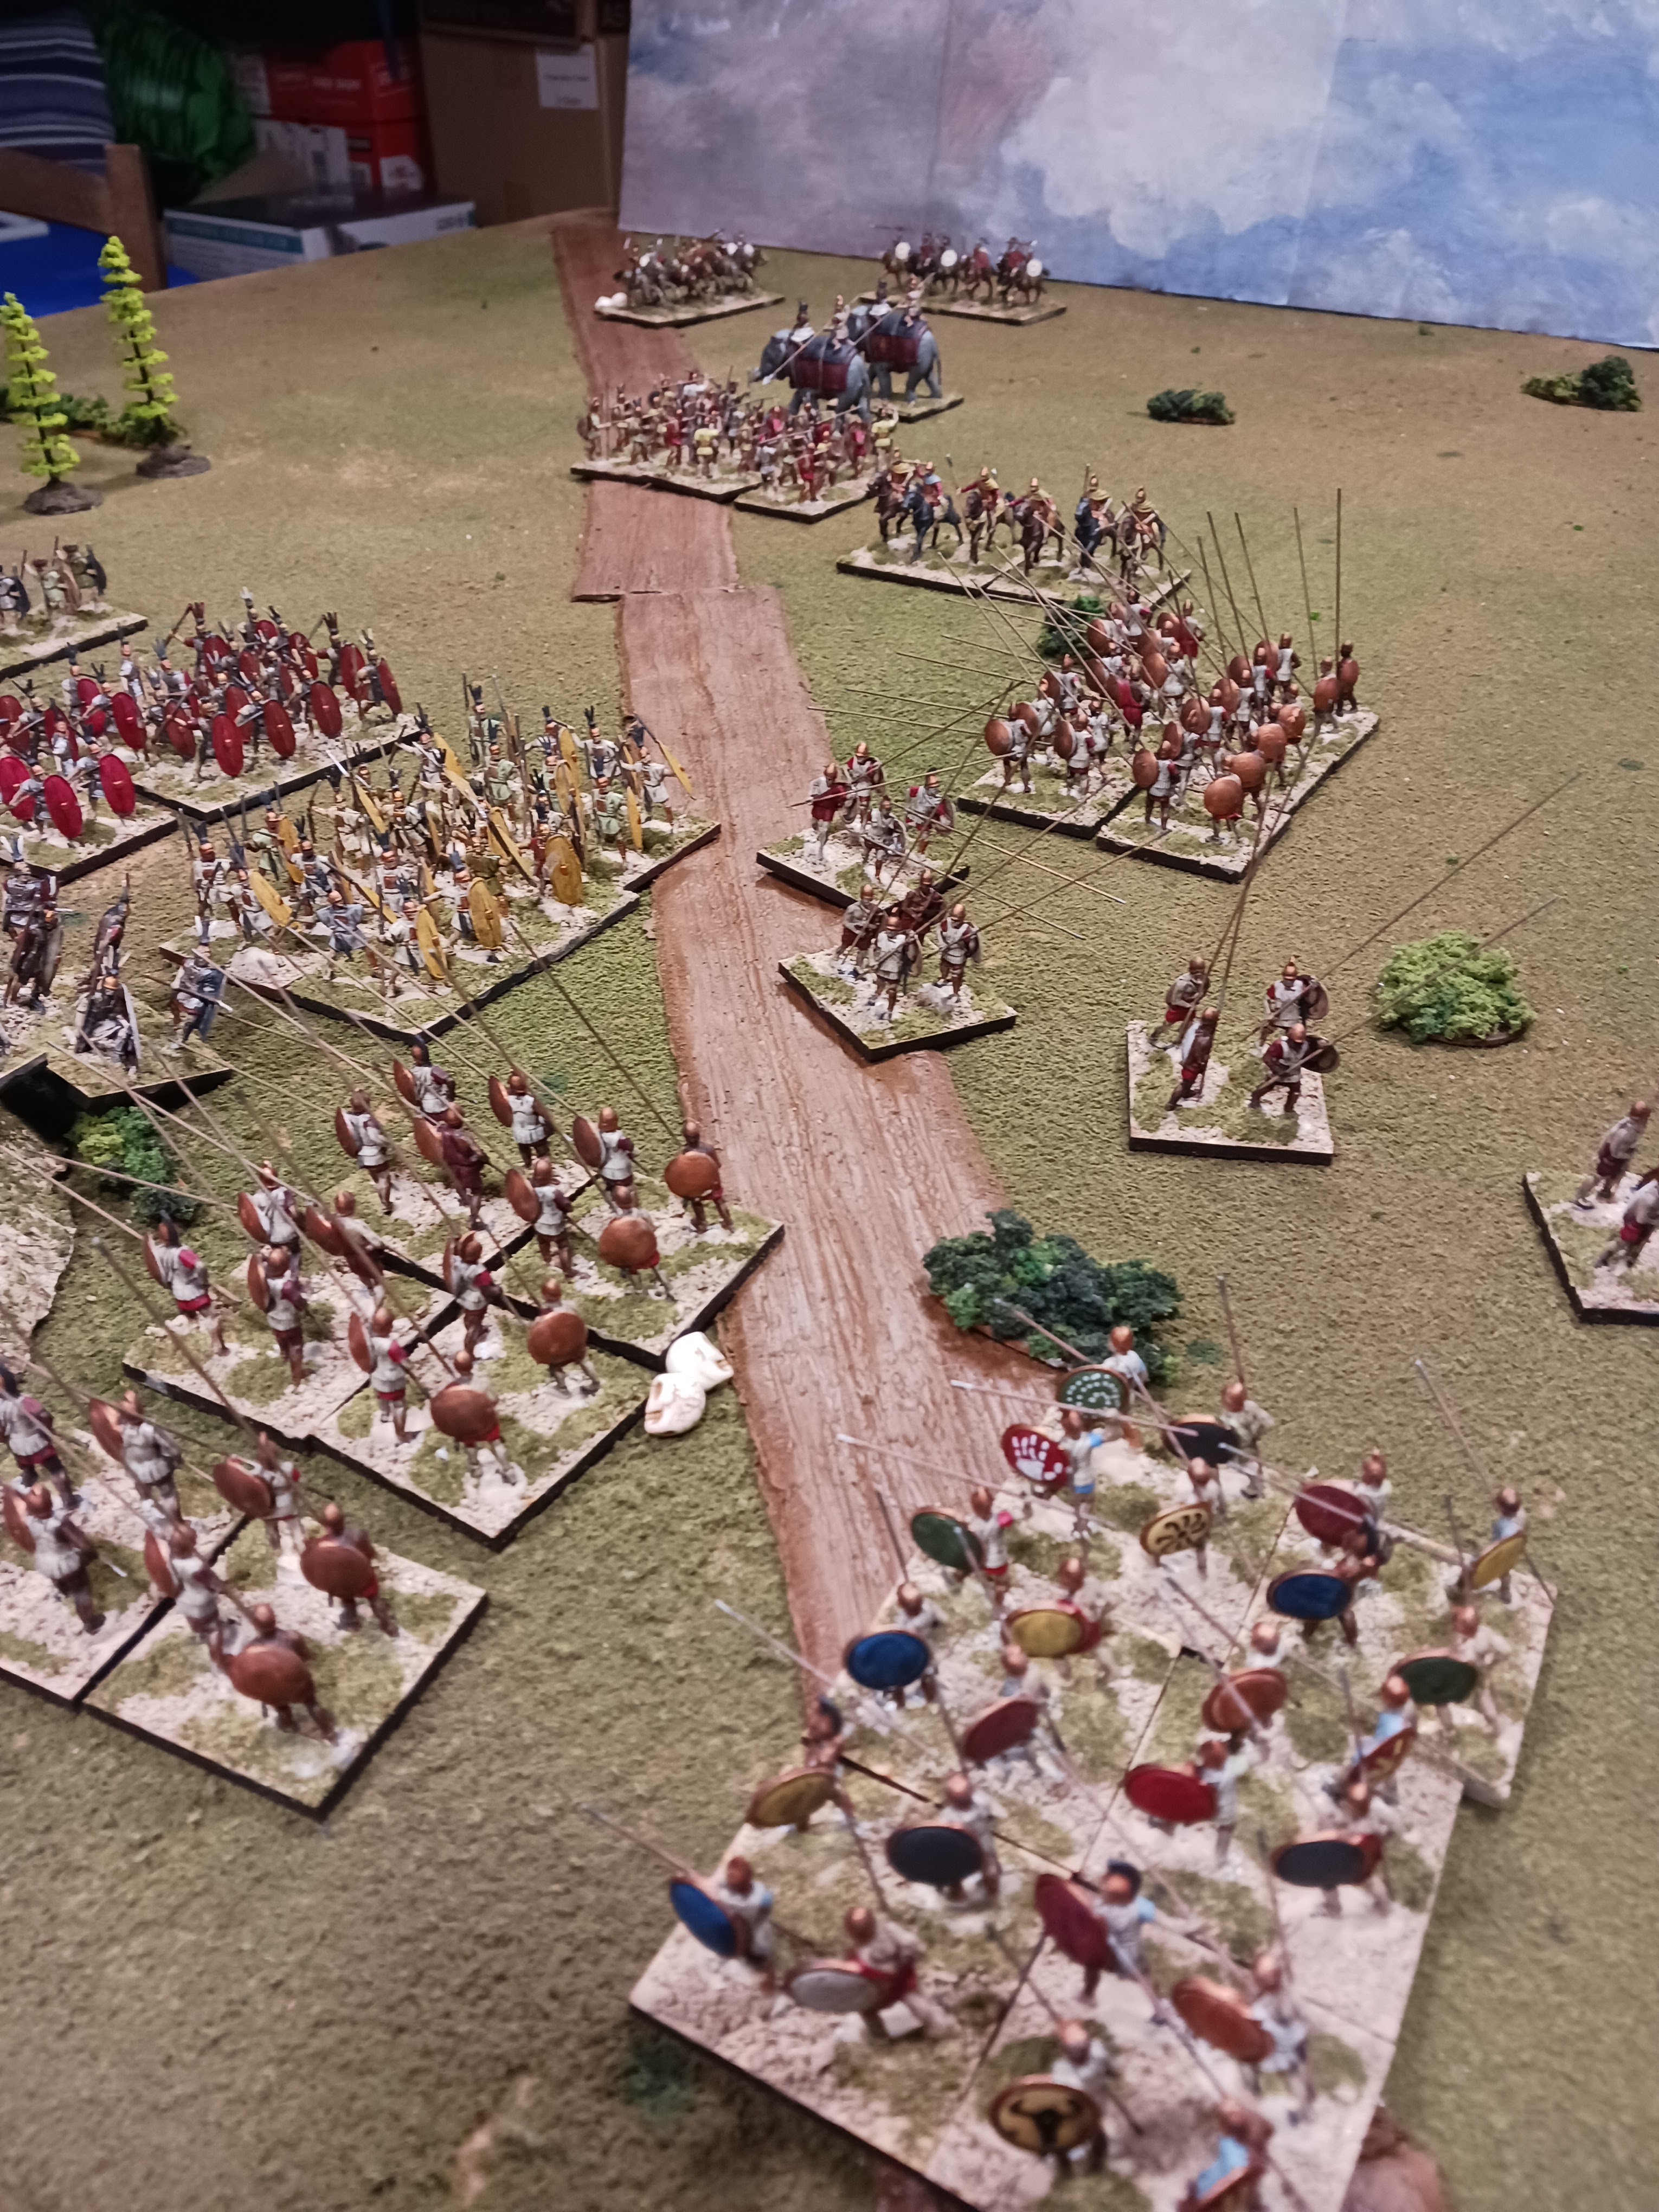
Epirote war elephants melee with Libyan heavy cavalry.

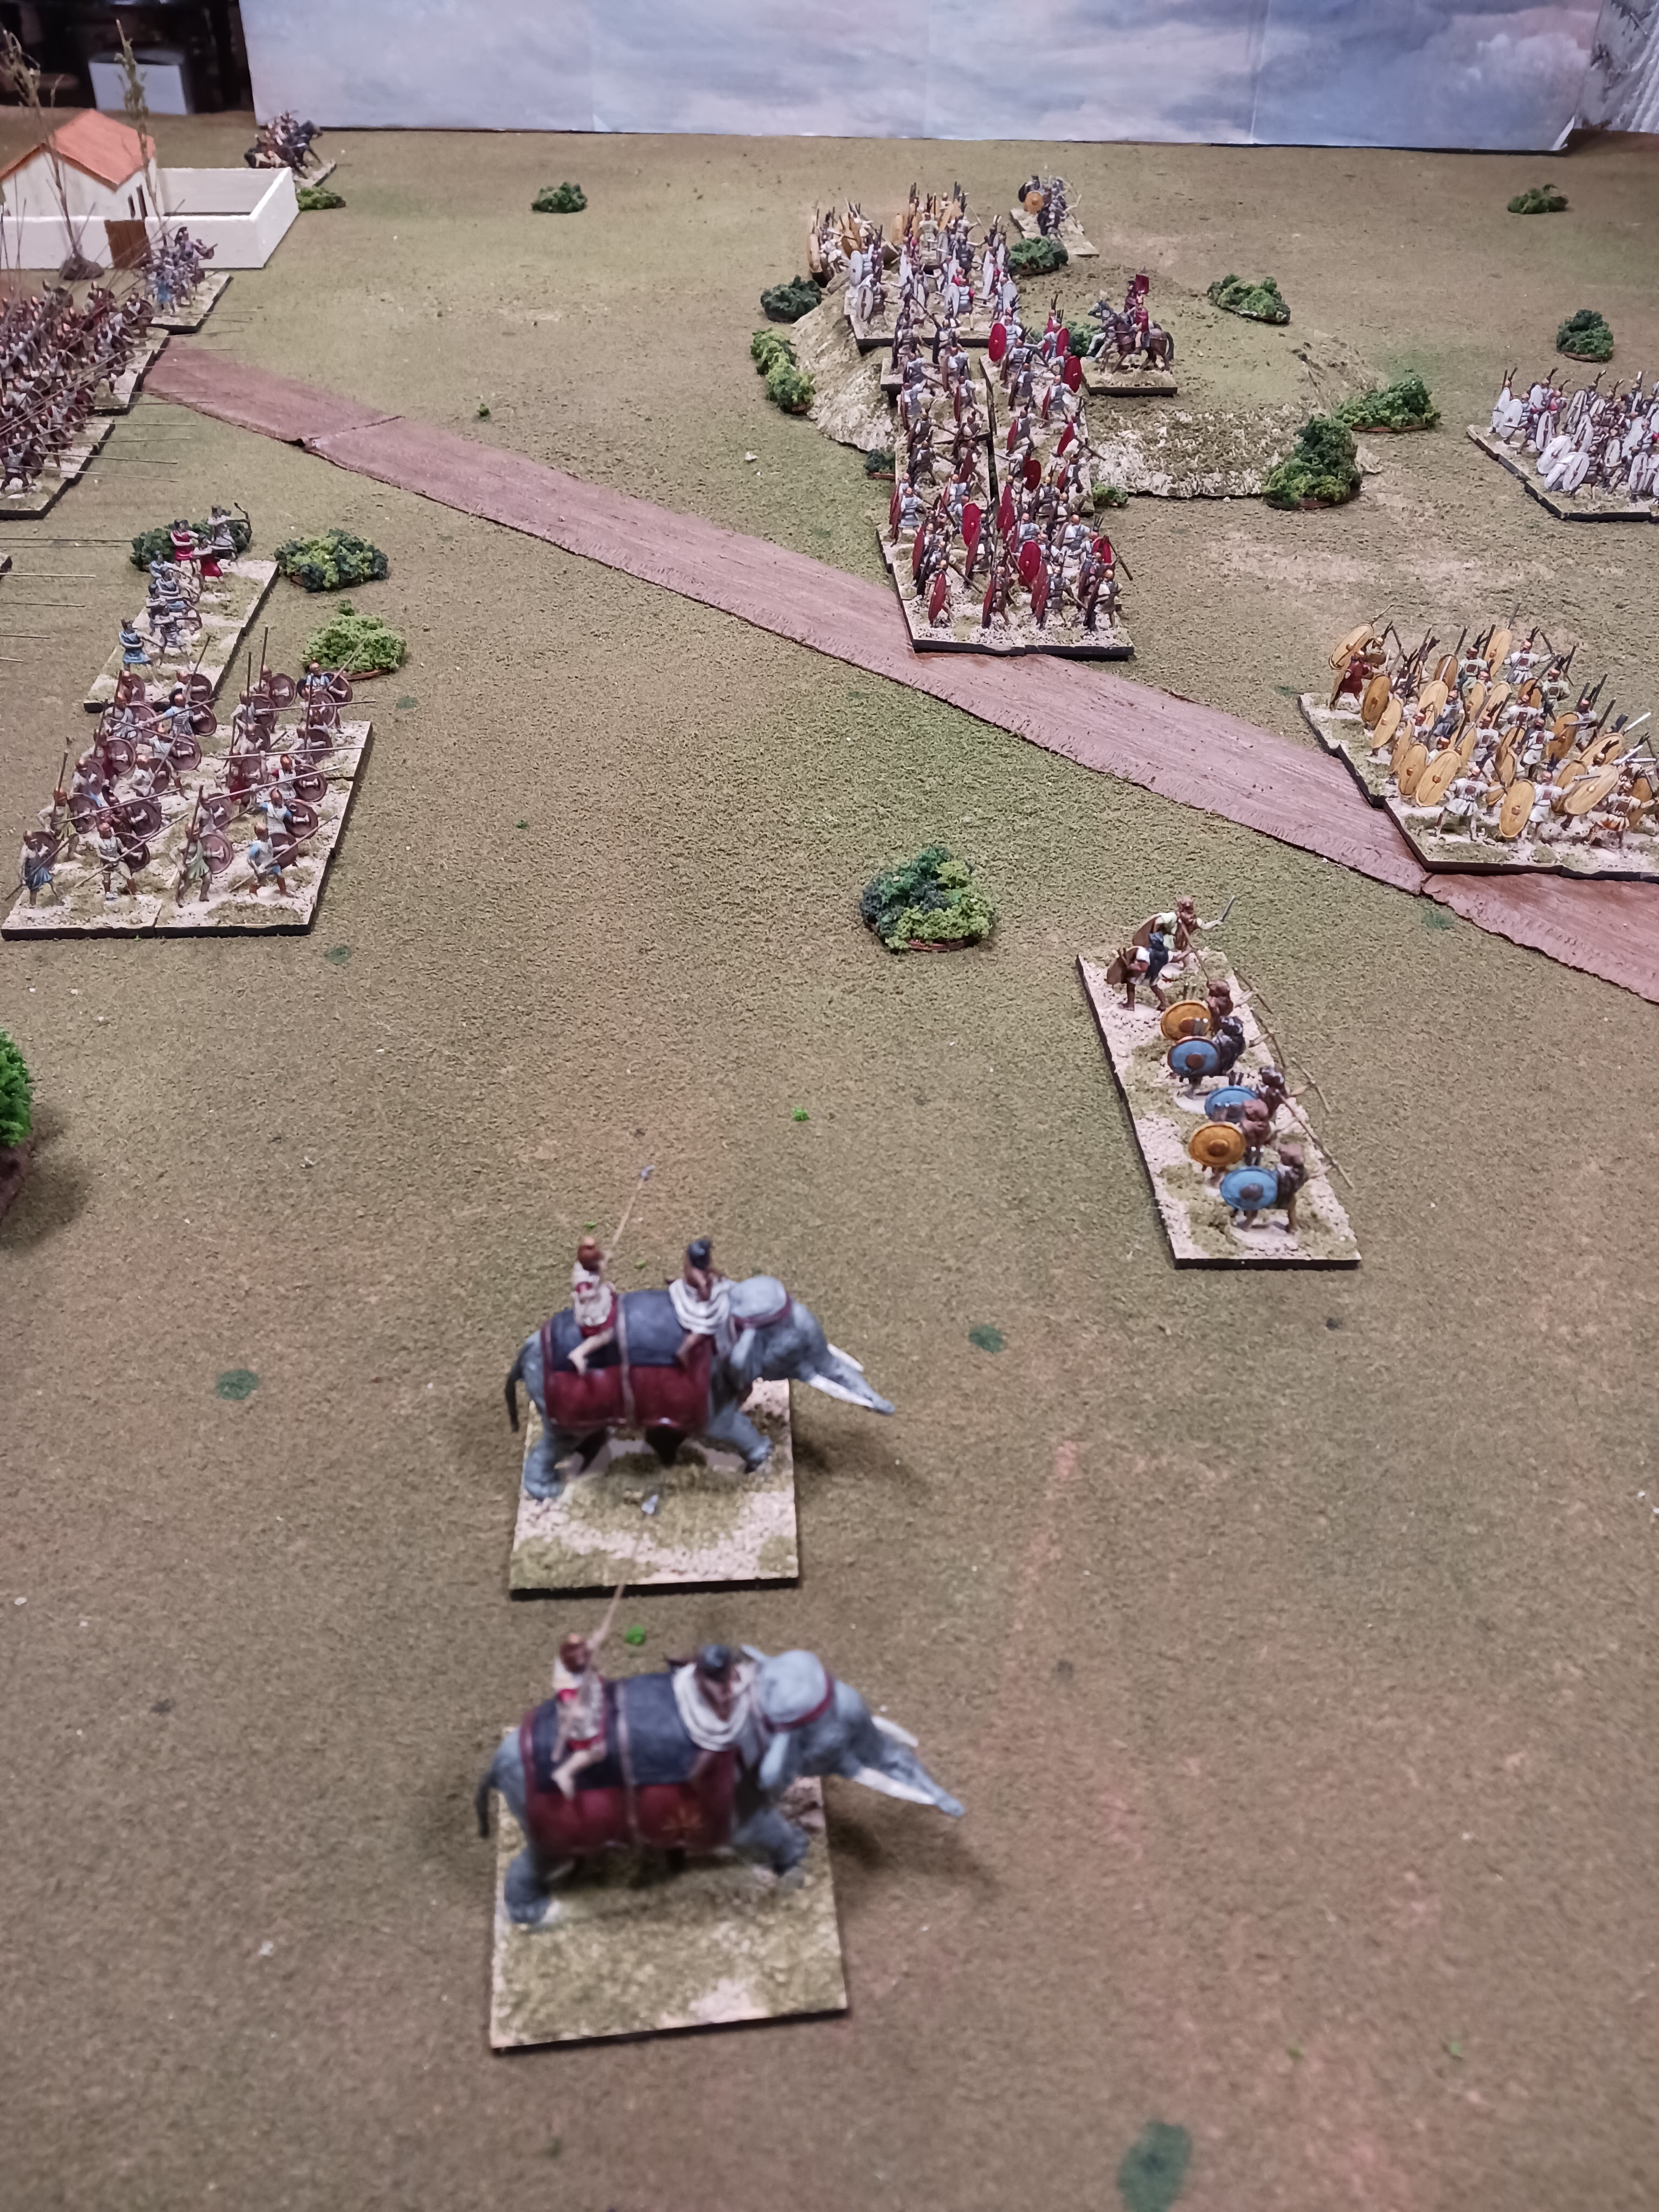
The randomized deployment landed all the heavy infantry in the centers, with the bulk of cavalry not across from each other.  The Epirote elephants were on the Epirote left, while Carthage's elephants were in the center.

After first moves, Epirus on left and Carthage on right. At the top, Epirote elephants rolled for extra move distance and went ahead and engaged Carthage cavalry.

In the Ancient Portable Wargame, elephants (along with light cavalry and light infantry) can test each turn for extra movement.  The Epirote elephants passed this test on their first turn, so went right at the Libyan heavy cavalry.

View from the Epirote left flank.

The Carthaginians, having four cavalry units to the Epirotes three, sent one of their Numidian light cavalry units galloping along the back of the Carthaginian infantry line to lend support to the Carthage left, where Epirote heavy cavalry had already routed the Baeleric slingers and was starting to flank the end of the Carthaginian battle line.

Balaeric slingers are routed, Epirote heavy cavalry is behind Carthage right flank.

Wanting to strike while Strength Points were still fresh, the Epirote heavy infantry commenced its attack on the Carthaginians, despite the Carthaginians being in better position with part of its line atop a hill.

Epirote heavy infantry engages the Carthaginian center.

While the Carthaginian elephants in the center held the hill, the infantry on the Carthaginian left gave some ground.  On the Carthaginian right, the Libyan heavy cavalry, assisted by Iberian heavy infantry, routed the Epirote elephants, giving the Carthaginians an advantage over the single remaining Greek light cavalry unit.

At lower right, the Epirote war elephants are routed by Iberian infantry.

Said Greek light cavalry unit eluded destruction, however, and the Carthaginian massed cavalry did not make easy headway in attempting to flank the Epirote left. Worse yet, the Carthaginian chance cards had burned off a rally card early one before even losing any Strength Points, so the Epirotes were attacking from a position of confidence that they could rally some losses.


Epirote light cavalry and a phalanx of heavy infantry are working to turn the right flank of the Carthaginian infantry.

The Epirote infantry continued to make headway against the center and the Celts and Iberians at the flank ends of the Carthaginian battle line were taking a beating, while the victorious Carthaginian cavalry on the Carthage right had to abandon efforts to turn the Epirote flank in order to deal with the persistent Epirote light cavalry.

Epirote light cavalry brings Iberians to brink of routing
Epirote hoplites trying to flank the Carthage line.
Things looking shaky for Carthage, with both flanks curving back...

BUT THEN, a good turn of luck on the chance cards! Epirus draws "Loss of Nerve" which confers a -2 on all melee rolls. Although Carthage draws a "Confusion" card (no movement), many of their units are already adjacent to Epirote units, so no movement is needed to engage in close combat.

 Carthage's attacks go well enough bring Epirus roughly equally close to its exhaustion point.

Celtic mercenaries attack Epirote hoplites in flank.

Epriote line thrown back, but the Celts route, at top.

Although the entire Epirote battle line is pushed back, the Celts do route, having already taken too many lost SPs.

Celts on Carthaginian left are routed.

Carthaginian war elephants.

Fortune then seems to swing back to Epirus, with the Iberians on the Carthaginian left routing...

Iberians on Carthaginian right are routed.

But then Epirus draws its second Loss of Nerve card! Heavy Epirote cavalry is routed on its right flank.

Epirote heavy cavalry are routed.

And the pesky Epirote light cavalry is routed on its right flank.

Epirote light cavalry are routed.

And the Carthage come-back victory is sealed when a phalangite block is routed in the center!

Epirote phlangites are routed.

Defeated Epirote commander.

Victorious Carthaginian elephants!

The chance cards really delivered the goods for this game, making what was starting to look like a bog-standard Carthaginian defeat (wherein they basically just get pummeled by a more heavy infantry-focused opponent) into a narrow victory.

Overall, this round robin sampling of battles lays some good foundations for potential solo campaigns. the DBA 1e army lists created competitive armies and gave each their own character.  More importantly, with the 12-units-per-army system in place, the simple campaign system at the back of the 1e rulebook can be used.

Wednesday, December 21, 2022

Epirus vs Rome - The Portable Ancient Wargame

With games between a Syracusan army against a Carthaginian one and a Roman one in the books, the Romans stayed on the table and I changed out the Syracusans for a Epirote army.  Once again, I used the army list from DBA's first edition as a basis for an army from Epirus. This method surprising creates two armies of the same SP strength, or just a point or two off, so its an easy resource to add to the Portable Ancient Wargame toolbox.

Initial positions - Epirotes on left, Romans on right.

The Epirotes of Pyrrus thus ended up with four phalangite heavy infantry units, two hoplite heavies, two light infantry units (one with bows [2SP], one with javelins [3SP]) two heavy cavalry units, a light cavalry unit, and a unit of elephants.  The Romans had the same composition as the previous game - seven heavy infantry units, two heavy cavalry, and two light infantry with javelins (the velites).

Roman hastati in front of the woods. In retrospect, heavy infantry cannot enter wooded squares in The Portable Ancient Wargame, so that unit of principes in the woods wasn't right. I really need to sit down and outline a solid random deployment system.

The random terrain and deployment wasn't too weird this time, although I redrew one of the terrain tiles because the "big woods" tile came up.

Epirotes. I painted those phlangites and elephants in 2021 so its taken way too long for them to get on the table.

Both sides spent their first turns repositioning infantry from three lines in the center into a single battle line with perhaps a reserve of a single unit. The Epirotes sent their elephants from their center to their right, to support their two units of heavy cavalry against the Roman cavalry.

Romans make first move and start deploying into a proper battle line.
20mm figures do fill up a 6x4ish table quite nicely...


The Roman infantry, however, was able to take position on the crest of the small hill first.  This gives them a slight advantage in close combat rolls which would probably prove the decisive factor in the game.


Roman lines are now starting to take position atop the hill (slight bonus if attacked and enemy is fighting uphill). Epirotes are lining hoplites and phlangites up across from them.

The Epriote battle line.
 
Epirote elephants. Although there are two figures this counts as one unit.

Roman legions atop the hill looking at advancing Epirotes.

Epirotes have commenced the attack on Epirote left.

The Epirotes accordingly tried to focus their efforts on the flanks - with the Roman and Epirote heavy cavalry tried up on the Roman left, the elephants could hit the Romans in the flank. At the same time, Epirote light infantry and unopposed light cavalry could try and flank/overlap the Roman right flank anchored at the corner of the hill.

Phalangites vs legionaries.

Close combat has now commenced all across the table.

As it turned out, the Roman cavalry got he better of their Epirote counterparts, the elephants failed to really disrupt the Roman flank.  On the opposite flank, the Roman simply would not budge from the crest of the hill. 

Roman hastati are attack in front by hoplites and in flank by Greek light infantry.

Still, it was hard fighting all around.  Both generals fled when the units they were respectively attached to were routed. And both sides ended up past their exhausted point, so we entered the twilight of battle with both sides unable to advance towards each other, trying to push the other side past the 50% route mark using only units already in close combat proximity or ranged weapons.

A unit of phalangites is routed on Epirote left!
 

The game-winning close combat for the Romans was delivered by the Roman cavalry against the Epirote elephants, but once again the real game winner was the Roman heavy infantry, which threw back multiple attacks by phalangite, hoplite, and light troops alike.

End of game. Three of four phalangite blocks have been routed...

Rome could not be budged from the hilltop.

I am definitely finding that light infantry deployed at the flanks of the battle line is more effective than in front of it in a traditional skrimish role.  With thier seven full units of heavy infantry, the Romans are proving really difficult to beat, athough I've often wondered if sheer numbers of heavy infantry were the real secret to Roman success, and not the pila and/or three lines in a checkerboard formation or whaever (wargamers can never seem to decide if Romans of the Republcian era should be in three lines or in a checkerboard of blocks).  The results on the table certainly seem to indicate that having more heavy infantry than anything else is the way to go!

Epirote elephants were not effective.

Up next will tbe final round robin game, with Epirotes going up against a Late Carthaginian army, so there will be elephants all around!