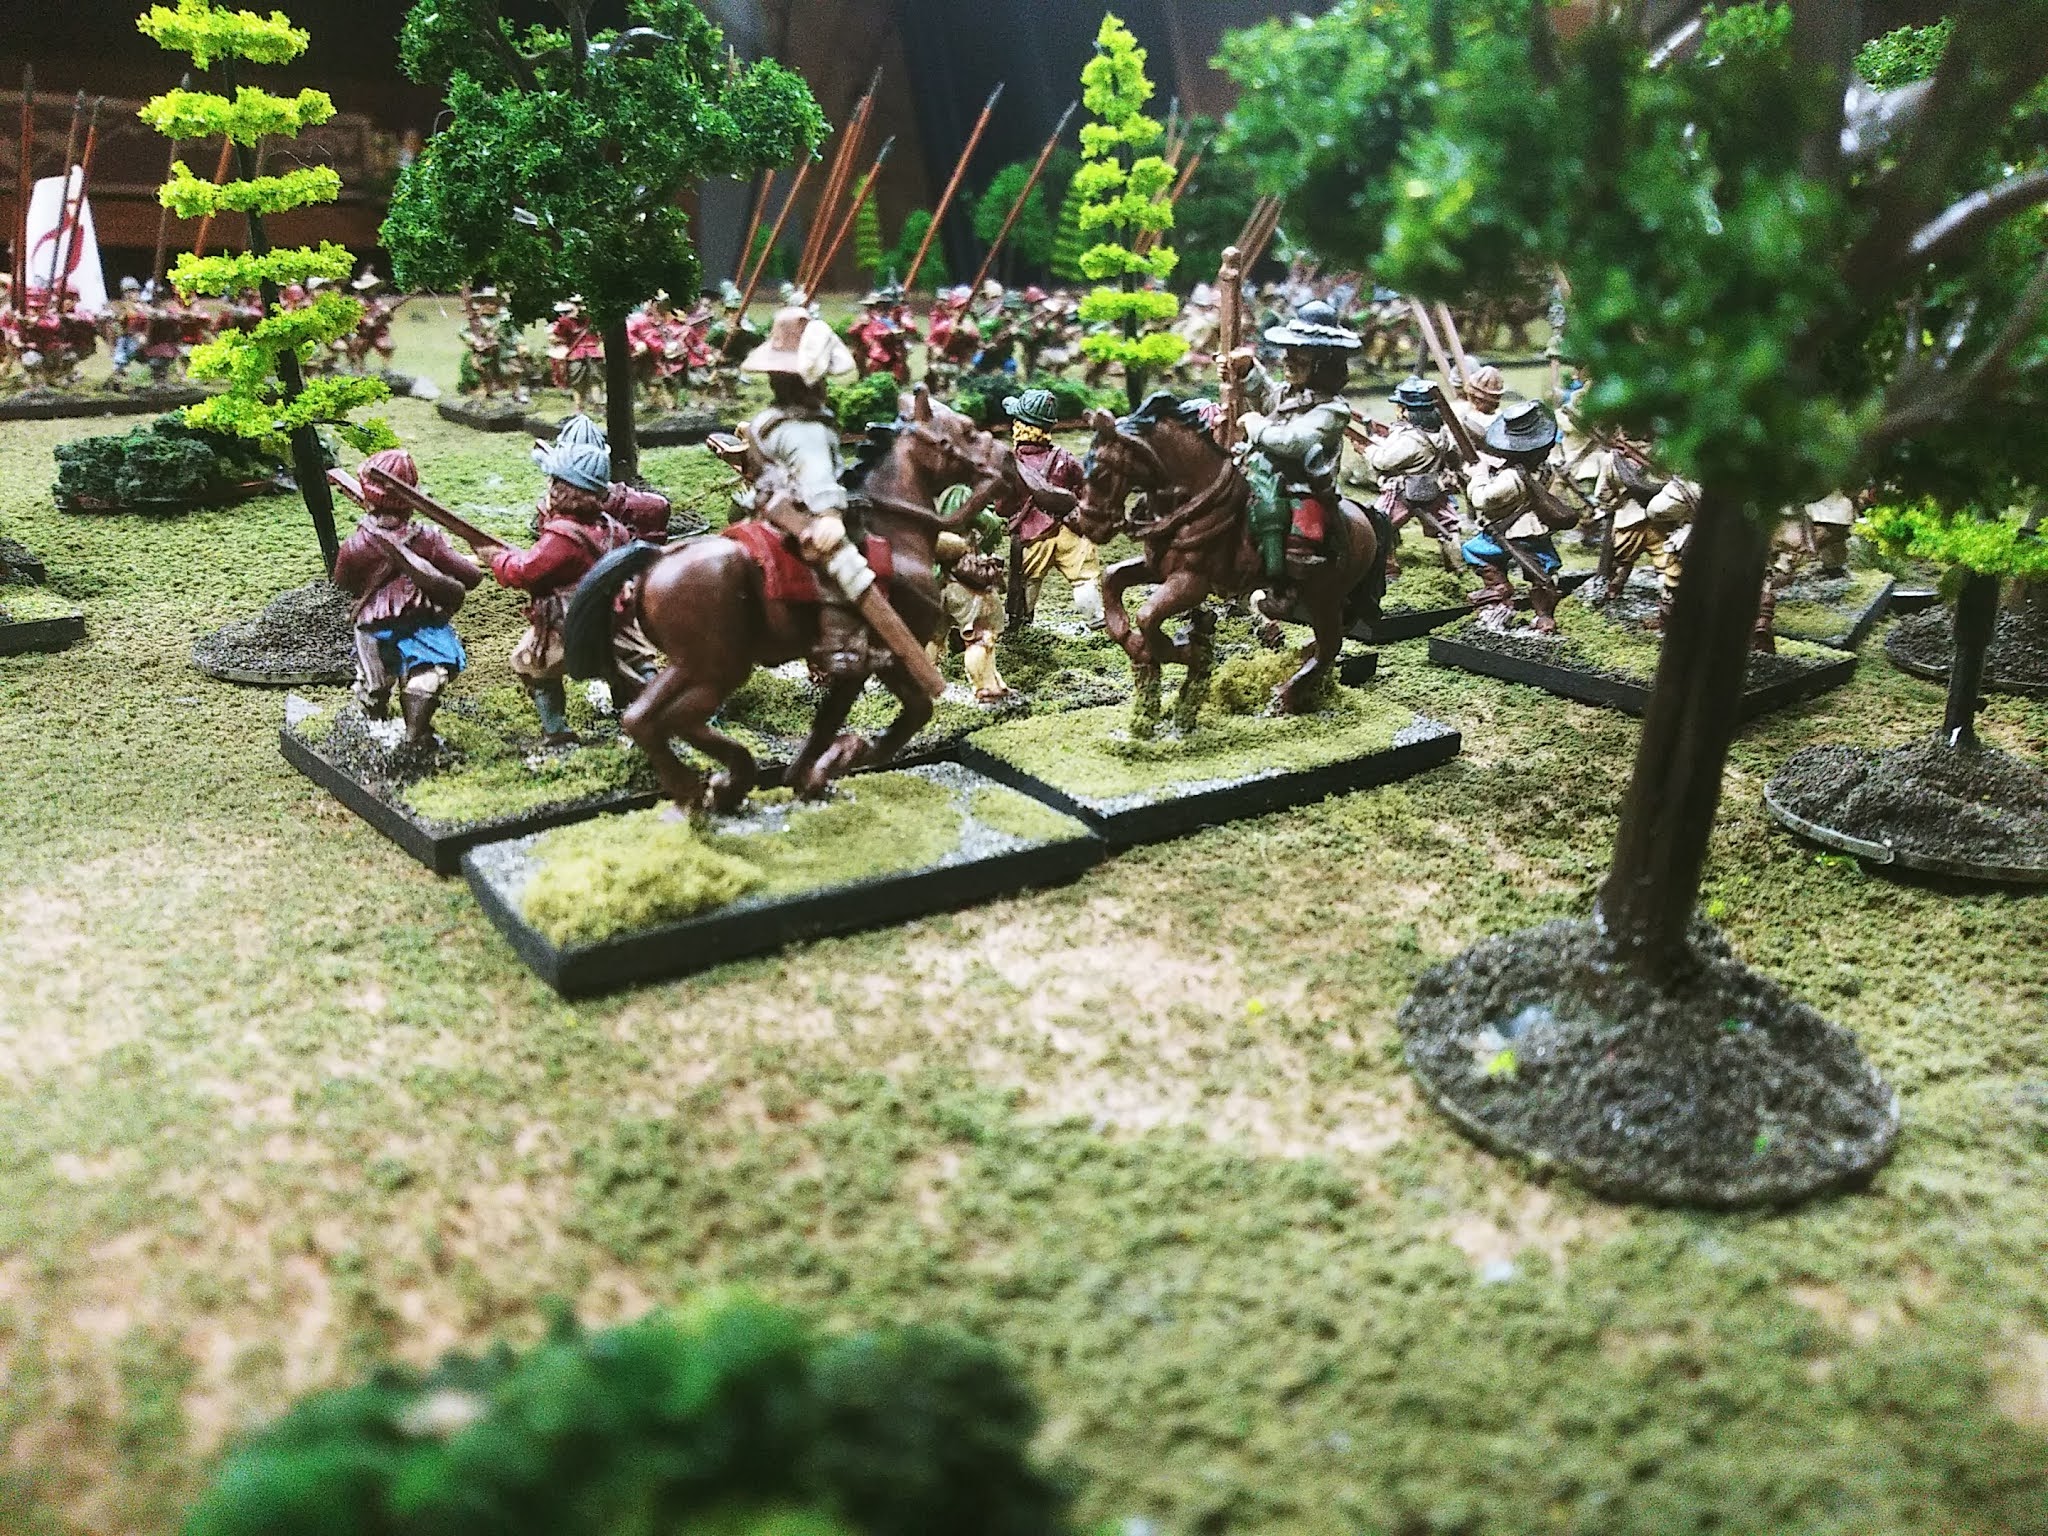
Following the Parliament victory by Sir John Meldrum at Thorp in the Fallow, the Royalists had managed to reach the final battle square first and took advantage of Parliament's bad fortunes (unpaid troops mutinying, bad weather) to strike unexpectedly south at Grantham with the idea of opening up the road to London. 3 miles from Grantham, the Royalists, having replaced as their commander the oft-defeated Sir John Henderson with Sir William Widdrington, found Meldrum waiting for them in small sconce blocking the road, outside of Sedgbrook.
 |
| Positions after first moves. Royalists on right, Parliament on left. |
In the finale to the 1495 Italian Wars campaign, the advantage conferred on the first to the final battle square was that the defending side took a -1 on every roll on the force composition randomizer. Each side then received a "captain," which was an additional heroic personality figure conferring the same +1 modifiers as the usual general. The problem with this approach is that the result can be fairly pedestrian - in the aforementioned Italian Wars finale game the defender rolled exceptionally well, and the -1 to each troop type only ended up creating equally sized forces. Both sides won an equal number of games during the campaign so had an equal number of captains, so its hard to say if having a 4-to-1 advantage in captains would be advantageous. Additionally, because the Italian Wars game ended up with equally sized armies, there was no need for the defender to acquire the usual earthworks for its deficit in strength points.
Rather than "captains," I decided that each game won would grant the winning side an additional unit in the final battle (so +4 to Parliament and +1 to the Royalists). Parliament would therefore be rewarded for winning more of the earlier battles which would offset them not reaching the final battle square first. Sir William Widdrington thus rolled up 3 elite Northern Horse and 1 average Harquebusier troops of horse, 3 elite Whitecoat and 1 average battalias of foot, a single Whitecoat elite commanded shot unit, and a light gun.
Sir John Meldrum's Parliament army of the Eastern Association ended up with 4 troops of elite Fairfax Horse and one average Harquebusier, one average battalia and three poor battalias of Lincolnshire Train'd Bands, and a light gun. As the Royalists had 33 SP to Parliaments 30, Parliament also had a small 3-sided sconce as an upgrade (adding 3 SP) to bring them to 33. On the random deployment table, Widdringtron deployed his troops in two lines, with cavalry mixed in at edge of the foot, while Meldrum's forces were deployed in a more traditional line with the foot in the middle and the cavalry on the flanks.
Now Widdrington took survey of the field. To his left flank was a fairly dense wood (3 squares by 3 squares) and a hill or ridge ran along his right. Opposite the woods were 3 squadrons of Parliament horse. He struck upon a plan (not wanting to be indecisive, like Henderson had at Thorp in the Fallow and earlier in June at Carlton Scroop), which was for his horse on his left to swing across and join his horse on his right. The commanded shot would take cover in the woods and assist the non-Whitecoat battalia and deflecting flanking moves by the Parliament horse opposite the woods, while the three battalias of elite Newcastle Whitecoat foot would attack the center at the same time the now-massed Northern Horse attacked the Parliament horse.
Meldrum, with the benefit of some defensive works in the form of sconce, decided to form his foot up around said sconce. He suffered a bit of indecision with his three troops of horse on his left. At first he thought to position them by woods and to attack the Parliament foot in the flank when they attacked the sconce. But as the Royalist horse rode away to the other flank, he decided to send at least one troop all the way around the wood to harass the Parliament rear.
In other words, other than some ineffective cannon fire by the falconets, both sides politely waited while the other got itself into position.
This was the first game of the Portable Pike & Shot Wargame where I was not allowing heavy artillery to be present, and, at the last minute, decided to port over the idea of letting guns share a square with a friendly unit. This was really quite easy to figure out (1) the light gun and any friendly unit could share a square; (2) they resolved their shooting attacks separately; (3) if shot at, and if fire was effective, simply roll for both the gun and co-habitant unit separately so see if they lose a SP or retreat.
His army in position, Widdrington gave the signal and the Royalist army began its advance, with the foot and horse both moving to charge range.
Around the same time, the Parliament flank horse came around the woods to attempt its attack on the Parliament rear.
Then there was close combat everywhere at once. The flanking Parliamentarian harquebusiers attacked the waiting Royalist battalia in the flank, failed to make headway, then lost the subequent round and ended up fleeing the table!
On the other flank, the outnumbered-two-to-one Fairfax Horse were swarmed by the Royalist cavalry, and while one troop held its ground, the other was also quickly routed. Things are going very well for Widdrington thus far!
In the center the Whitecoats attacked the sconce and the battalias on its flanks. On one side, the Whitecoats (blue flag with white caltrop) pushed back Meldrum's single battalia of veterans (green banner with white quarters), and although the Lincolnshire trained band held the sconce, the civilian crew of the falconet fell back.
 |
| Parliament. |
Sir John Meldrum's Parliament army of the Eastern Association ended up with 4 troops of elite Fairfax Horse and one average Harquebusier, one average battalia and three poor battalias of Lincolnshire Train'd Bands, and a light gun. As the Royalists had 33 SP to Parliaments 30, Parliament also had a small 3-sided sconce as an upgrade (adding 3 SP) to bring them to 33. On the random deployment table, Widdringtron deployed his troops in two lines, with cavalry mixed in at edge of the foot, while Meldrum's forces were deployed in a more traditional line with the foot in the middle and the cavalry on the flanks.
 |
| Royalists. |
Now Widdrington took survey of the field. To his left flank was a fairly dense wood (3 squares by 3 squares) and a hill or ridge ran along his right. Opposite the woods were 3 squadrons of Parliament horse. He struck upon a plan (not wanting to be indecisive, like Henderson had at Thorp in the Fallow and earlier in June at Carlton Scroop), which was for his horse on his left to swing across and join his horse on his right. The commanded shot would take cover in the woods and assist the non-Whitecoat battalia and deflecting flanking moves by the Parliament horse opposite the woods, while the three battalias of elite Newcastle Whitecoat foot would attack the center at the same time the now-massed Northern Horse attacked the Parliament horse.
 |
| On the right side, the Parliament cavalry by the woods threatens the advancing Royalist infantry. In the back, the Royalists are swinging their left flank cavalry around to the Royalist right. |
Meldrum, with the benefit of some defensive works in the form of sconce, decided to form his foot up around said sconce. He suffered a bit of indecision with his three troops of horse on his left. At first he thought to position them by woods and to attack the Parliament foot in the flank when they attacked the sconce. But as the Royalist horse rode away to the other flank, he decided to send at least one troop all the way around the wood to harass the Parliament rear.
 |
| Elite Royalist Whitecoats foot advancing en masse. These figures in buff coats and morion helmets are my latest addition. |
 |
| The Parliament trained bands in position around their sconce. |
In other words, other than some ineffective cannon fire by the falconets, both sides politely waited while the other got itself into position.
 |
| The Royalist attack is in position. Parliament has decided to send a troop of Fairfax Horse around the woods to pin down a Royalist battalia in the rear. |
This was the first game of the Portable Pike & Shot Wargame where I was not allowing heavy artillery to be present, and, at the last minute, decided to port over the idea of letting guns share a square with a friendly unit. This was really quite easy to figure out (1) the light gun and any friendly unit could share a square; (2) they resolved their shooting attacks separately; (3) if shot at, and if fire was effective, simply roll for both the gun and co-habitant unit separately so see if they lose a SP or retreat.
 |
| Royalist infantry ready for the attack. |
 |
| Royalist cavalry ready for the attack. |
 |
| Parliament horse on Parliament left, now contemplating two-to-one odds against them... |
His army in position, Widdrington gave the signal and the Royalist army began its advance, with the foot and horse both moving to charge range.
 |
| The Royalist attack begins... |
Around the same time, the Parliament flank horse came around the woods to attempt its attack on the Parliament rear.
 |
| Parliamentarians waiting for the Royalist assault. |
Then there was close combat everywhere at once. The flanking Parliamentarian harquebusiers attacked the waiting Royalist battalia in the flank, failed to make headway, then lost the subequent round and ended up fleeing the table!
 |
| A huge break for the Royalists - the flanking Parliament horse is quickly beaten and flees the field! |
On the other flank, the outnumbered-two-to-one Fairfax Horse were swarmed by the Royalist cavalry, and while one troop held its ground, the other was also quickly routed. Things are going very well for Widdrington thus far!
 |
| While at the other side of the field, another squadron of Parliament horse is also routed by the swarming Northern Horse... |
In the center the Whitecoats attacked the sconce and the battalias on its flanks. On one side, the Whitecoats (blue flag with white caltrop) pushed back Meldrum's single battalia of veterans (green banner with white quarters), and although the Lincolnshire trained band held the sconce, the civilian crew of the falconet fell back.
 |
| The Royalist Whitecoats gain ground on left side of the sconce. |
On the other side of the sconce, Parliament cavalry attempted to flank the advancing Whitecoats, made little headway, and then ended up boxed in between their own trained bands and the Whitecoats.
Now, with a little luck, Widdrington's plans continued to pay dividends. With the Royalist foot engaged in front of the sconce, the falconet was able to pivot and fire on the Fairfax Horse waiting by the woods. They scored a hit (no mean task, needing a 6) and the targeted horse fell back. The commanded shot in the woods now moved over and fired into the flank of another troop of Fairfax Horse, causing a SP of damage and pushing the Parliament army past its exhaustion point! At this point, Widdrington's forces had only lost 6 or 7 SP, so the advantage was strongly theirs to get Parliament the break point first!
As it so happened, however, Parliament proved tenacious, and despite being unable to advance towards the Royalists anymore, the Royalists fared poorly in several combats and were quickly past the exhaustion point as well.
Then began several rounds of musketry and artillery fire as both sides tried to push the other past the break point. For a second, the struggle pulled even, with both sides at 13 SP lost each, but the Royalists managed a few more hits, and Widdrington himself led a Whitecoat charge against a battalia of Lincolnshire trained bands to win the day!
Campaign play and the battle-maker continue to create interesting and balanced games. The only hiccup was the overpowered artillery in the earlier games, which was easily fixed. The siege of Newark game worked quite well, and only needs a few wrinkles fixed. If I have gripe, its that visually its looks too much the same as the Italian Wars siege of Novarra game - I think the only way to address this is to construct more towers, walls, and fortifications of varying shapes so that it doesn't look like the same town everytime! This isn't a hard or even burdensome task (terrain construction takes far less time than figure painting and the resulting effect is dramatic and immediate), but I just need to figure out the modular nature of the new fortifications so they can be mixed and matched (I'm thinking of adding some larger/wider towers, some curved walls, and something more castle-like or stronghold-like that could sit at one edge with the town enclosure spreading out from it.
 |
| While some Parliament horse has attempted to intervene in the combats on the right side of the sconce. |
Now, with a little luck, Widdrington's plans continued to pay dividends. With the Royalist foot engaged in front of the sconce, the falconet was able to pivot and fire on the Fairfax Horse waiting by the woods. They scored a hit (no mean task, needing a 6) and the targeted horse fell back. The commanded shot in the woods now moved over and fired into the flank of another troop of Fairfax Horse, causing a SP of damage and pushing the Parliament army past its exhaustion point! At this point, Widdrington's forces had only lost 6 or 7 SP, so the advantage was strongly theirs to get Parliament the break point first!
 |
| Another key moment - the Royalist gun is able to push back one troop of Parliament horse threatening the flank of the foot. Commanded shot in the woods then is able to move and get a shot at another Parliament squadron and inflict another lost SP - the Parliamentarian army has reached its exhaustion point! |
 |
| Another view - Royalist gun in background has caused Parliament horse at right to fall back, opening up the LOS for the commanded shot in the woods. |
As it so happened, however, Parliament proved tenacious, and despite being unable to advance towards the Royalists anymore, the Royalists fared poorly in several combats and were quickly past the exhaustion point as well.
 |
| Now both sides are at exhaustion point, so musketry fire has increased and the few units still in close combat range continue to resolve melees. |
Then began several rounds of musketry and artillery fire as both sides tried to push the other past the break point. For a second, the struggle pulled even, with both sides at 13 SP lost each, but the Royalists managed a few more hits, and Widdrington himself led a Whitecoat charge against a battalia of Lincolnshire trained bands to win the day!
 |
| Widdrington personally leads the deciding combat to carry the day, and the campaign! |
In one day of ferocious fighting at Sedgbrook, the previous five months of Parliament victories were undone, with Grantham once again in Royalist hands and the road to London too open for Parliament comfort.
 |
| End of game. |
Campaign play and the battle-maker continue to create interesting and balanced games. The only hiccup was the overpowered artillery in the earlier games, which was easily fixed. The siege of Newark game worked quite well, and only needs a few wrinkles fixed. If I have gripe, its that visually its looks too much the same as the Italian Wars siege of Novarra game - I think the only way to address this is to construct more towers, walls, and fortifications of varying shapes so that it doesn't look like the same town everytime! This isn't a hard or even burdensome task (terrain construction takes far less time than figure painting and the resulting effect is dramatic and immediate), but I just need to figure out the modular nature of the new fortifications so they can be mixed and matched (I'm thinking of adding some larger/wider towers, some curved walls, and something more castle-like or stronghold-like that could sit at one edge with the town enclosure spreading out from it.
Thanks to all who read along and commented here and elsewhere, and to Gabe, Pete, and Nick for playing remotely. Not sure when or what the next game (or campaign) will be, as summer vacation begins in earnest this week and hobby time will be more limited. But being fully vaccinated (effective last Thursday!) I'm sure an in-person games will return!