With Parliament's siege of Newark lifted on August 3, 1643, Sir John Henderson gathered his Whitecoat infantry and Northern Horse and struck into Lindsey towards the town Lincoln itself in late August. In a wooded area not far from Thorp in the Fallow, he brought John Meldrum's Parliamentarians to battle.
 |
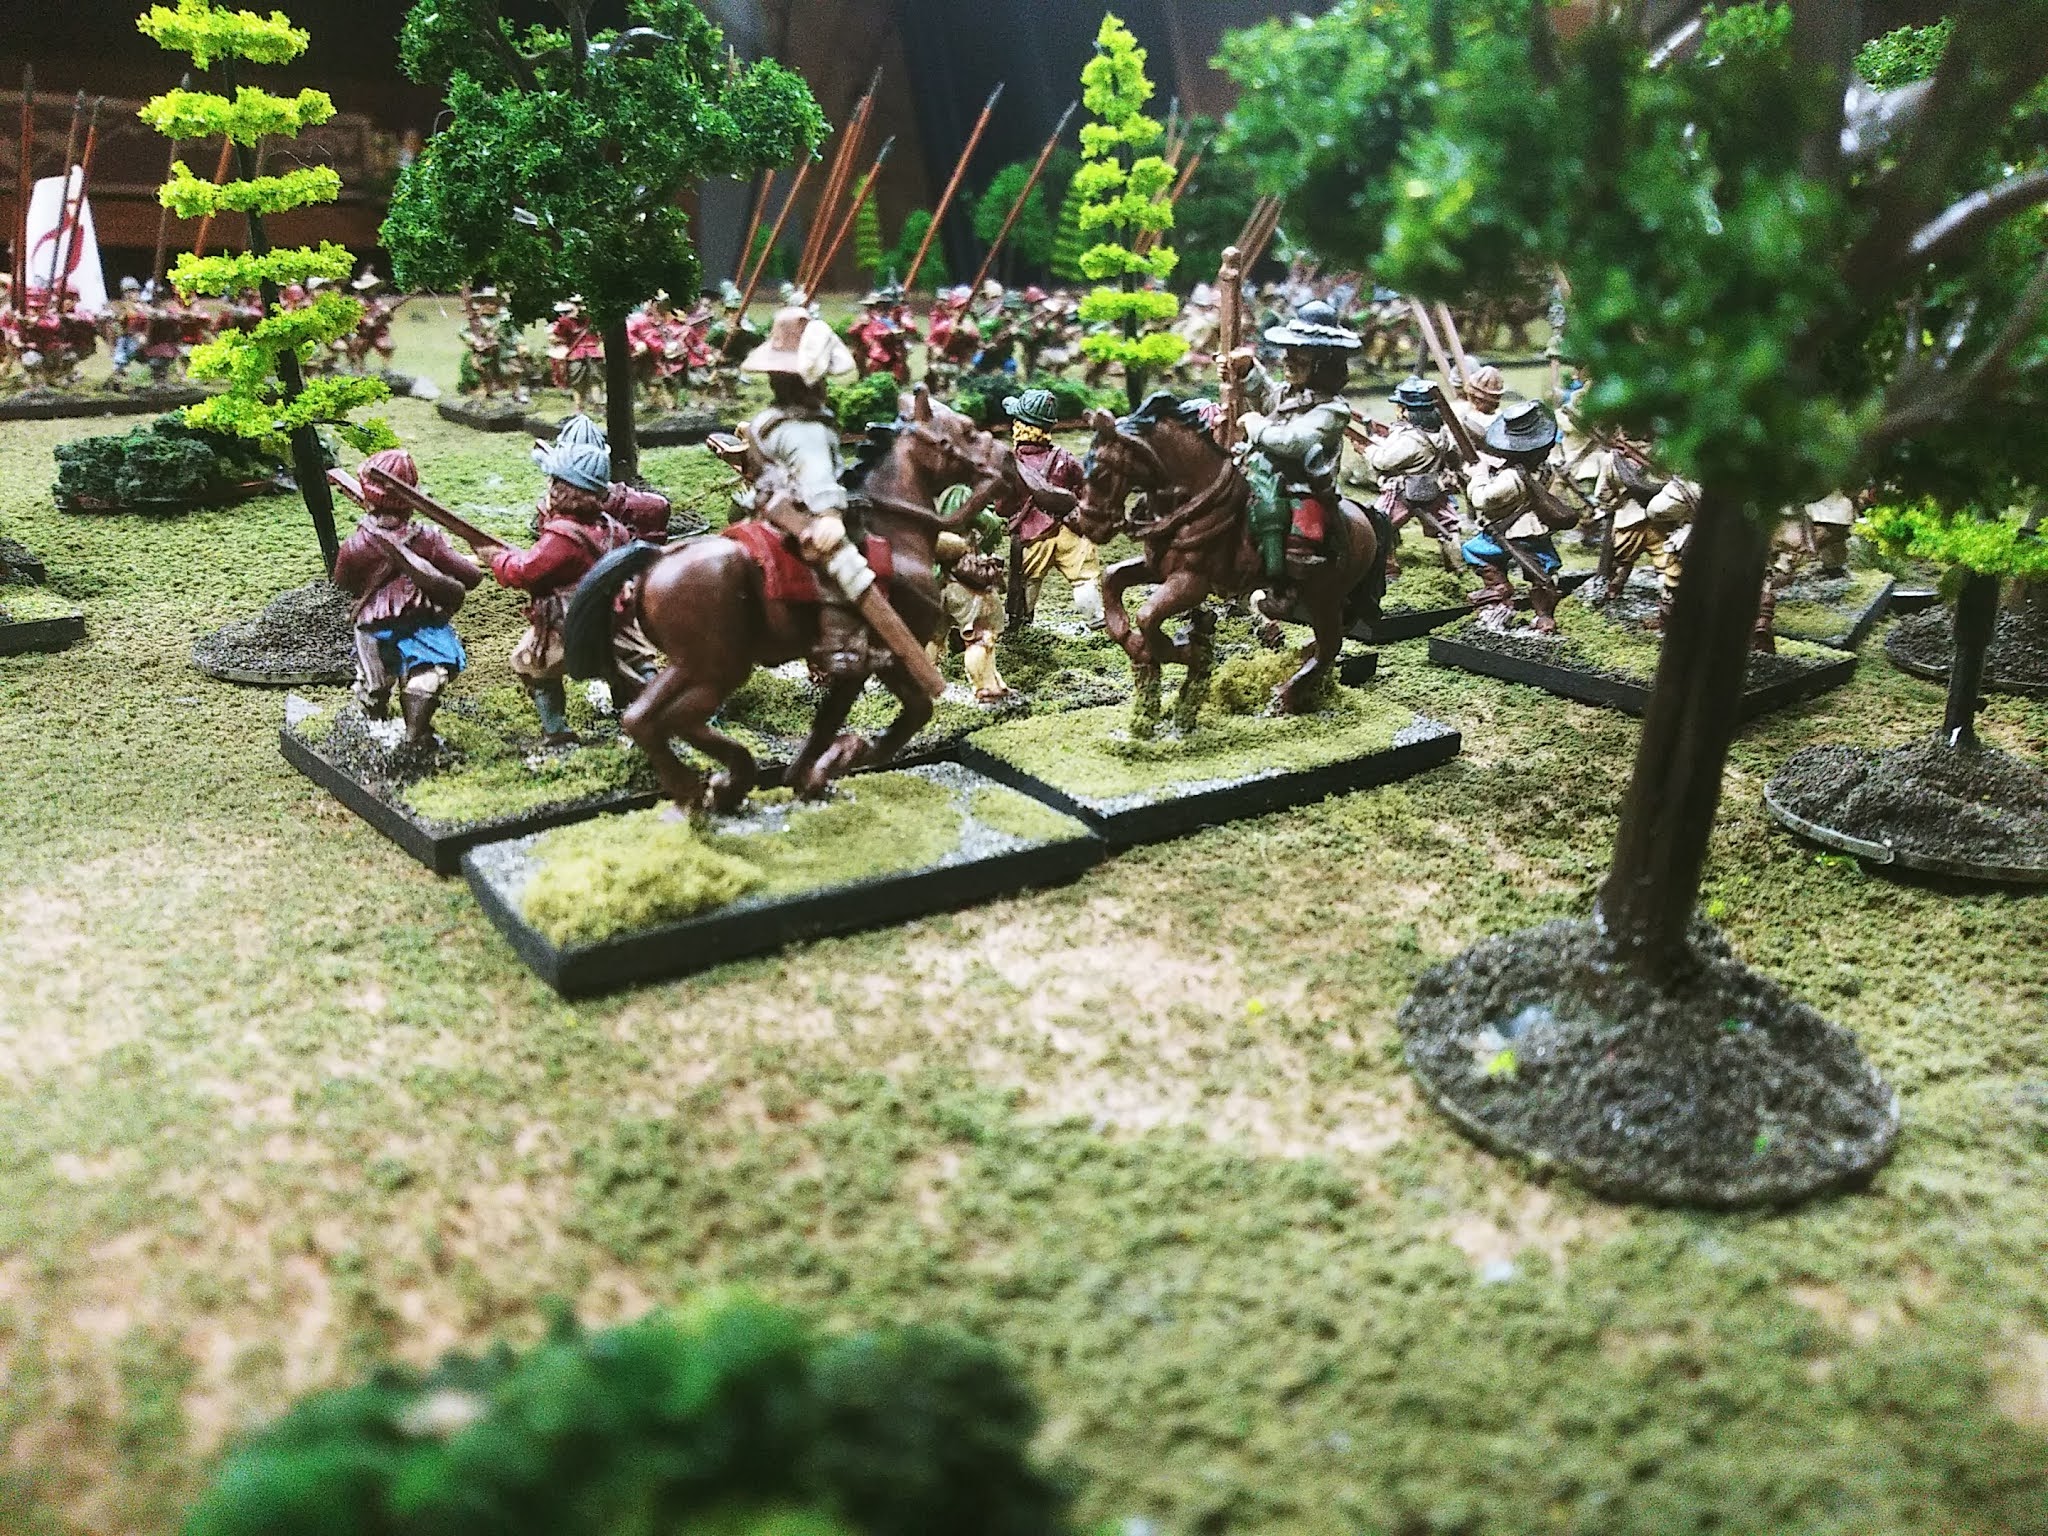
| Starting positions - Parliament to left, Royalists to right. |
Henderson was able to deploy his dragoons in the woods, with the rest of his foot coming up in two lines, and his horse to each flank, and figured to use the woods as an easy-to-defend anchor in the center of his lines. Both sides were numerous in men and horse (i.e. both sides maxed out in battalias on the battle randomizer).
 |
| Starting positions from the Royalist side of the board. |
Meldrum's army was deployed in a single long line, with infantry in the center and his own Fairfax Horse and harquebusiers to each flank.
 |
| Henderson's Royalist foot in the woods. |
Henderson enjoyed a significant advantage in terms of the lay of the land - he could pick and choose whether to fight on the left or right side of the woods (therefore using the woods to secure a flank), or fight on both and use the woods as covered position (to anchor his center). Making the choice somewhat tricky was that he was slightly outnumbered in cavalry, with three troops of Fairfax Horse opposing two of his Northern Horse on the left.
 |
| Royalist left. |
But, as has plagued the Royalist cause throughout the Lincolnshire campaign, Henderson could not make up his mind. At first he thought to use dragoons and commanded shot to hold the woods, and to hen shift his entire army to his left, narrowing the front on which Parliament could attack. But then he became concerned about Parliament getting into the edge of the woods arly on and pushing the dragoons out and potentially splitting his army in two, so he instead advanced up both sides of the woods (so haphazardly adopting the plan of using the woods to secure his center).
 |
| The formidable looking Parliament foot. |
After this initial move, it was an easy matter for Meldrum to simply advance forward all along the line, with no real difficult decision involved.
 |
| After first moves. |
As Henderson brought the first of his Whitecoat battalias up to hold the flank of his dragoons, he risked exposing said battalia to flank attacks by the Fairfax Horse - accordingly, not wanting to lose the initiative, he ordered his two Northern Horse squadrons to attack. After some melee one of the Northern Horse was down 2 SP, a Fairfax Horse was down only 1, and the Royalist horse looked somewhat boxed in.
 |
| Northern Horse in close combat with Fairfax Horse. |
In the woods, the attack by the Parliament battalia was repulsed but the dragoons fell back.
 |
| Royalist dragoons in the wood. |
 |
| Whitecoat commanded shot nervously eye the cavalry melee. |
 |
| The great press of Parliamentarian foot. Unlike earlier parts of the campaign, these are mostly seasoned troops and not Lincolnshire Trained Bands. |
Subsequently, Henderson himself was able to lead a squadron of Northern Horse in pursuit of retreating Fairfax Horse through and behind Parliament lines. However, this left the Royalist left somewhat undermanned. In the center and on the Royalist right there was much close combat with neither side retreating.
 |
| Things devolve into a great and bloody combat. At far top, cavalry clash on the Royalist right. In the center and in the woods, multiple pushes of pike. Bottom left, cavalry battle going poorly for Royalist left. Center right: royalist dragoons and commanded shot try to secure the flank. |
 |
| The fight in the woods. |
 |
| The fight by the woods. |
 |
| And the fight on the other side of the woods. |
Although the Royalists were the first to reach their exhaustion point (no more moving towards enemy, no follow-ups to close combats), they were still able to tip the Parliamentarians past their exhaustion point as well quite quickly. As many units were still adjacent to enemy units, or in musketry range, a few rounds of close combat and firefights took place despite both armies' exhausted status.
 |
| I believe this is around the time both sides became exhausted and the slog to someone hitting their break point had begun. Note Henderson's cavalry behind Parliament lines... |
However, the Royalists were just too far behind to even things up and pull out a victory. Despite mostly repulsing the Parliament foot all along the line, the Northern Horse on the left was completely routed, and lost SP piled up here and there amongst the rest of the on-table units. Henderson himself fled the field early, as the Northern Horse he had personally led behind Parliament lines was routed.
 |
| End of game. All of Northern Horse on royalist left flank routed (and Henderson himself with them). Whitecoat battalias and commanded shot, however, have repelled their attackers and retreat in good order. Royalist dragoons routed. |
 |
| These Parliament veterans have fallen back from fire from the Whitecoat battalia to their front. To the right you can see Meldrum with a very beat-up battalia of his own (having lost 3 SP)... |
 |
| Behind these Whitecoats, a battalia each of Royalist and Parliament can be seen still locked in push of pike. |
 |
| Parliament harquebusiers. These guys have actually fallen back from a melee with royalist Northern Horse. |
 |
| A view from the far Parliament left flank. |
This was of course the fourth straight loss in a field battle for the Royalist cause in Lincolnshire (their only victory coming earlier in the month at successful defense of Newark).
 |
| These orange-jacketed Royalist trained bandsmen could probably have held the woods along with the commanded shot and dragoons, and this third squadron of Northern Horse could have helped the Royalist left hold its own against the Fairfax Horse, if Henderson had stuck to his initial idea... |
On the campaign board, the Royalists did not slide forward on the short victory arrow. However, Parliament rolled and landed on the "unpaid troops desert or mutiny" square and moved down a level! The Royalists moved forward a few squares and Parliament rolled and landed on the "bad weather square" and moved down another level! The Royalists rolled low and I was pretty sure Parliament would get another battle as attacker but instead they landed on the
other "bad weather" square and ended up in the very bottom row! The Royalists then finally moved into the campaign-ending final battle square.
For the narrative, these dice rolls translated into: For his poor record, and for fleeing the field, Sir John Henderson was removed from command of the Royalist forces and replaced by Sir William Widdrington. While Widdrington gathered his forces, Meldrum's Parliament army suffered multiple logistical set-backs, allowing Widdrington to recapture the initiative and attack. On to the sixth and final battle!


No comments:
Post a Comment