Showing posts with label remote wargaming. Show all posts

Monday, November 8, 2021

Late Roman Battle with the Ancient Portable Wargame

I'm preparing for a map-based Italian Wars campaign to be remotely played with Jamie, using the French-Spanish "War for Naples" in southern Italy in 1501-1503 as the setting.  We wanted to look at the map and push counters around on it to make sure it would work reasonably well, and if we were going to be a video call, we may as well have a game, too, so I set up a Late Roman game using various bits and pieces of my battle generators.

Barbarians. Mostly Goths with a few Franks.

The Barbarians were the attackers and ended up deployed with all infantry in center, and their only cavalry unit on their right.  The Roman infantry was mostly deployed in center, but with a cavalry and infantry unit on each extreme flank as well.  Because the barbarians were lower on total Strength Points, they were upgraded with two additional light infantry archer units, which could be deployed further forward than the rest of the army.

The Roman left. The numbered papers give grid references for the remote player.

My first instinct was to class both the legions and the barbarians as simple heavy infantry but with a 2-grid ranged attack (javelins and other short distance weapons), with the legions perhaps elite instead of average.  Then I figured the legionaries suggested in the Developing the Portable Wargame ancients rules were fine as is (5 SP with ranged attack, but average).  I was less sure of the "Barbarian Tribesmen" stat line in DtPW, which seemed more appropriate for linebreaking Gauls or ancient Germans ambushing out of a forest, but then I figured the 3 SP, 3 movement, and +1 to attack if moving at least two squares in the charge move additions could also abstract a group that took courage in a first massed attack and but which could not hold up in an extended combat with a Roman line.  So, Legionaries and Barbarian Tribesmen as suggested in the book it was!  The Chance Cards used in the previous Belle Epoque game, as described at Grid Based Wargaming, were used again.

Roman center.

As you can maybe surmise from the photos, my continued slide towards larger infantry units continues, with the heavy infantry for both sides being increased to six 40mm square stands of three figures each (so 18 figures/unit) rather than the intended four stands (12 figs/unit).   Cavalry has oddly shrunk to five figures per unit, and the light infantry units are just three stands (9 figures/unit).  Jamie had chosen to be the barbarians, so I played the Romans.  

After the Roman cavalry on Roman left has been destroyed.

I pulled my infantry on the flanks in towards the middle, and sent my cavalry on the left forward to disperse the light infantry skirmishers.  Although I drove a unit back several squares, the cavalry lost two out of three SP in the process, and on his turn Jamie was able to destroy that unit. 

The Barbarian infantry prepares for a mass charge.

Because the destroyed cavalry was opposite the lone Gothic cavalry squadron, the barbarians now sent said Gothic cav around the Roman flank, with three full units of light archers getting a lot of 6s on their hit rolls and knocking off an SP here and there on the left flank of the Roman infantry line.

Roman legionaries in line.

Then, a familiar disaster. The Roman general's unit takes a hit and rolls a "6" indicating that he has been slain.  Because he counts as 6 SP lost towards the Romans' exhaustion point, what was a even game at 3 or 4 SP lost per side now suddenly has the Romans on the brink of exhaustion.

Goths slowly advancing into charge range. Last known photograph of Roman leader before he was slain by a Goth arrow or spear.

The Romans were in a decent enough position, with a well formed line, but really at this point the Goths could just hang back and let their longer range archers continue to chip away at the Romans, with no fear of counterattack.

Goths in close combat with legions.

And that is exactly what Jamie did, although he did line up his big infantry charge, it was never necessary as the archers, with the help of a few javelin attacks by the heavy infantry and cavalry, were able to push the Romans past 50% lost SP quite easily.

Corner of the Roman "L", with 4 lost SP markers on it.

After the game, Jamie felt that the Goths ending up with four light infantry archer units was too much for the Romans to handle. I said it was my own fault for not sending both cavalry units out on each flank to harass the skirmishers (I only sent one and when that one failed I held the other back).  My decision to deny the entire left flank to a single Gothic cavalry unit was an over-reaction - I should have kept advancing on his heavy infantry with the entirety of the legionaries). We both agreed that the dead commander counting as 6 SP for calculation of exhaustion was too much. I was willing to keep the notational value of 6 SP but only have the commander slain on double 6s on 2d6 instead of a single 6. I think we have agreed to keep it to the 6 on a 1d6 test, but with a notational value of 1.

End of game or close thereto.  The legionaries on the corner will break with loss of their fifth SP, which combined with earlier loss of the cavalry unit and lost SP up and down the line, will push them past 50% lost. 

As always, the real solution for a better game might be more miniatures - I still want to paint up more Late Romans and play Roman vs. Usurper Roman games (each with Barbarian allies - this seems to be the most common historical occurrence), and I have Alan horse archers to paint up that would add another layer to the troop dynamics.  I'm also eyeing a pack of Byzantine arcubalistarii, which would add some fun visual variation, and could be fielded as "close order archers" for the Romans.  The same Old Glory line also has a mixed skirmisher pack of staff slingers and javelins which could give the Romans some additional unique skirmish units.

Wednesday, May 12, 2021

Carlton Scroop (June 1643) - ECW Lincolnshire Campaign Game #3

On the campaign board, Parliament slid forward on the victory arrow, and then the Royalists rolled well and easily moved to the third battle square.  Going to the map of Lincolnshire, and considering that the Royalists under Sir Cavendish had lost two battles in a row (with Cavendish himself slain at Lincoln Heath), then the Parliamentarians under Lord Willoughby would probably be moving in June of 1643 to re-secure Grantham in southwest Lincolnshire. Attempting to take Willoughby off-balance, the Royalists, now under command of Sir John Henderson, attack the Parliament forces near Carlton Scroop, six miles north of Grantham.

Sir Henderson's Royalists (Whitecoats and Northern Horse).

Because Henderson was the attacker, and because they ended up with a few less strength points than the Parliament army, they received two dragoon units, which had ridden ahead and deployed facing the Parliament left flank.  This was Sir Henderson's first error (that is, my first error) - I waffled horribly on whether to deploy the dragoons against the Parliamentarian left flank or to deployment next to the small church on the Parliament right flank. Since the attacker gets the first move automatically, one troop of  dragoons would end up in the church and the other in the stone-walled yard by the first turn. This would force Lord Willoughby (played by Pete) to react, while the rest of the Royalist army advanced. 

Starting positions, Parliament on right, Royalists on left. Way to much artillery all around.

However, since Dragoons only have 2 Strength Points, and because they have a -1 penalty in close combat, I was not confident that they could hold the church for very long, if at all, in the fact of an attack by stronger foot battalias (even if they were poorly rated trained bands). Wanting to avoid committing forces to a costly fight for possession of the church, I decided to leave the dragoons on the opposite flank.

Lord Willoughby's roundheads (the now-usual Lincolnshire Trained Bands and Fairfax Horse).

With the Royalist dragoons on his left, Lord Willoughby's strategy was quite simple: with four troops of house to the Royalists' three, he would anchor his right against the church, and then bring his strength in horse down upon the dragoons and the Royalist right.

After one move - both sides have aggressively advanced, but Sir Henderson has committed his error, leaving his dragoons (at bottom of pic) exposed to a flanking charge by the approaching Fairfax horse.

As the battle commenced, an unexpected factor entered the equation - both sides rolled exceptionally well for artillery fire, and units on both sides lost Strength Points (the Royalists taking the worse of it). Henderson had by this point come up with an idea of simply advancing en masse and then having his dragoons swing in and become the right end of his right flank, providing fire support for the Northern Horse.

"That whom they hit, none on their feet might stand, though standing else as rock, but down they fell by thousands."

But I was not paying attention, and neglected to notice that the dragoons were in charging range (and flank attack nonetheless!) of a troop of Fairfax Horse.  By the end of turn 3 both dragoon units had been destroyed, and with one of the Royalist guns also knocked out by Parliament fire, Henderson was down by 7 strength points already, with the exhaustion point at 10!

Whitecoat infantry on the advance.

Sensing that the Royalists were wavering, Lord Willoughby ordered the Lincolnshire Trained Bands (the three battalias of foot) to advance in the center and on the right. Willoughby personally led an attack on the right against the Royalist trained bands (the Whitecoats were arrayed in the center). The result was indecisive, with both battalias retreating, but Lord Willoughby was sadly killed by a crofter's musketball...

Lord Willoughby slain!!

Remembering the knock-down, drag-out crawl to the break-point at Lincoln Heath (where both armies were exhausted but need to fight on where possible to break the other side), the Royalists began to position themselves so that when they became the first to become exhausted (which they did), they would still have multiple units in musketry range or even close combat range.

The Whitecoat battalias in the Royalist center advance.

When the Royalists did finally lose their 10th strength point and became exhausted, the two battalias of elite Whitecoats were situated in musket range of several targets and were in close combat range of a unit of cavalry.  On the Royalist right, the red-jacketed trained band was in range of the Lincolnshire Trained Bands.  Royalist harquebusiers were even able to over run a Parliament demi-culverin!

Royalist Whitecoats in center, attacked from both sides.

Parliament tried to press its advantage (since Royalists were exhausted, they could not "follow up" if Parliament retreated from a close combat), but the Royalists were able to push Parliament past its exhaustion point as well.  

Sir Henderson observes his folly.

Sir John Henderson and the Royalist trained band fell back from Parliament musket fire, and, now out of range, they were effectively out of the game entirely. 

Lincolnshire Trained Bands exchange fire with their Whitecoat rivals.

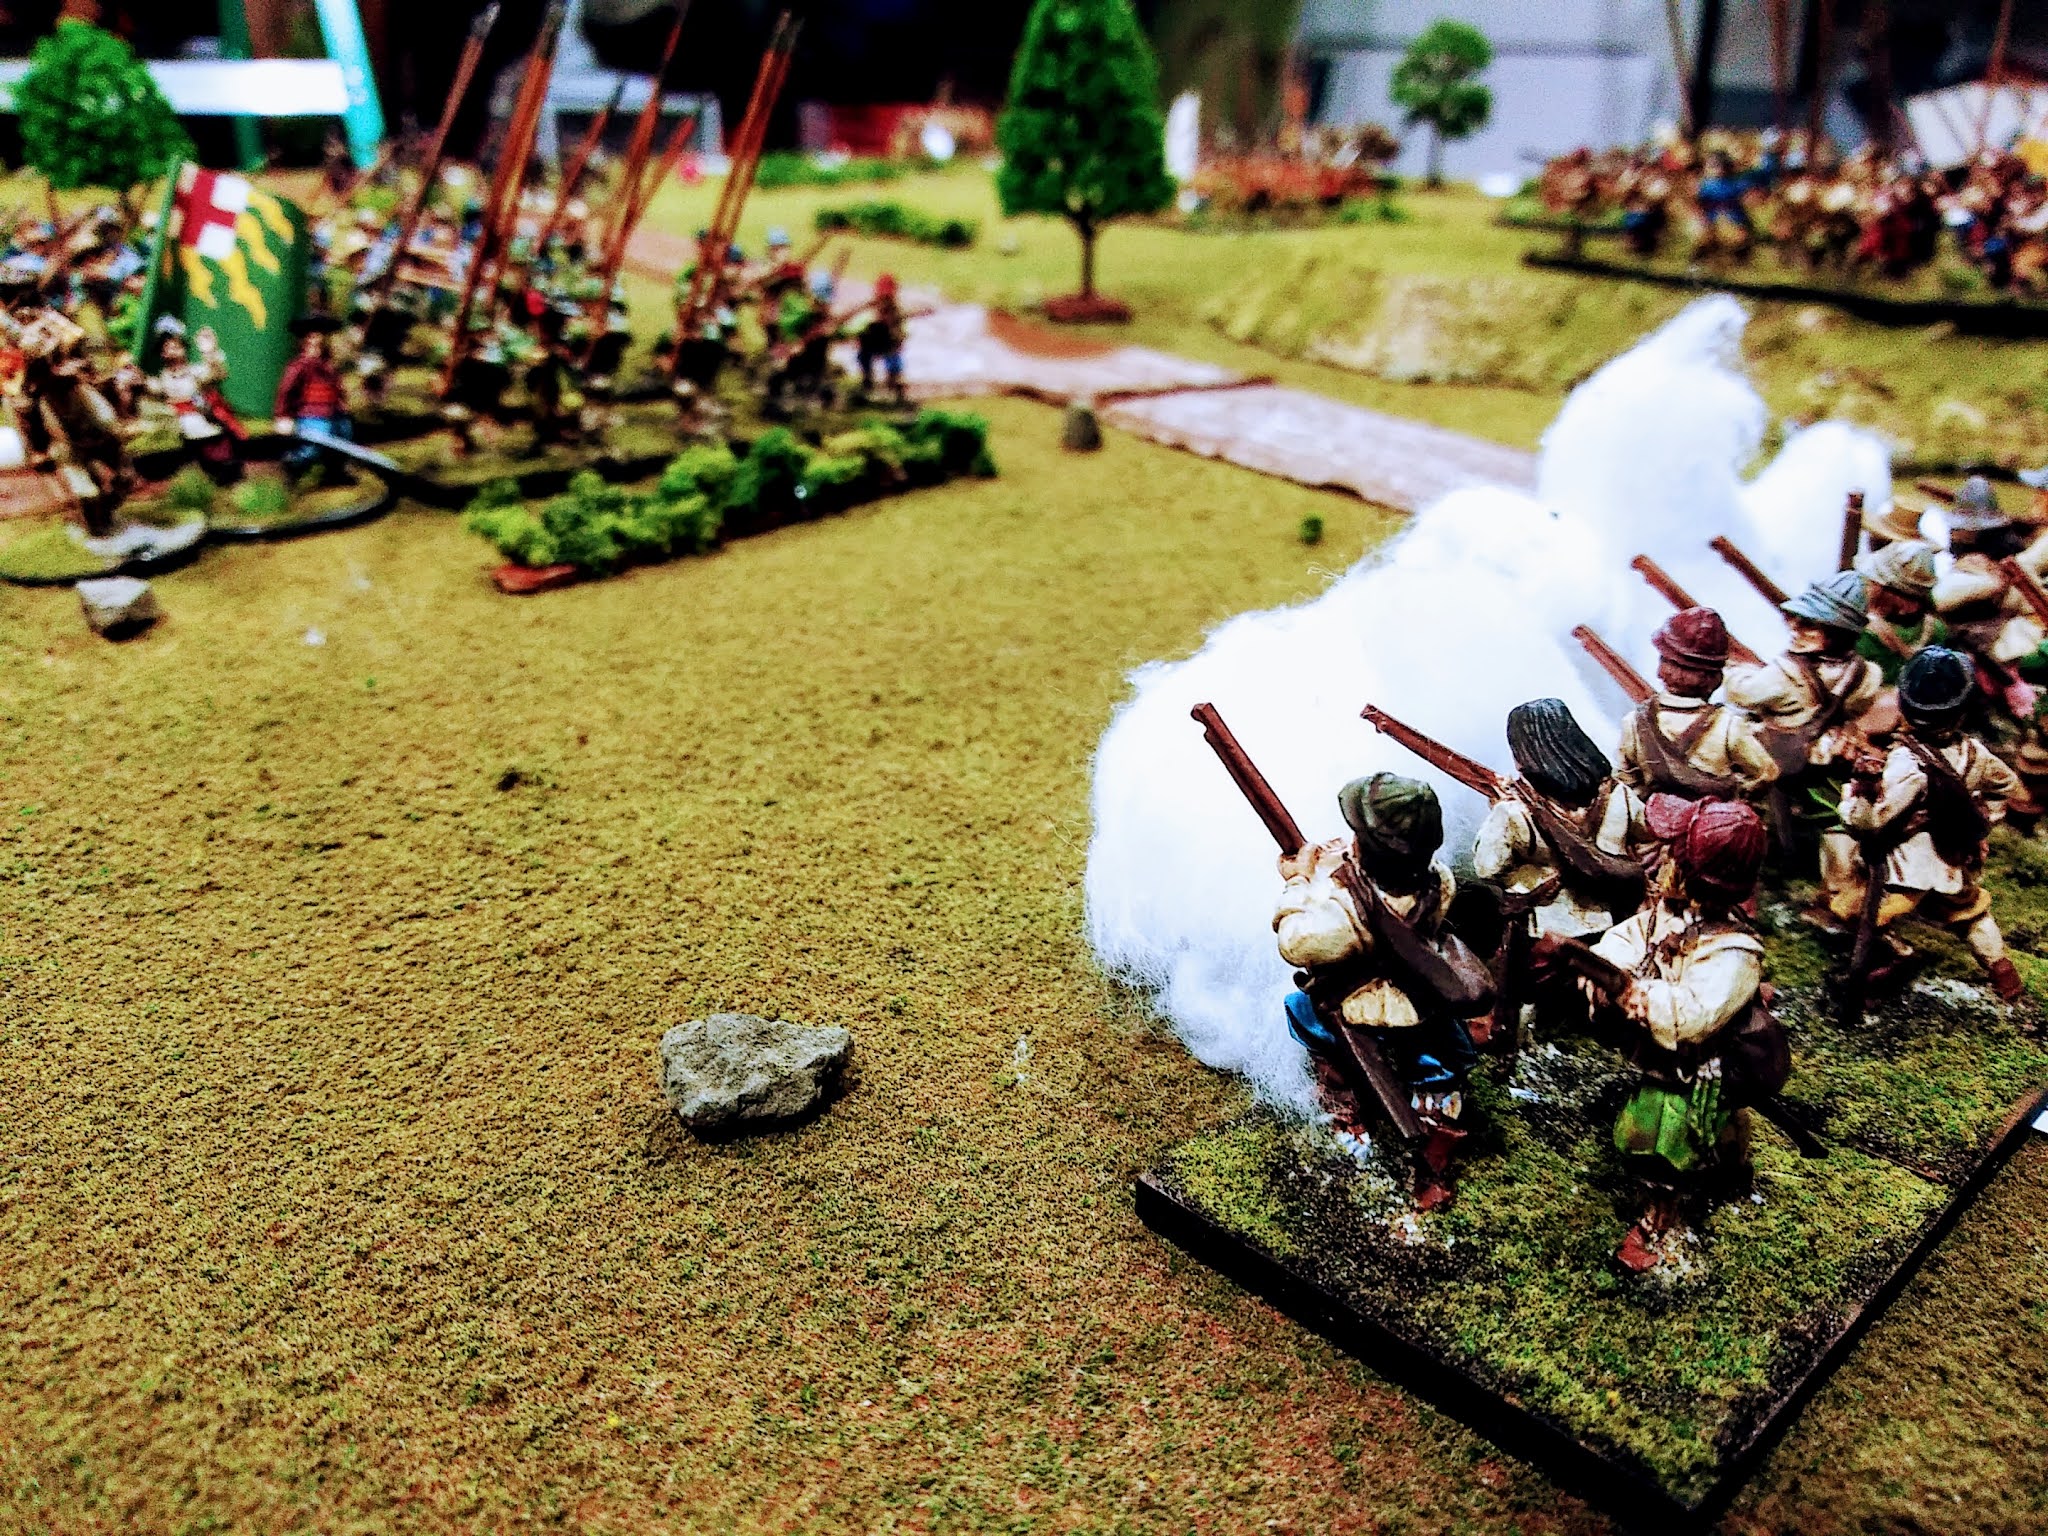
One of the Lincolnshire Trained Bands now turned and exchanged musket volleys with the Whitecoats.  Both battalias had a friend unit to their back, which meant they could not retreat and would hold steady in the face of increasing lost strength points.

Firefight between Lincolnshire Trained Band and Whitecoats.

In perhaps a key moment, the Royalist harquebusiers tried to over run a second Parliament gun, but were repulsed! Their retreat cut off by another Royalist gun, they instead lost the 15th and final SP to end the game.

Lincolnshire Trained Band. These are all Warlord Games figures - the horizontal and diagonal pikemen sculpts have very brittle pikes. I've replaced six broken ones with wire pikes (all the horizonal 'attacking' poses), and since then another two of the original plastic pikes have broken. When I fix those I will probably covert all remaining plastics to wire pikes...

After the game the chat focused on how over-important artillery had been, with a back-and-forth that felt more like Napoleonic counter-battery fire rather than non-standardized and mismatched mid-17th century cannon crewed by civilians.  Because many wargaming rules are genealogically connected to Napoleonic wargame rules, this is a particular gremlin I have wrestled with a lot (pike blocks, whether Macedonian, Swiss, Landsknecht, or New Model Army, tend to have rules versus cavalry that resemble Napoleonic infantry squares, for example, with the relations of artillery, cavalry, and missile troops all mirroring those of their Napoleonic counterparts).  A simple solution struck upon was to roll a 1d3+1 for the number of shots each heavy gun could take, after which they would essentially become invisible (they would remain on the table but could share the grid square with other units, was not a viable target anymore, etc.).  Light guns in the game behaved in a reasonable manner.

End game. The Whitecoat battalias in the center were able to deduct several SPs from Parliament despite being past exhaustion point, but in the end were too far behind to pull a victory from defeat.

Later, re-reading the rules in The Portable Pike & Shot Wargame, although not a explicit rule, I noticed that at the end there are some sample army lists.  These armies are twice as large as the ones being used in this current campaign (15 units as opposed to 6-8 being fielded), but its notable that three out of the four army lists have only one artillery unit in the entire army (the Thirty Years War French list has two artillery).  I read this to mean that the author did not intend for there to be three artillery pieces accompany an army of 6 to 8 non-artillery units! Accordingly, I will adjust my army randomizer to 0-1 artillery pieces per side (probably even 1d3-2, so artillery pieces are simply not present most of the time).

Situation by end of June, 1643 - three Parliament victories and all of Kesteven the prize.

On the campaign board, the Royalists once again did not slide forward on the victory path. Parliament rolled and landed on a battle square making them the attacker for the next battle. Carlton Scroop seems like it would be an important victory for Parliament in the context of the campaign. With Sir John Henderson's army broken, Parliament is able to retake Grantham and secured the entirety of the Kesteven region of Lincolnshire, being roughly south of the Witham and east of the Trent.  Parliament could strike north and try to take Glanford Bridge, opening a secure line to Hull, but the more tempting prize was Newark...  

The Portable Pike & Shot Wargame has a siege rules section, which confusingly refer to using the Portable Napoleonic Wargame rules.  Having played a siege game before, I have the necessary town walls, sconces, and trench/earthwork terrain pieces, and have been wanting to try a siege again.  So, of course, the Parliament forces, now under command of Sir John Meldrum, must decide to attempt to take Newark by siege! This will require a few new rules (a different army generator and terrain set up) and I need to touch up some the terrain.

Friday, May 7, 2021

Lincoln Heath (May 1643) - ECW Lincolnshire Campaign Game #2

After the battle at Dimbleby, I rolled on the campaign board, and Lord Willoughby and his Parliament forces landed on the second battle square, indicating that he had caught up with Sir Thomas Cavendish's Royalists somewhere.  I figured that Cavendish fell back to Grantham, then headed north by road to Lincoln.  Willoughby, still at Sleaford, ran north on the Sleaford road towards Lincoln, then popped around and in front of, Cavendish's army at Lincoln Heath, about six mile south of the town of Lincoln itself.

For Parliament: Lord Willoughby's Lincolnshire Trained Bands.


Lord Willoughby had with him:
3 Horse (2 Fairfax horse, 1 harquebusier) (9 SP)
3 battalia (all Lincolnshire trained bands) (12 SP)
1 heavy gun, 1 light. (4 SP)
Total: 25 SP
Attacker upgrade: 1 Dragoons (2 SP)
Updated Total: 27 SP (exhaustion point: 10 SP. Break point: 15 SP)

Sir Cavendish had:
3 horse (2 Northern, 1 harquebusier) (9 SP)
2 battalia (both White Coats) (8 SP)
2 commanded shot (1 white coat, the other seasoned foot) (6 SP)
1 heavy gun, 1 light. (4 SP)
Total: 27 SP (exhaustion point: 10 SP. Break point: 15 SP)

Initial positions: Parliament at bottom, Royalists at top.

Lord Willoughby's (played by Nick) plan was for the dragoons to directly harass the Royalist right at dangerously close range, which would force Cavendish (played by me) to disrupt his own plans to dispose of the dragoons.  The Royalist plan was to form a strong line of the better quality infantry and keep the cavalry in reserve to take advantage of any opportunity that should arise.

Sir Thomas Cavendish's Whitecoats and Northern Horse.

Willoughby's ruse with the dragoons worked the charm, as even though they were easily dispatched, Cavendish had to send a troop of harquebusiers to do so.  Willoughby then sent two troops of horse to quickly attack the Royalist harquebusiers, driving them off the board (a loss of 3 SP!). 

Willoughby sends his harquebusiers and Fairfax Horse on the attack.

Cavendish had little choice but to move his remaining two troops of Northern Horse to counter the cavalry threat to his right flank.  Meanwhile, the Lincolnshire trained bands remained mostly stationary in the center, (and out of range of musketry) although Parliament's falconet light gun did wheel atop the long ridge and started peppering the Whitecoat commanded shot at a distance.

I don't like chits and markers on my table but because the poor-average-elite rankings add good ECW-flavor to these games, and because I would forget otherwise, I had to litter the table with notes about unit levels of training. Here, elite "Newcastle Whitecoats" hold the crest of a small hill.

Whitecoat commanded shot and small gun on Royalist left push forward a bit.

Being closer to his exhaustion point than Willoughby, Cavendish had to creep his own falconet and commanded shot forward on his left to get them into range of some targets. 

Willoughby's Lincolnshire trained bands (rated poor). These were smartly kept out of musket range until the very end of the battle.

Around this time, playing as Cavendish, I pondered if I should advance my infantry in the center and right forward a full two spaces - this would put some of the Parliament trained bands and horse in musket range.  Experience with The Portable Wargame has taught me that you typically get one good attack during a game, in terms of your army being fresh enough to capitalize on an attack (i.e. not too close to your exhaustion point). If you wait too long, however, you will so close to your exhaustion point as to not be able to make a strong attack.  Because I was feeling pretty secure in current position, and thought I could handle the attacking Parliament cavalry on my right, I decided to sit tight and not advance.

Retrospectively, this it about the high-water mark for Royalists (to the right side) in the game. Although they have just lost a unit of harquebusiers, they have also dispatched Parliament dragoons and have a slight lead in Strength Points. The Royalist left has crept forward a little, and perhaps the center and right should have advanced en masse at this point to press advantage of better quality Whitecoats against Lincolnshire trained bands...

As it turned out, the Parliament cavalry did better than the Northern Horse.  In fact, trying to rally the right flank, Sir Thomas Cavendish himself was slain, some say by an musketeers bullet, by the blade of a Parliament trooper by others (see Note).   The Royalists lost a few more SP here and there, and Cavendish's army was suddenly past its exhaustion point and could not advance towards the enemy any more, at which point the Lincolnshire Trained Bands began their advance on the Royalist left and center.

Lincolnshire trained bands on the attack.

On the Royalist right the Northern Horse and Whitecoats fought fiercely and were able to rack up some quick lost strength points on the Parliament forces, which also became exhausted!

Cavendish's Northern Horse tries to fight off Willoughby's cavalry from two sides.

Then followed a quick series of turns as both sides tried to use ranged attacks as they were still available (if a unit retreated out of range, one could not advance to stay in range any longer!) or completed close combats with units still adjacent (but could not follow up!).

Outnumbered Whitecoat commanded shot tries to hold against the Lincolnshire trained bands.

Despite a strong rally, in the end it was Willoughby who won out, with the Royalists first to lose 15 SP (Parliament lost 12, I recall), and the Royalists fled the field.

Victorious Lord Willoughby at the head of his trained bands.

This was a quick (1 hour and 45 minutes) game played remotely.  As discussed above, both players devised battle plans.  As the Royalist player, I probably stuck to my plan too long, and should have pressed an attack with my better trained foot when I had the chance.  Still, even past the exhaustion point, the better quality Royalist Whitecoat infantry and Northern Horse were able to push the Parliament forces past their own exhaustion point and even got in striking distance of breaking the Parliament army altogether. Dramatic stuff, and (to me at least), credible insofar as it resembles accounts of how smaller English Civil War battles could unfold.

Note: The real Sir Thomas Cavendish went into exile with his brother after the Royalist defeat. He eventually returned to England after the Restoration and died in 1654 at the age of 59.

Tuesday, May 4, 2021

Dimbleby (April 1643) - ECW Lincolnshire Campaign Game #1

We played the first game in a new English Civil War pseudo-campaign set in Lincolnshire in 1643 on Saturday morning.  On the campaign board, the Royalists rolled first and got a 1, and Parliament then also rolled a 1.  Royalists then rolled another 1, indicating that due to good logistics, organization, and training, they were able to bypass the first battle square entirely (looking at a 1700s map of Lincolnshire, I interpreted this to mean that the Royalist Duke of Newcastle's Northern Horse and Whitecoats under Sir Charles Cavendish (younger brother of William Cavendish, the duke of Newcastle and commander of Royalist forces in the north) took Grantham by surprise. Parliament forces under Lord Willoughby, including good quality horse raised by Sir Thomas Fairfax (known as "Black Tom" for his dark hair and eyes), rolled a 6 and scored a 'night march' and also avoided the first battle square (Parliament forces at Sleaford start heading west towards Grantham, scouting for the Royalists).  Royalists then rolled a 2 and stopped on the second battle square, making them the attacker and Parliament the defenders (Cavendish heads out from Grantham and find's Willoughby's army at the village of Dimbleby).   

Parliament starting positions. The red and orange battalias are trained bands. 

Parliament (commanded by Lord Willoughby, and played by me) rolled up an army of 3 horse (all elite Fairfax horse), 3 battalia of foot (1 seasoned, which here means average, and 2 trained bands) and 2 commanded shot (both seasoned), supported by 1 heavy gun and 1 light gun.  Cavendish's Royalists maxed out with five horse (all Northern Horse!), but only 2 battalia and 1 commanded shot (although all 3 foot were White Coats - also elite), supported by 2 heavy guns and 1 light piece.  So the Parliamentarians had 31 SP and the Royalists 32, so Parliament could purchase a single earthwork 6" wide and place that two squares in front of their deployment zone.

Royalist starting positions. 

Cavendish's Royalists (played by Gabe remotely) found themselves with two advantages: (1) their army was almost entire classed as Elite (so they would retreat and not lose a Strength Point on a roll of 3+ instead of 4+) and (2) the three units of Northern Horse deployed on their right were faced by a single unit of Fairfax Horse. Because the other two units of Fairfax Horse were tied up by the other two units of Northern Horse on the Royalist left, there was a decided advantage for the Royalist right.

Starting positions. Royalists on left in a single line, Parliament on right in two lines.

Willoughby has draw a less desirable hand than Cavendish - he was outnumbered in cavalry and although he had more infantry, it was mostly trained bands (retreat and not lose a strength point on a 5+). Cavendish also had two heavy demiculverins to Willoughby's one. However, it would be an easy thing to make a defensive line of infantry from the scant earthworks he had hastily constructed over to the hedges by the nearby house. With the cavalry he would just have to see what Cavendish did and react best as possible.

The exhaustion point for both sides was the loss of 10 strength points. An exhausted side's troops could no longer advance towards the enemy, although if they were already adjacent to an enemy the could engage in close combat, and they could of course continue to shoot.  The first side to lose 15 strength points would be deemed broken and would flee the field. 

After first moves. Both playing to strengths, with Royalist cavalry moving on flanks, and Parliament starting to form an infantry line in the center.

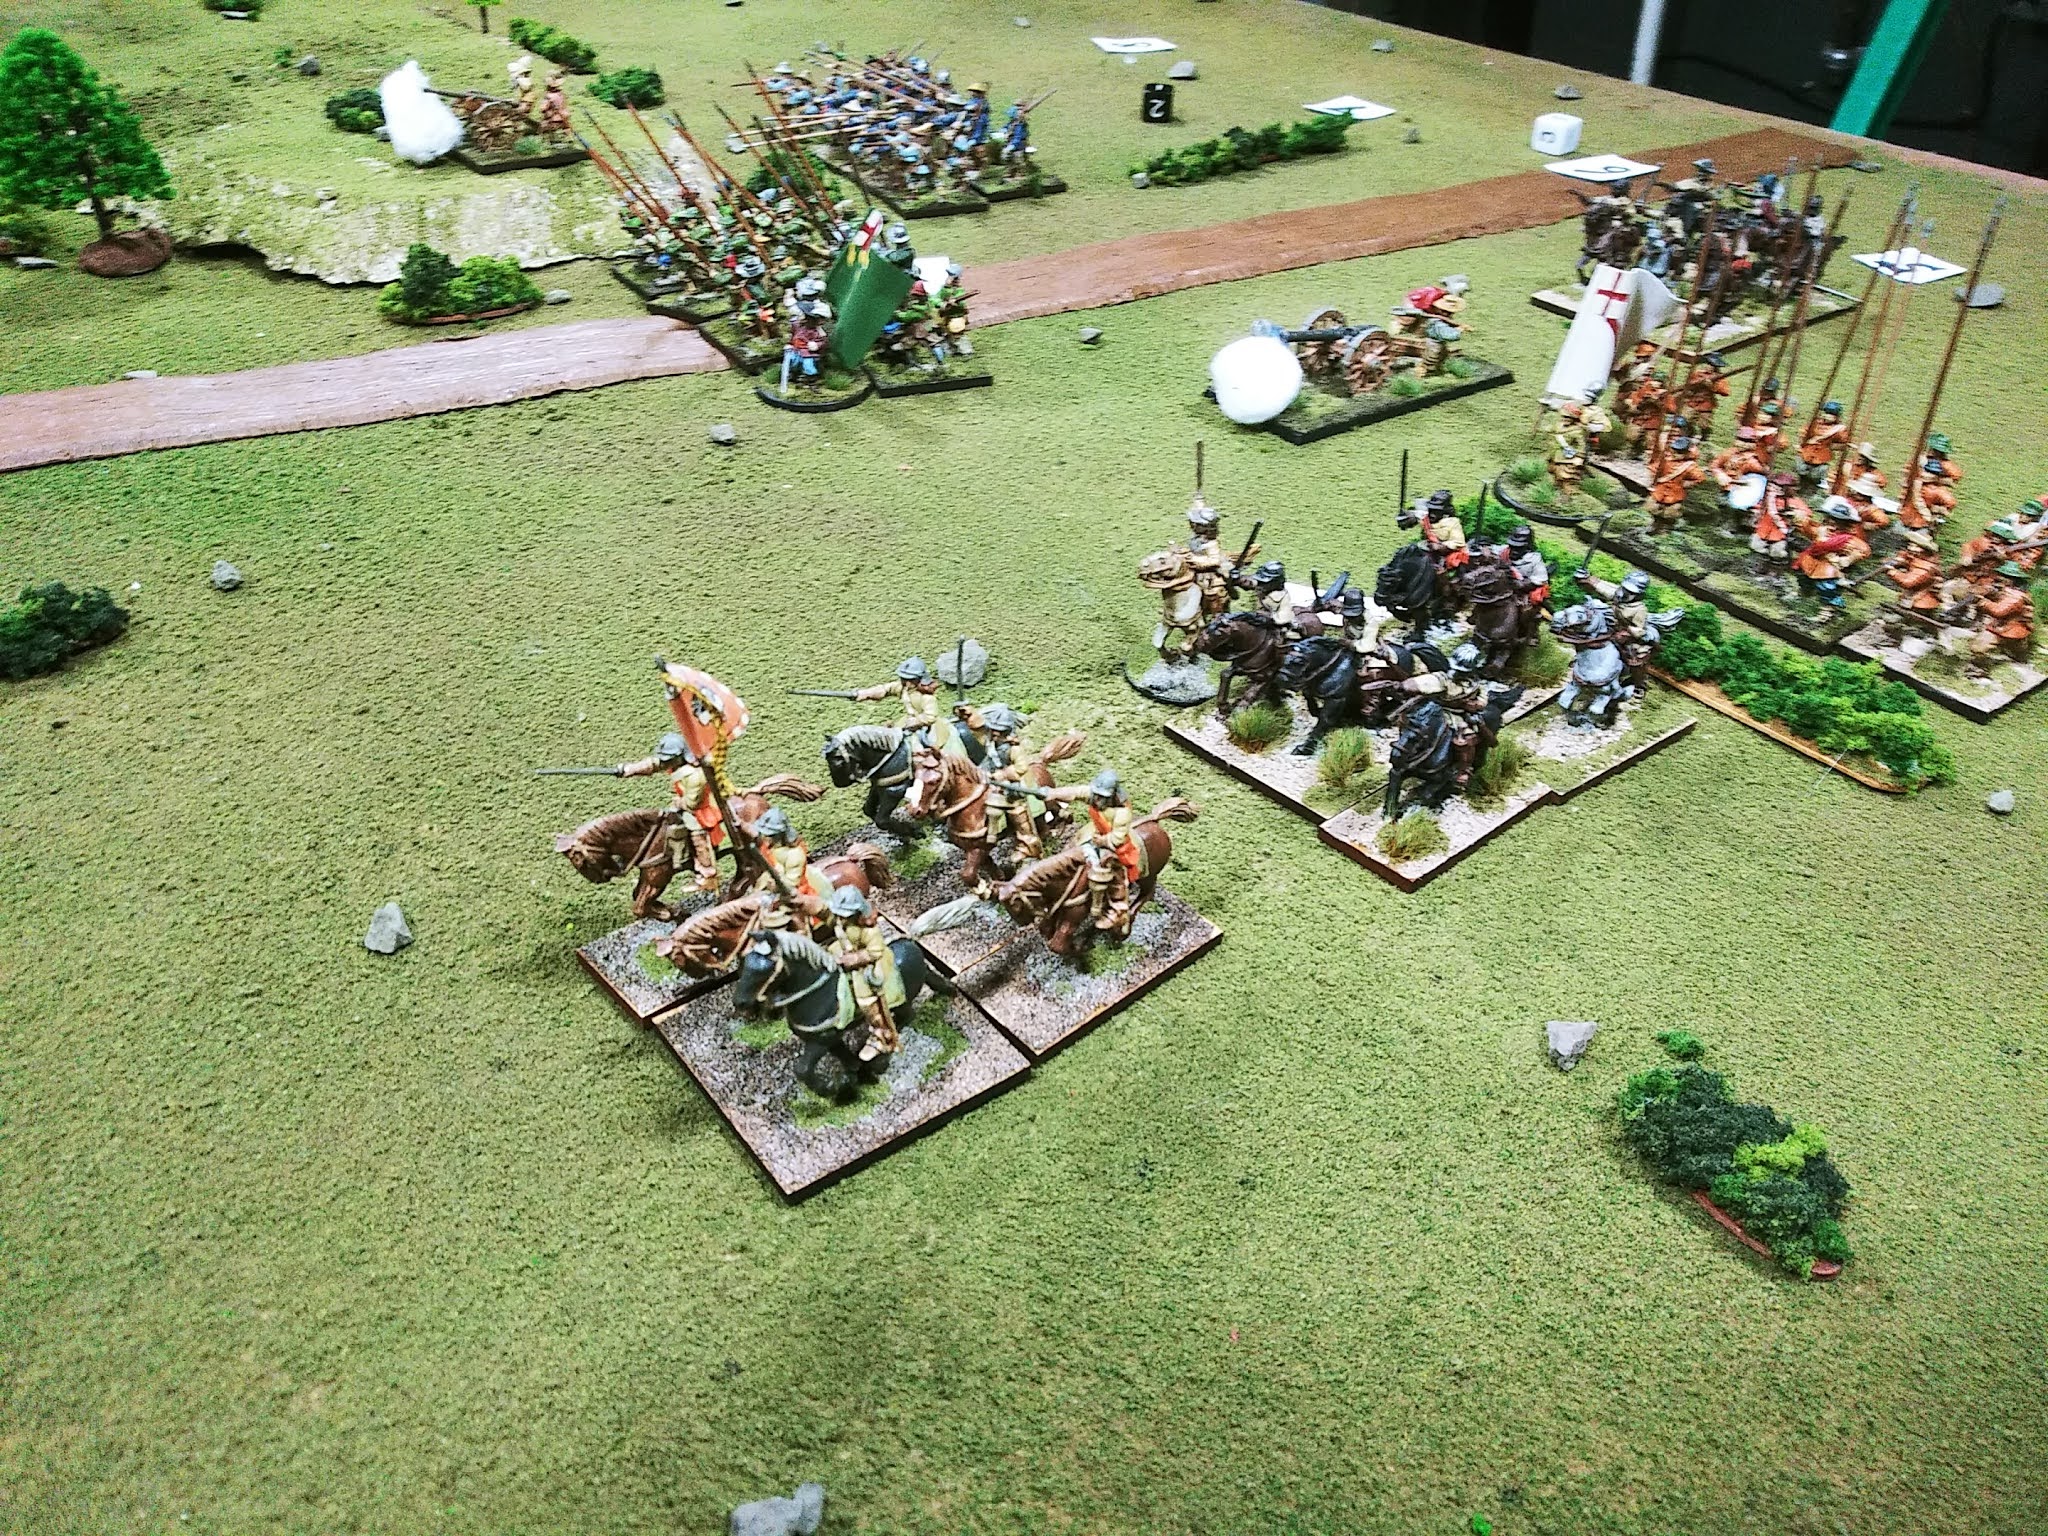
Willoughby's Royalist Horse rode out on both flanks, as expected.  So as to not entirely surrender the the left flank, the lone Fairfax horse on the left hooked around the farm and stood ready to receive a charge. The three Royalist squadrons moved into charge range and then stopped, hoping to draw the Parliamentarian force further out... 

Lincolnshire trained bands move into position for Parliament.

Meanwhile on the Royalist left, the two squadrons of Northern Horse clashed with the two squadrons of Fairfax Horse, all in musket range of the right flank of the Parliamentarian foot.  The Fairfax Horse got the better of the Royalists, here, and was even able to strike at vulnerable commanded shot on the left flank of the Royalist foot.

Infantry drawing closer, but still out of musket range. In the distance, cavalry swirls about in close combat.

Royalist Northern Horse clashing with Fairfax Horse. 

Whitecoat infantry battalia moves to block Fairfax horse from feasting on vulnerable commanded shot.

The Parliament demiculverin scored a hit on the Royalist artillery, and Parliament infantry was able to score hits with muskets here and there on the cavalry to its right. Rather suddenly, the Royalists had sustained 6 lost Strength Points to a mere 2 or 3 for Parliament. 

Parliament's center block of infantry forming up.  In the distance the three squadrons of Royalist Northern Horse can be seen milling about (but not attacking).

Willoughby now had his stronger right flank of cavalry advance, and his Whitecoats battalias closed into musket range and engaged in close combat with the Lincolnshire trained bands.

Royalist whitecoats preparing to fire.

But the lone Parliament cavalry squadron was wiley and managed to only be engaged by one of the Northern horse at a time, and the while the Lincolnshire trained band fell back before the Whitecoats, fighting was fierce and the Whitecoats fell back as well. 

Parliament falconet in action.

Parliament trained band, pushed back after close combat results in both sides retreating a square. Whitecoat battalia (with yellow flag) which retreated seen in distance.

At this point the two Northern Horse squadrons on the Royalist left were broken and Willoughby's army hit its exhaustion point.  As Willoughby's forces began to pull back, Cavendish ordered his foot forward en masse, peppering the Whitecoats with musket fire, while his victorious cavalry on his right swept around the flank of the Royalist infantry.

This battalia (seasoned troops and not trained band) have advanced into this vulnerable position with no fear of a flank attack by the whitecoat battalia, because the royalists have hit their exhaustion point and will not advance towards the enemy any more.

Willoughby rode about, trying to get his foot to hold to the front and flank simultaneously. But before he could really get his line situated, one of his cavalry squadrons on his right was broken by that same lone unit of Fairfax Horse, and a general retreat ensued.

Cavendish tries to hold the line.

Other than maybe needing to tweak the artillery rules a bit, The Portable Pike & Shotte Wargame plays evenly and fast, as I have come to expect from this family of rules.  The battalia units, which are a mix of pikemen and musketeers, are a nice addition, and balance between horse and foot feels correct and in line with the historical matter (and not just a rephrasing of Napoleonic infantry square rules/concepts).  

The victorious Lord Thomas Willoughby.

The artillery rules as written do not differentiate between heavy and light, and only have a range of 3 squares, hitting at 5+ at 1 square and 6+ at 2-3 squares.  I snagged my stats from the Italian Wars, and said that light guns move 2 squares and have a range of 4 hitting on 5+, but heavy guns don't move at all but have a range of 8 hitting on 5+.  Both have a SP of 2, and react per rules to hits from shooting.  However, if they take a hit in close combat, and the attacking unit does not retreat, they are automatically destroyed as the civilian crew flees in the face of advancing troops.  The effect of this is that heavy guns have many targets early on but then less so as line of sight is blocked by their own troops. Light guns move about in support of infantry, but are also easily overrun. In theory, an army hitting hits exhaustion point could fall back to its starting positions and the heavy guns might be critical in saving the day (if they can cause enemy to also hit exhaustion point for a draw, or even to win the game).

Post-game, the agreement was that hitting your exhaustion point after losing 1/3 of your total Strength Points means that each player needs to chose carefully as to when and where to direct attacks.  In the case of this game, the Royalist decision to hold back the attack by the numerically superior Northern Horse on the right flank, but to proceed with the attack between evenly matched horse on the left, probably predetermined the ultimate defeat of Cavendish's army.  And the rules are such that you almost always realize it when you've made what is probably a fatal error.  In turn, this is what I really like about these rules, because one can say "oh that was the wrong move" and not "oh I lost when all those dice rolls went the wrong way."