 |
A 3D-printed 155mm Creusot breechloader siege gun, better known as the "Long Tom" gun from the Boer War. The print is pretty low on detail - I added the rivets (dots of PVA dabbed on with a paperclip) and the aimer/loader's platform. I have three more so both sides could deploy up to two if they wanted...
|
 |
French columns coming up the road...
|
 |
...where British columns await beyond the hill.
|
 |
British foot artillery, limbered and waiting.
|
 |
The table at the beginning.
|
 |
Ghurkas, playing light infantry in this game.
|
 |
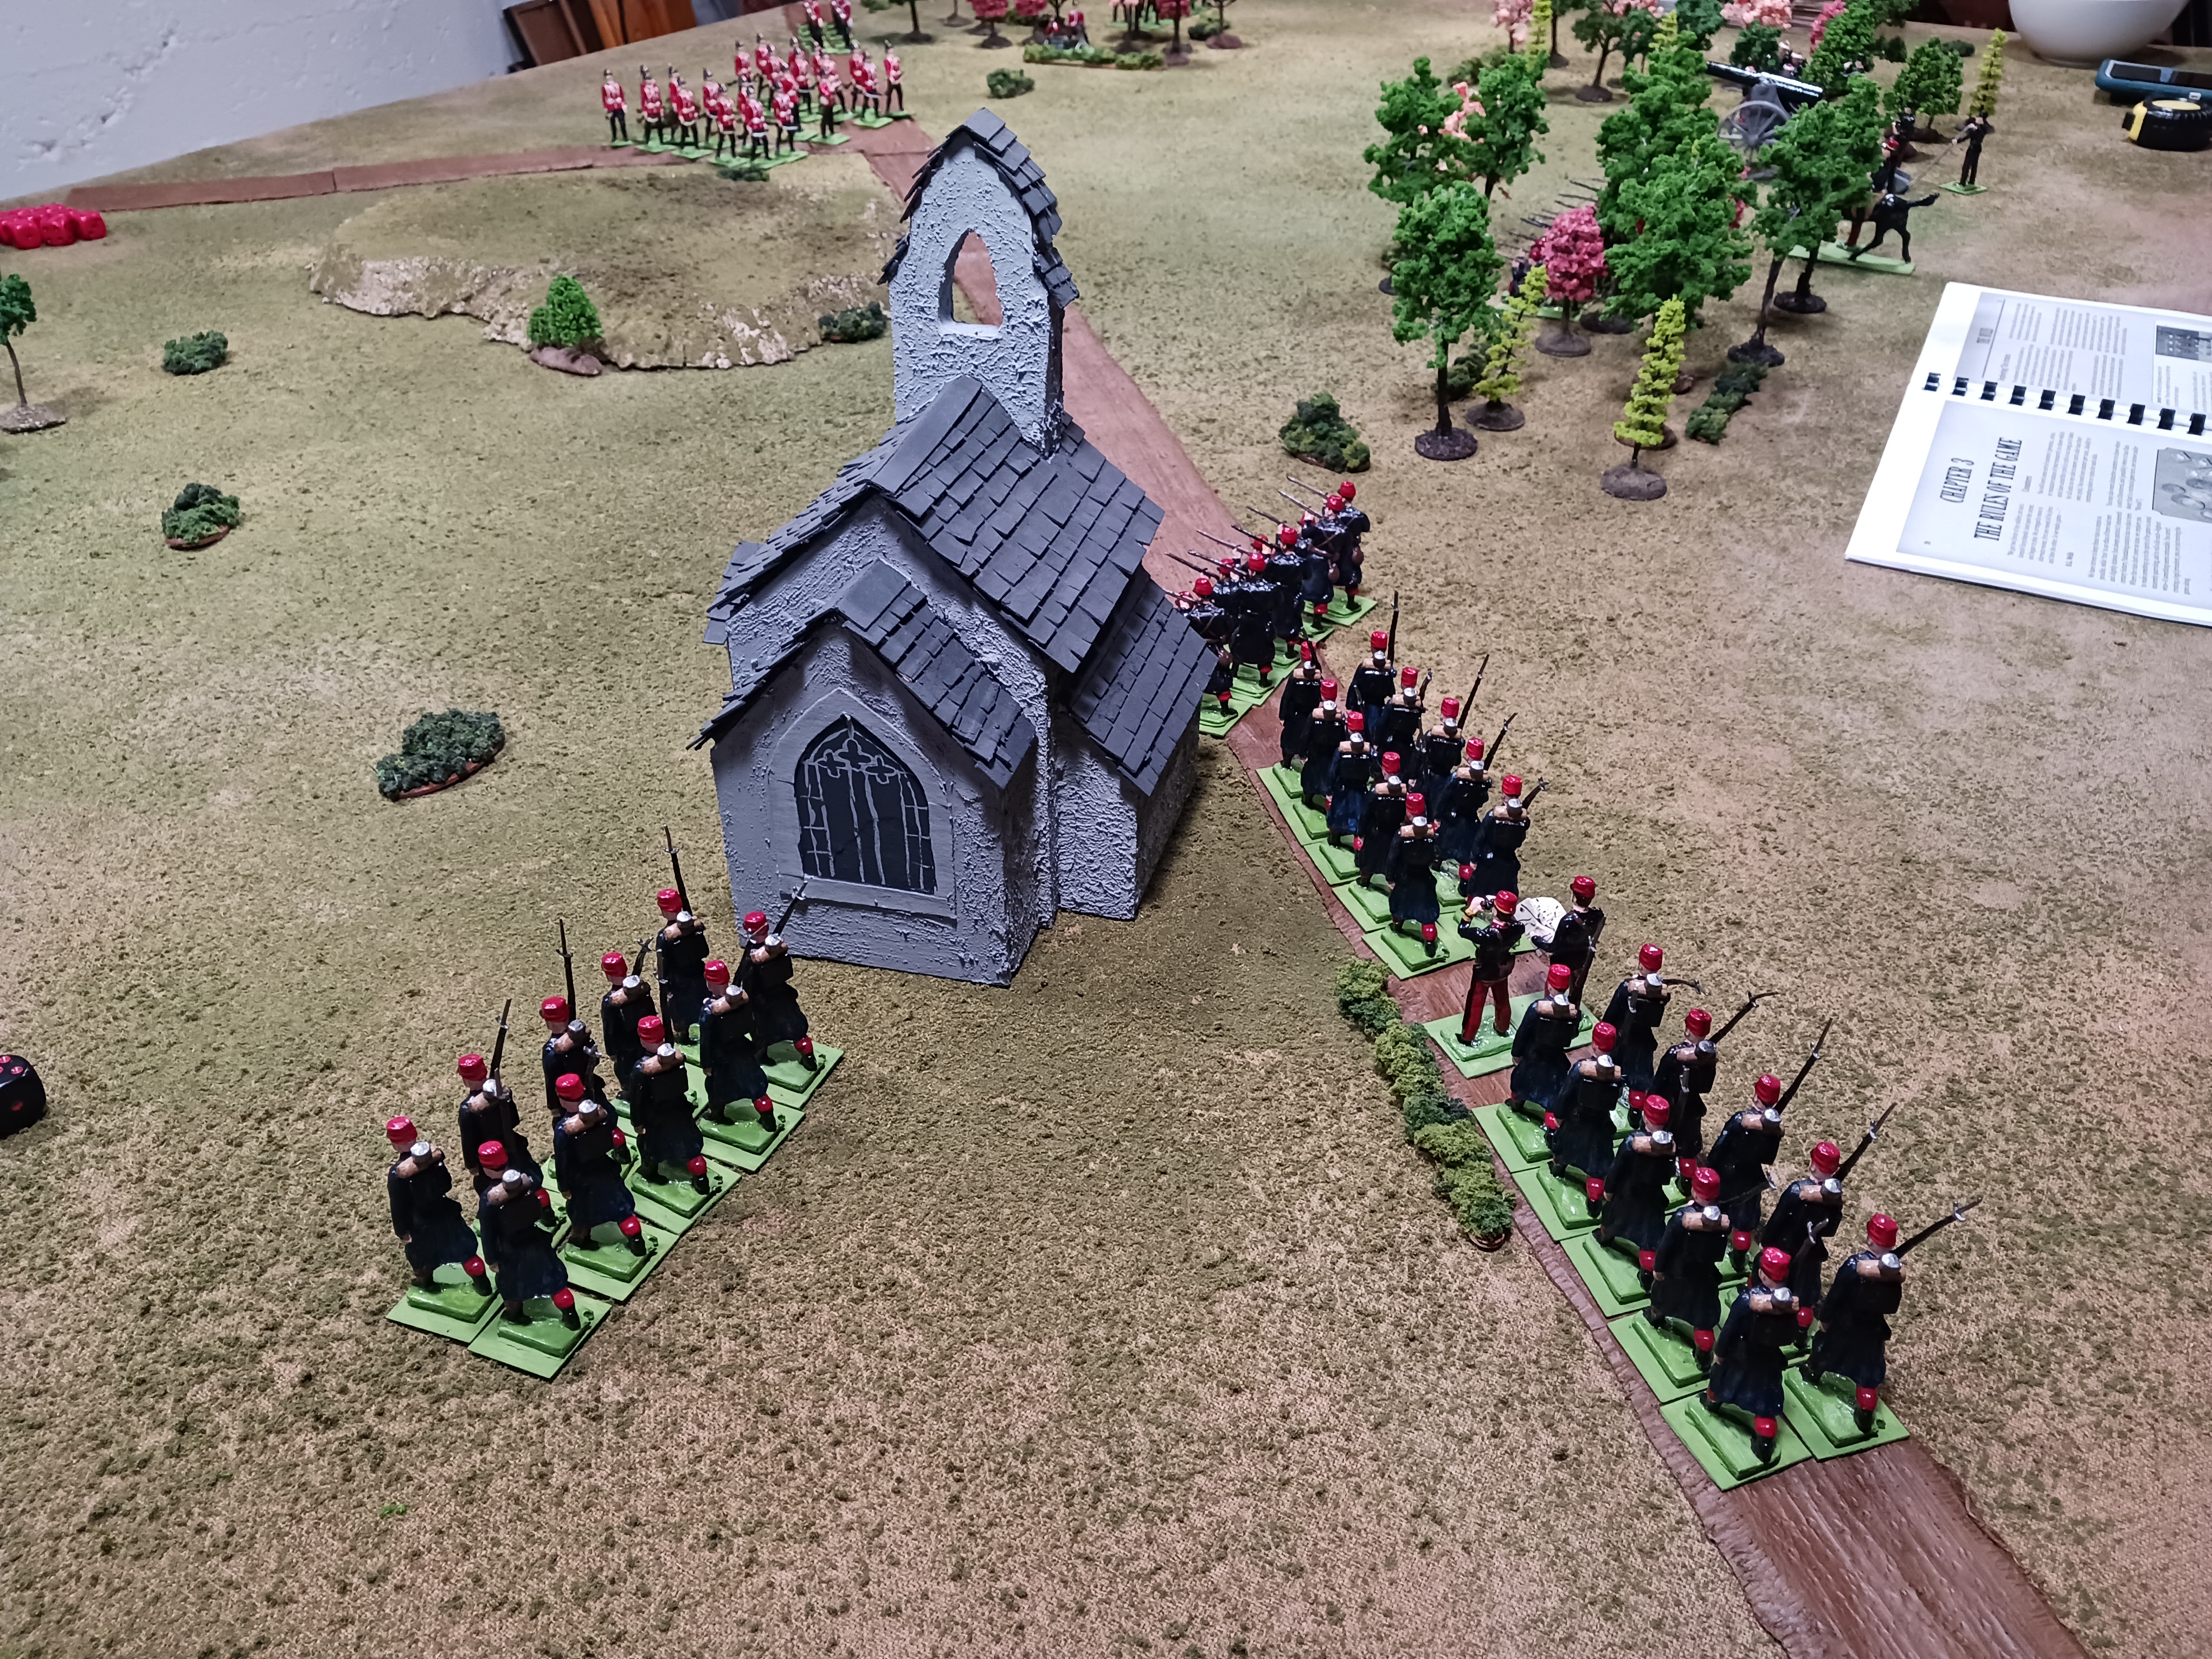
View from British left flank, where Irish Guards stand ready. Those two columns of British regulars are perhaps not positioned very well...
|
 |
The French take aim for the Creusot's first shot...
|
 |
...and the results are nasty! Six men lost in one blast and the rest sent running!
|
 |
Following the first barrage from the Creusot, the first company of British regulars has taken advantage of marching in column on a road to move quite far and then deploy into line, and the British artillery has deployed. Together, they are able to force a company of French regulars to fall back (they can be seen marching in column towards their own table edge past church). The Irish Guards have advanced and are exchanging fire with Zouaves in the woods.
|
 |
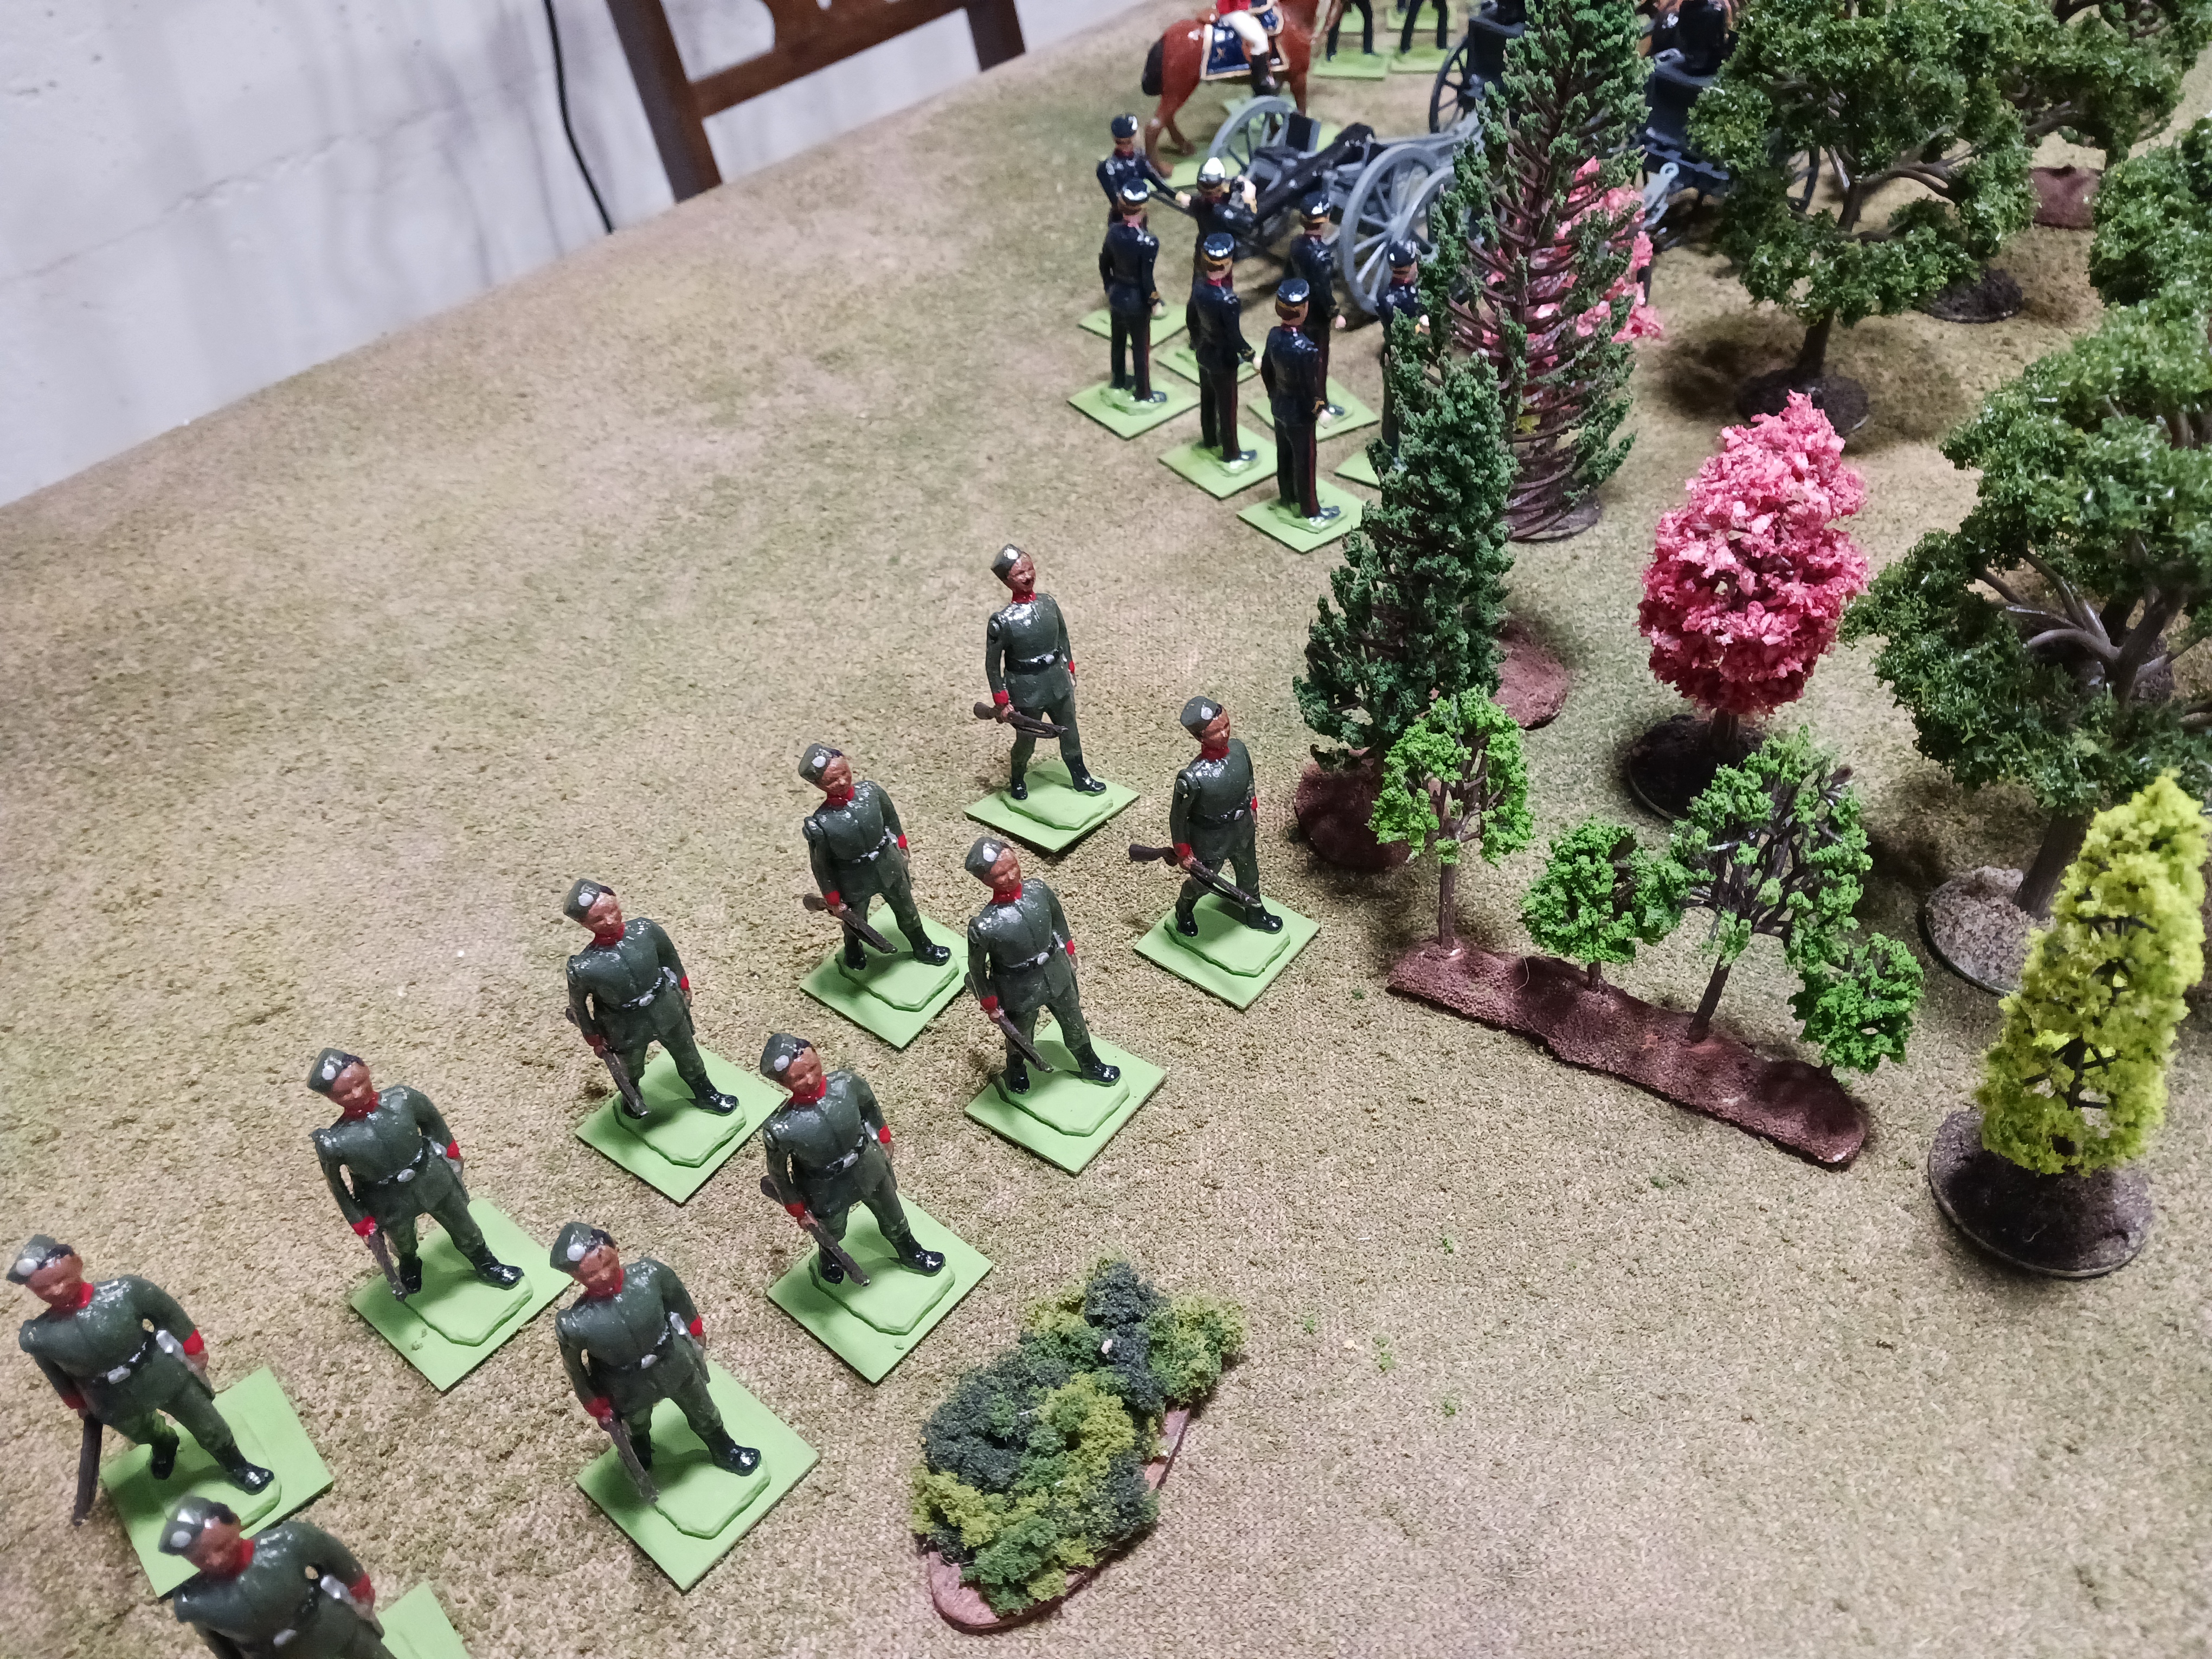
The French right consists of the 155mm Creusot gun and a Hotchkiss machine gun with half companies of Zouaves (in skirmish order) to each side. "This is the future of warfare, right here," Jamie declared, pointing.
|
 |
The French regulars who fell back rally, but I am able to play this 'What Luck, Chaps!' card on them.
|
 |
The Foot Artillery chipped away the French regulars to their front, but made slow headway against them as they had deployed a skirmisher screen.
|
 |
The Irish Guards kept firing into the woods but could dislodge the Zouave skirmishers.
|
 |
End of game, but I have figured out brutal trial and error that advancing in line with skirmishers deployed to the front is the way to go.
|
Another fun and educational game of A Gentleman's War with Jamie. Terrain was again randomized using my tiles. Jamie carried the day again, in no small part because he actually makes a plan while I just sort of generally flail about. Regular infantry with skirmish line deployed certainly seems the most beneficial formation for moving up the table. This also resembles the common open order formation in Funny Little Wars which I admire.
We played to the fourth Joker, at which point I counted up my casualties and realized I had lost over half my figures (a faster metric than losing half your units), probably a card or three earlier than the joker's appearance.
The Creusot 155mm seemed a little too powerful, with its six crew throwing six dice, not only decimating the earlier line infantry company but doing some major damage to the Irish Guards toward the end. Rifle fire seemed ineffective as it counts as an open order target so saves pretty well. We agreed that some fast moving cavalry, getting into a flanking position or in cover and dismounting to lay down small arms fire, might be a good counteragent. But infantry with skirmishers deployed might also be able to get close and send the gun crews running in close combat. Another potential benefit possibly not fully explored is is a subordinate commander figure attached to an artillery gun (and therefore granting a single reroll on shooting "to-hit" dice, which could be huge).
I'm slowly but steadily working on dismounted and mounted cavalry figures, and those should be table ready soonish. I also need to convert more artillery crew figures and I have an idea for some more HQ staff figures I want to do.


AGW are an excellent set of rules for Toy Soldier games
ReplyDeleteThe game looks wonderful.
ReplyDelete