Wednesday, April 8, 2020

H.G. Wells' Little Wars, the Fight to the Finish

Some additional toy soldiers having arrived, and others having been repaired, a full-throated game of Little Wars was played using the "Fight to the Finish" scenario. The troops were laid out on a side table, the houses and trees and fences were arranged, and a coin flip determined who should set up first. Each side had about 30 infantry, 11 or 12 cavalry, and two guns. "Blue" had two 4.7" naval guns and "Red" had one naval gun and also a Royal Artillery piece.


The overall flow of the game was like this: both sides advanced off their starting lines and then artillery fire exchange began. Blue was able to successfully charge Red's 4.7" and seemed poised to capture it, but on the following turn Red coordinated a counter-attack that drove off Blue forces and re-secured the naval gun. Blue reconsolidated its remaining forces at its center. Red made a very risky charge at the center using a mass of troops which had hitherto been sheltered on its forward right flank - they took a heavy toll from artillery fire and then many prisoners were taken in the counter-attack. Blue then reorganized and advanced on the 4.7 again, at which point Red withdrew from the field. Final score was roughly Blue at 147 points and Red at 38 (Red escaping with both guns and about some troops, and also collecting 7 points from prisoners).


The fences, while nice to look at, tripped up artillery fire too much. Both sides worked hard to minimize open shots against their own troops, and the fences served to only make difficult shots almost impossible. Turns were timed, 3 minutes per side, and you had to move or shoot your guns first. This completely removes the need for chairs at your table as there is no time to sit down. The non-moving player can't sit down either, as it is best for them to stand opposite of their opponent's gun, both to watch for whether a hit was scored or not, and also to try and keep ammunition from getting lost amidst the junk in my basement. When troop counts got below 20 we went to 2 and a half minute turns.


The key to melee is that the determination of whether troops are in melee, and whether each side is supported or isolated, is that the measurement is taken from the point of contact (or contacts).  Therefore, both Red and Blue would have a single man contact another soldier, and then move as many allied troops up within 6" of that contacting man as possible. In this way you can almost guarantee that you will outnumber your opponent in the resulting melee, which in turn tends to lead to prisoner-taking and/or surrendering instead of brutal man-for-man casualty removal.


"But what about small arms fire?" you may ask?  Yes, it is a mechanic that is absent.  But first of all, look at the many photos of this game, and notice that infantry still tends to be positioned as if it were offering rifle fire. In the mind's eye, the exchange of rifle-fire is still going on.  From a mechanic-standpoint, the trade-off here is that by not having small arms fire, you also don't have to have formations or units, and also by extension don't have to deal with facing or coherence and such.


I took a lot of photos - many more than typical! In using the auto-correct function on my camera the order got a little screwy, and I'm not going to caption all or even any of these like I usually do.  The next game will be the "Blow to the Rear" scenario and I've already made two more new buildings which should dress up the table nicely.




Monday, April 6, 2020

H.G. Wells' Little Wars Try-Out Game

After a extensive (manic, even) surveying of online markets, I was able to acquire an "Army Red" and "Army Blue" composed entire of Britains' 54mm toy soldiers (some are older hollow-casts and some are newer solid recasts).  I already had acquired some of the firing 4.7" Naval Guns and had used those in a Black Powder game in 2016 using Armies in Plastic 54mm figures. So rather suddenly, here I was with about 30 infantry, 12 cavalry and two guns to a side, all ready to play H.G. Wells' Little Wars as written!

(Above: I forgot to take pics until the game was basically over. Here's Red closing in for the win.  Note the Blue's Hussars being led away as prisoners at the bottom)

Although we are currently quarantined, I am fortunate to have a ready opponent.  However, for this game I solo-gamed it, to get a feel for the rules.  I was moving stuff around in the basement and prepping a wall for painting between shots of the 4.7s.

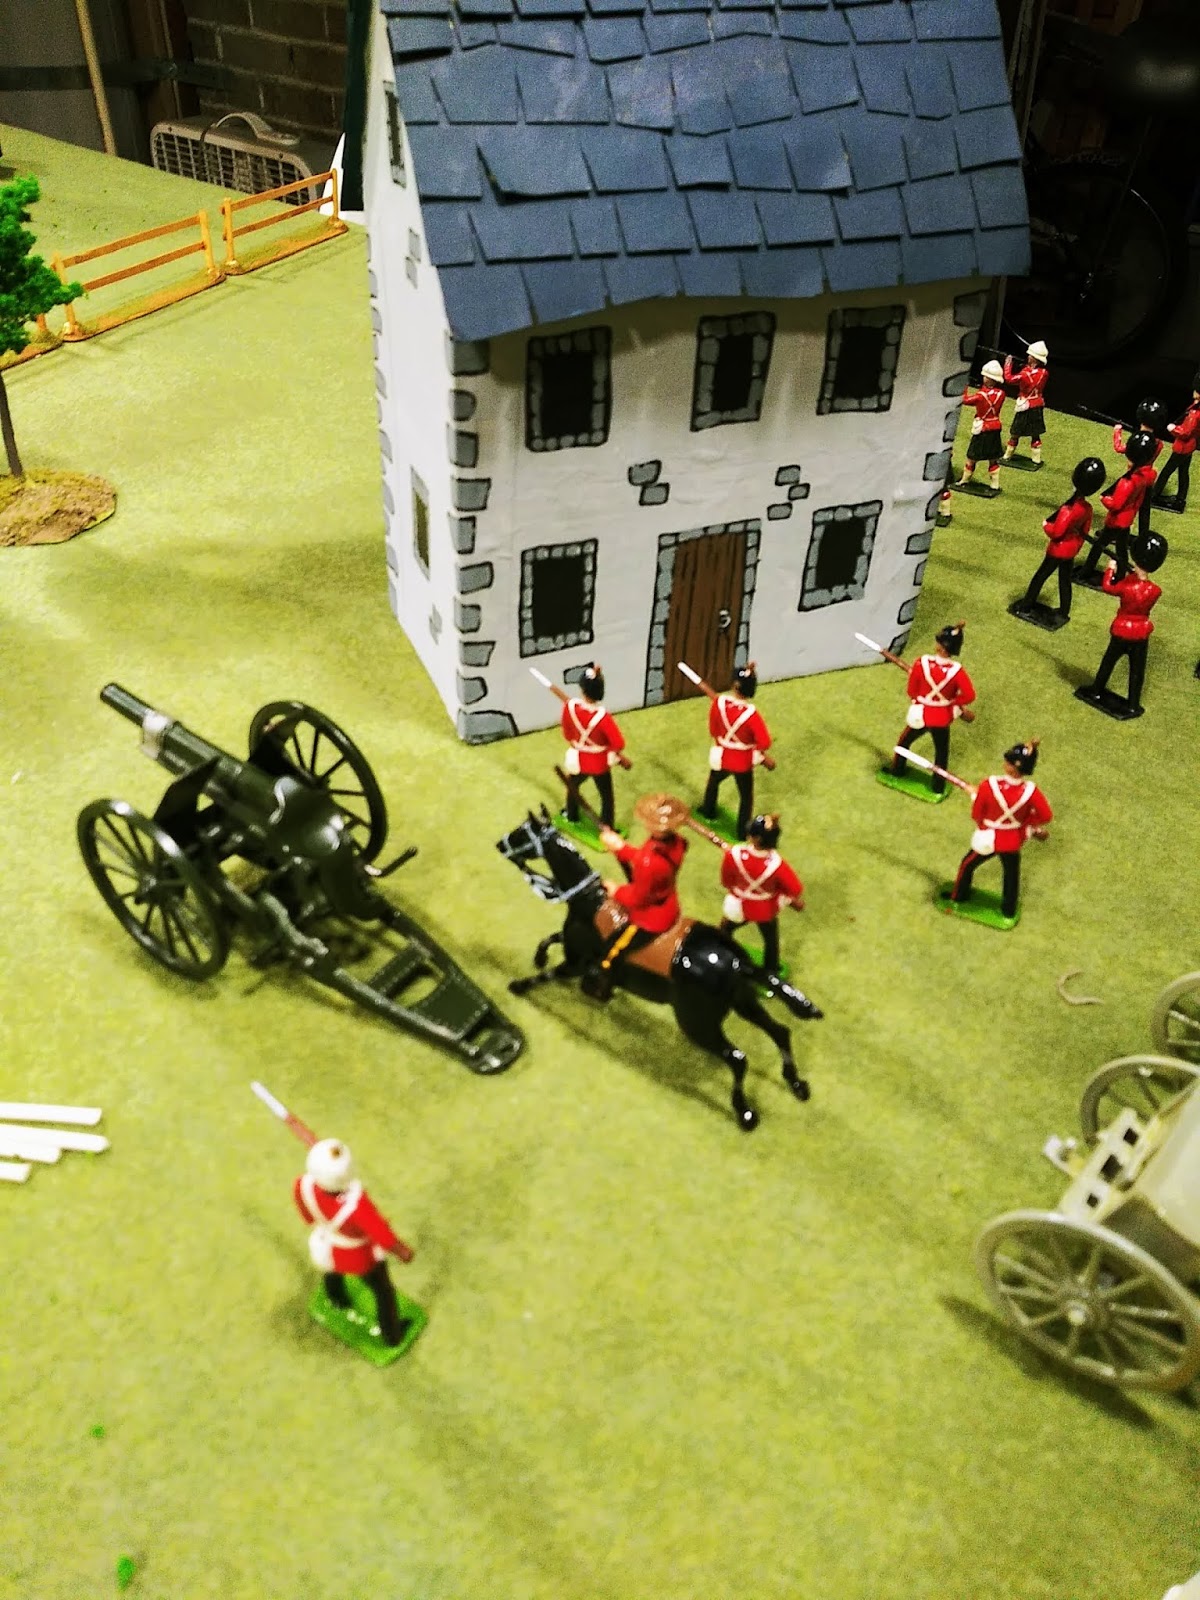
(Above: solid-cast Irish guards on the right, old hollowcast guards on the left. Notice how this particular 4.7" gun had to have its trail propped up to get a more level shot)
I use q-tips with the cotton buds cut off for ammunition for the guns. These become warped from hitting the houses fyiand then begin to fly irregularly! I have to admit it's an almost surreal experience to not use dice, although rather welcome and refreshing.  Wells' melee rules is a sort of decision-tree of whether a force is outnumber and if it is, is it is "supported", in which case you may surrender, or fight and have prisoners taken but still incur a few casualties on the enemy.

(Above: Red's Essex Regiment, supported by old hollowcast guards,
move in on rapidly dwindling Blue forces
)

In every ruleset I have read, this is the only one with a surrender mechanic. Why would a player prefer to surrender a melee than tough it out and inflict a few more losses on his opponent? It turns out that if both sides are reduced to 15 figures or less, and the main victory condition has not yet been met, the 100 points for winning the main victory condition is split 50/50 and you tally points as follows: (1) for each of your troops still on the table, 1 point for each infantry, 1.5 for each cavalry, 10 for each gun; (2) for each prisoner you have captured, half a point; and (3) for each figure of yours who is a prisoner of the enemy, half a point. 

(Above: Army Blue gun is manned by the King's Royal Rifles and Queen's Westminsters.
Some Scots Borderers had to fight on the side of Blue to make the forces equal.)

You receive zero points for enemy models killed. It would be possible, maybe, to be very aggressive, "lose" a bunch of melees but have more men taken prisoner than killed outright, and still win the game? Or at least hedge your bets in the event of a 50/50 split - you could win by half a point! Its definitely different than other rule sets.


There was also some testing of my various firing toy cannons to figure out which ones could depress elevation enough to not just shoot over the heads of the enemy all game. Two guns seem problematic, and require something placed under the trail (a spare 3mm thick MDF base worked well) to lower the barrel.

(Above: End-game, basically.  The white-helmeted Red troops in lower-right will attack the Blue gun and result in death of men on both sides. This put both sides at less than 15 men, so it went to points, and Red won.)

(Above: Blue Hussar and Lancer prisoners being led to the rear.)

Next will be a "full" game with timed moves and two guns per side.

Thursday, April 2, 2020

Medieval Battle in 54mm

I have been collecting 54mm medieval figures sporadically for several years, but recently I had some rather good look with some bulk purchases from a seller of "DSG" figures in Argentina, and accumulated a rather lot of archers, spearmen, and foot knights for a reasonable price (I thought). DSG figures are prepainted and similar to Britains Deetail plastic figures but are a little bulkier and unfortunately have plastic rather than metal bases. This is problematic as some are not balanced particularly well and have trouble remaining standing. One solution might be to cut the tabs off the feet and then superglue the figures to the bases but this is rather time-consuming endeavor. In the short term, I used a little hot glue to temporarily multi-base them to cardboard movement trays.

(Above: Halfway through the first turn. The right side (me) has not moved yet.
Left side (Sebastian) is shifting his deployments
)

So after years in the making I finally put together a little game. Because I had a copy laying around, and had never tried them, I decided the old Warhammer Fantasy Battle (4th ed.?) rules might be a good fit.While it was refreshing to not make activation rolls for a change, I found the combat system clunky and disappointing. It did make for a quick game, however, which for rules somewhat primarily intended for tournament-style gaming I guess means it does what it says on the box?


(Above: Deetail knights on the right, supported by DSG spearmen on the left)

It was a pretty short and not terribly interesting game, with my knightly retinues getting fairly trounced.  But they are fun to push around.  Quite a few pictures...


(Above: I do like these DSG archers, though.)


(Above: the big melee in the center gets underway)


(Above: In upper left here you notice that Sebastian's Saracen mercenary horse has pushed through well behind my lines)

(Above: And here in the center you will see that his spearmen have also now broken through... Meanwhile, in the upper right corner my knights remain inexplicably tied down in melee with his archers...)


Perhaps I will try some temporary individual cardboard bases, for use with Song of Arthur & Merlin  or a modified Lion Rampant

Sunday, January 19, 2020

Muster Green (1642)

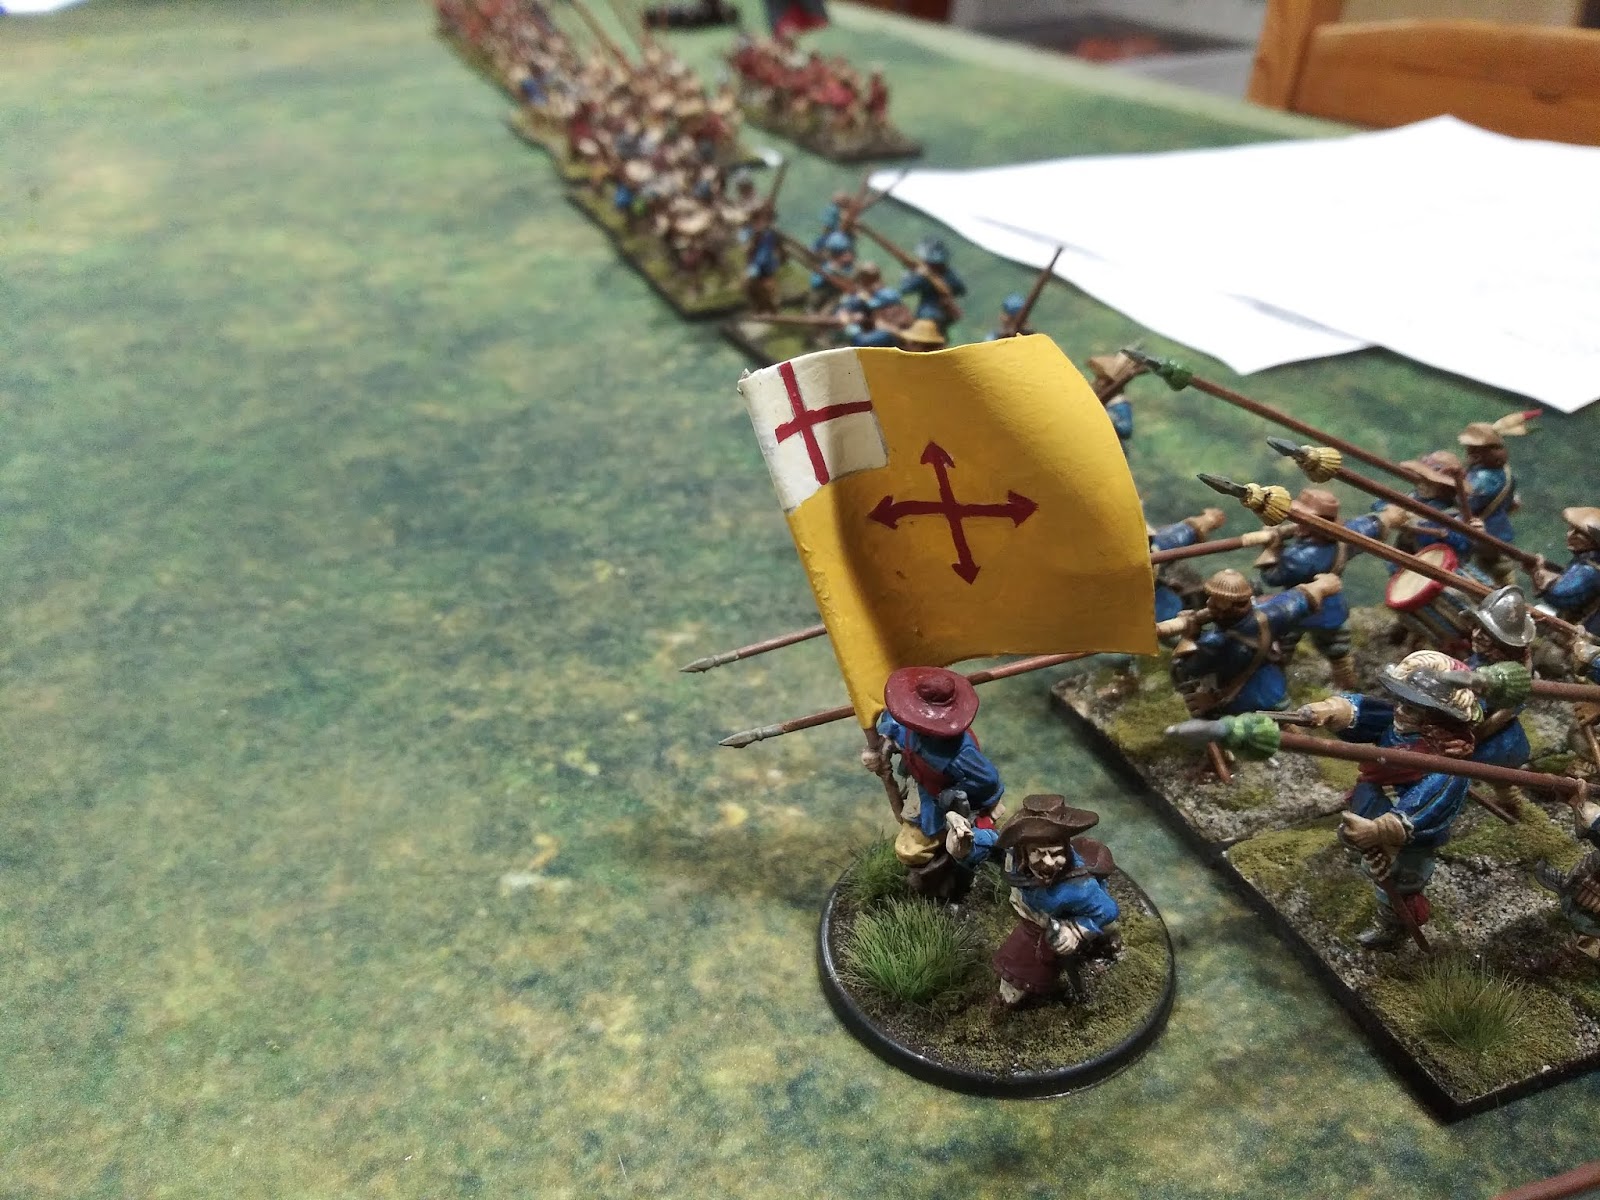
I made some excellent progress in researching lesser known English Civil War "battles" (scare quotes because some only involved 1,000 men per side). Thankfully, many are simple affairs, with both sides facing the other across an open field or green, so no need for specialized terrain.  One such event was a hard-fought battle at Muster Green in December of 1642, in Sussex near Hayward's Heath.  This battle was the farthest point south of London reached by a Royalist army for the duration of the civil wars, and was fought between a larger Royalist army (commanded by the High Sheriff of Sussex, Edward Ford, who had offered the King to "undertake the conquest of Sussex" with 1,000 men) mostly comprised of conscripted infantry, and a smaller but more determined Parliament force under Colonel Herbert Morley.  Neither side possessed cannon of any kind.

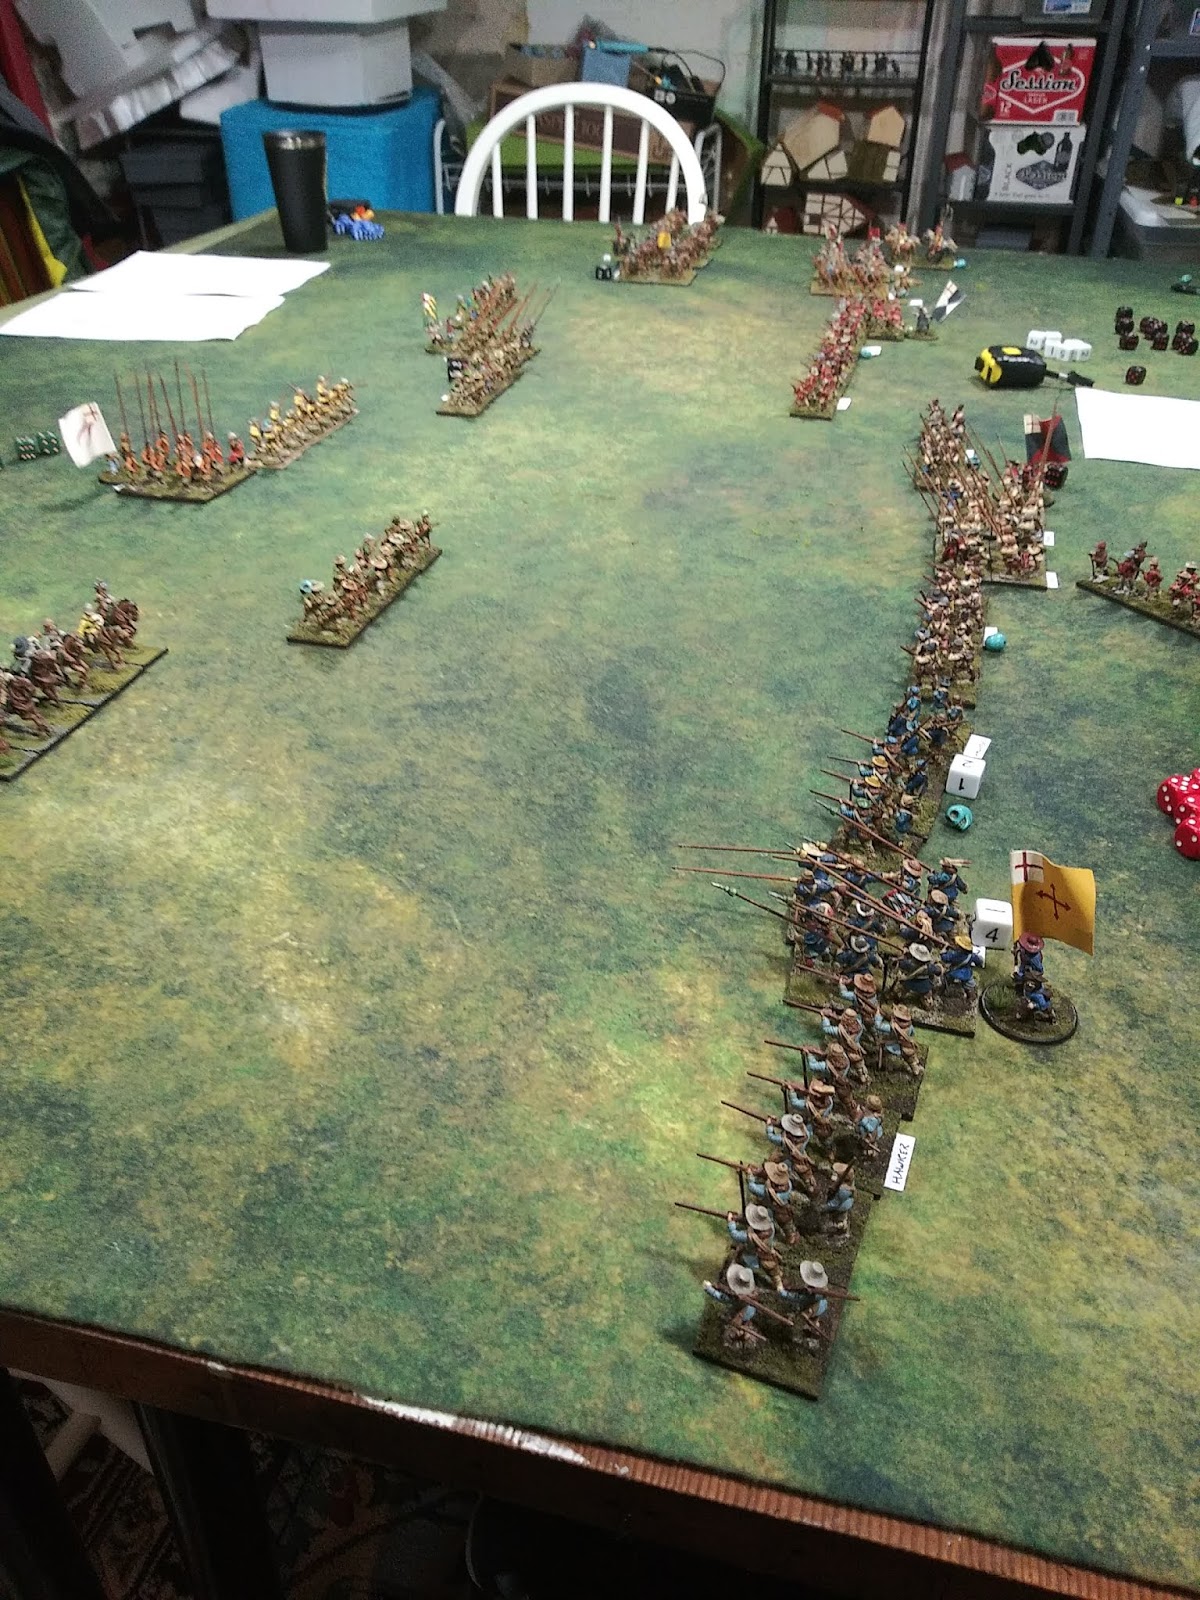
(Above: starting positions. Royalists on left and Parliament at right)

To simulate the "smaller but more determined" Parliament forces, I gave the Royalists more infantry but classed all of it as "Trained Band" pike and shot (increased difficulty to move, poorer starting morale of 5+) and based the Parliament foot on my London Trained Bands unit profile (same difficulty moving but a very strong starting morale of 3+).  Cavalry was evenly matched. The Parliament right flank also received some dragoons.

(Royalist cavalry)

We had three players, so made do with a smaller command of just two shotte and one pike on the Royalist left flank (Col. Hawker's men), and Nathan took the rest of the Royalist forces and Jesse the entirety of Parliament.

(Royalist infantry)

Parliament was unfortunate dealt a terrible blow early in the game when Royalist shot laid out 5 casualties in a dreadful volley to a Parliament shot unit, which, combined with a bad dice roll, caused the unit to leave the field. Give the numerical superiority of the Royalist foot, this made a Parliament victory a considerably steeper climb.

(More royalist infantry)

The rest played out rather as I expected - the Royalist forces mostly struggled against the poor quality of their troops while a cavalry clash played out on the flank (with the Parliamentarians emerging victorious).

(Parliament cavalry)

However, the Royalists perhaps wasted too many resources trying to shoot at the Royalist pikes (stamina 3) rather than the fragile shot units (stamina 2), and before you knew it, it looked like a Royalist conquest of Sussex would be a reality!

(Parliament infantry)

(Parliament dragoons)

However, I had written the victory conditions to include bonus points for winning duels, so the Royalist officers, with nothing to lose, began to seek out their Parliament counterparts.  Over the course of four duels in two turns, all three of the remaining Parliament officers were slain in turn (the fourth had left the field when his unit was broken earlier)!

(Parliament infantry)

So, as a tenth unit was removed from the table, ending the game, the points were tallied - 2 points to the Royalists for having more units on the opposite half of the table than Parliament, plus 2 points for destroying/routing more units, for 4 points total.  However, the Royalists snagged 3 points for won duels, and a bonus point for have more officers left on the table at the end of game, for 4 points total.

(Even more Royalist infantry)

So... a DRAW!  However, we figured it would be a strategic victory for Parliament, as the Royalist conscripts, seeing the lack of officers, would probably desert over the course of the evening, leaving the remains of the Parliament army (which presumably withdrew in good order with its surviving officer in charge) in command of Sussex. Huzzah!


Sunday, December 29, 2019

2019 Year in Review

1. Games Played

Black Powder 2 - Hundred Days (January)

Agnadello II (February)
Battle on the River Glein (February)
Isola della Scala (March)
Isola della Scala (April – Hosted)
Tekumel (April)
Barletta (May)
Isola della Scala (May – Hosted) (Enfilade)
Ravenna (May – Hosted) (Enfilade)
Black Powder 2 – Toulouse (Enfilade)
Deus Vult (Enfilade)
Hussars Rampant (Enfilade)
Men Who Would Be Kings – Boxer Rebellion (Enfilade)
Battle of River Dubglas (June)
Battle of Bassa's Ford (June)
Stratton (July)
Rebel & Patriots x2 (July)
Celidon Forest (September)
Seminara (October)
Agrigentum (November)
Himeras River (November)
Open Combat (December at Ambuscade)
Seminara (December – Hosted)
I hit my minimum goal of playing at least one game per month, which makes all that painting not just a pointless pursuit. Lion Rampant was again my rules of choice, with 9 games played and four hosted.  

2. Miniatures Painted

What I am particularly happy about in retrospect is that I got my Arthurian/"Barbarian West" armies table-ready, and also finally got my 20mm Hail Caesar armies truly table ready, which gives me four eras/periods that I can host an 2 player game in (English Civil War, Italian Wars/early Renaissance, Punic Wars, and Barbarian West).  I also increased the size of my Italian Wars collection to 430-450 figures by adding crossbowmen, archers, and Spanish troops, and made better infantry command stands for my English Civil War stuff.

3. Up Next

On the lead mountain I have 30 English Civil War cavalry and 24 pikemen I would really like to get painted up and table-ready - these will make it much easier to host 4 player games (6 in a pinch) as well as play a wider variety of battles from that period.  I also have 60 Franks and some cataphracts that need to be done up for the Barbarian West project - these will allow me to shift battles out of Britain and onto the continent, setting things up for the real prize of that era (for me at least): Huns and ByzantinesEastern Romans.  Also lurking on the pile are the 110 Swiss pikemen I got at the bring and buy last Enfilade.  I hope to continue to slowly add to my 20mm ancients for the specific purpose of playing Hail Caesar at Guardian Games, hopefully once a month (20mm plastic is much easier to transport than 28 metals!).